Adding questions in the Custom Form Builder allows you to collect specific details that matter to your workflow. It helps customize each form to match the kind of input you need from customers, whether it’s for scheduling, feedback, or onboarding. This improves response accuracy and ensures all the required data is captured without back-and-forth communication.
Follow the step-by-step guide below to add question(s) in Custom Form Builder on the TAAX Pro platform.
Navigation
The Add Question section is where users can submit new questions related to products. This feature supports customer interaction by addressing uncertainties and clarifying product details. Accessing this section allows you to review and respond to customer queries and keep the product information up to date.
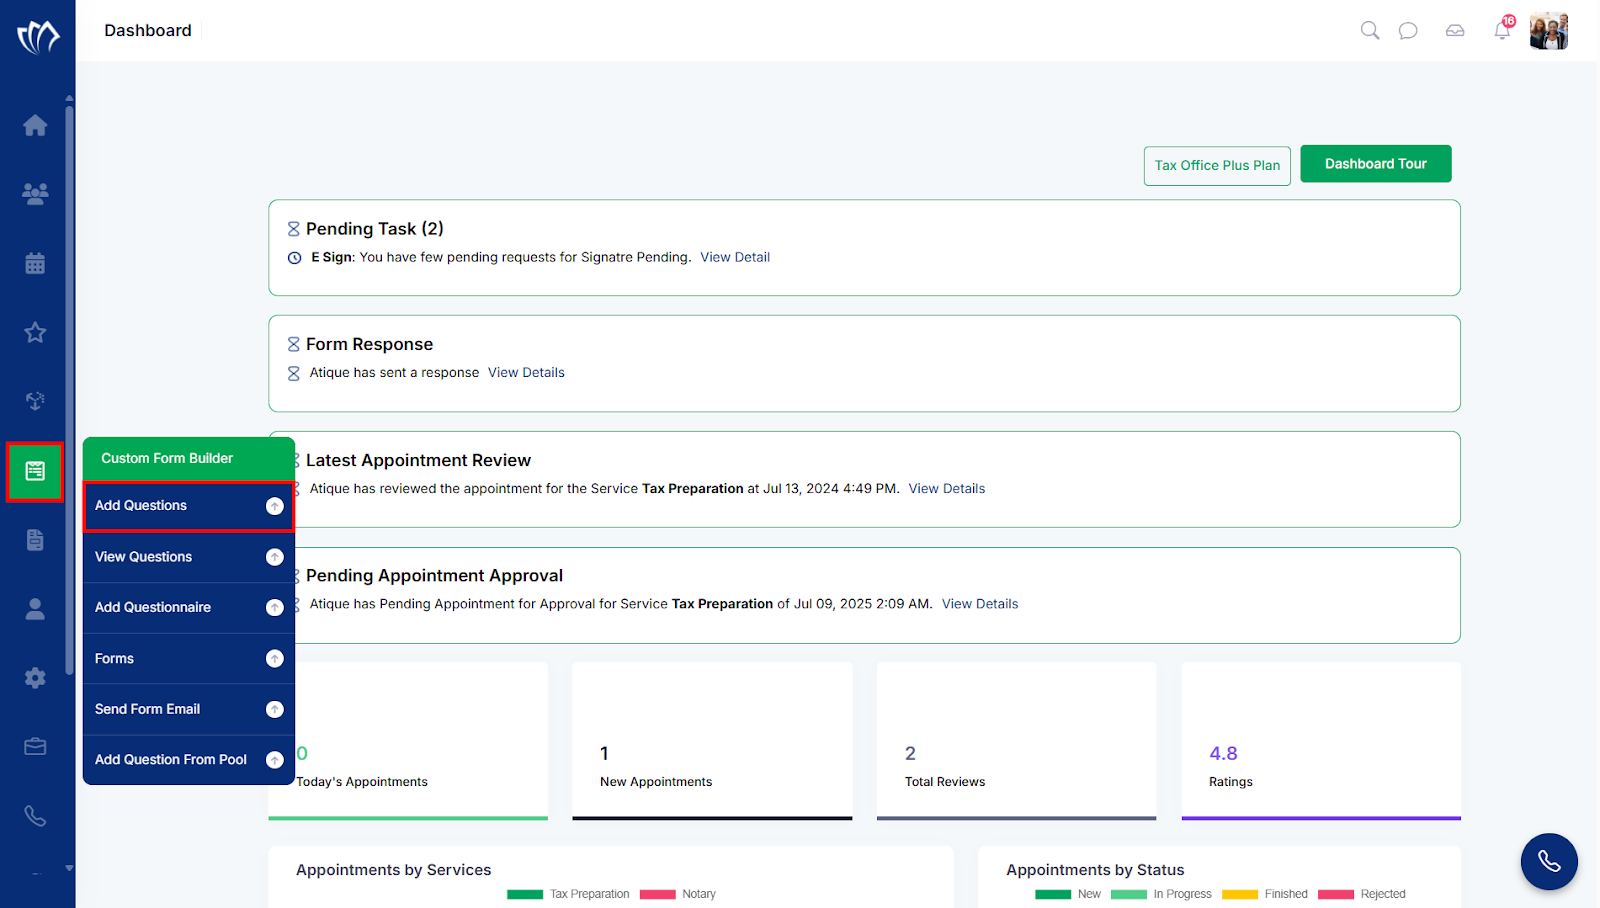
Step 1: Navigate to the left side panel, hover over the “Custom Form Builder” section, then click on the “Add Question” option.
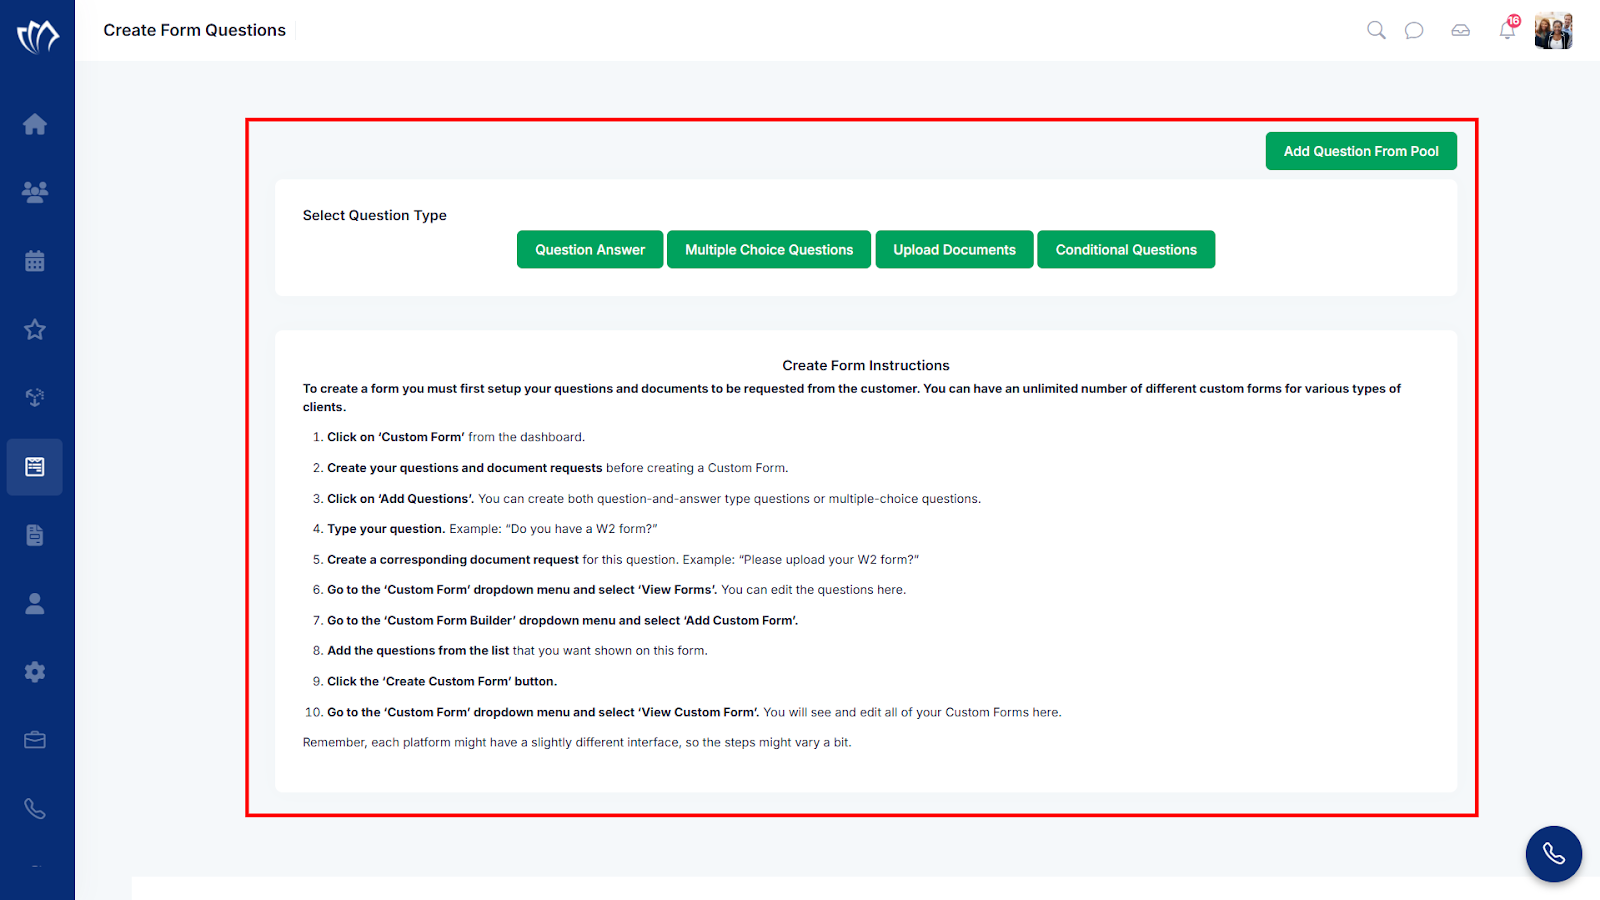
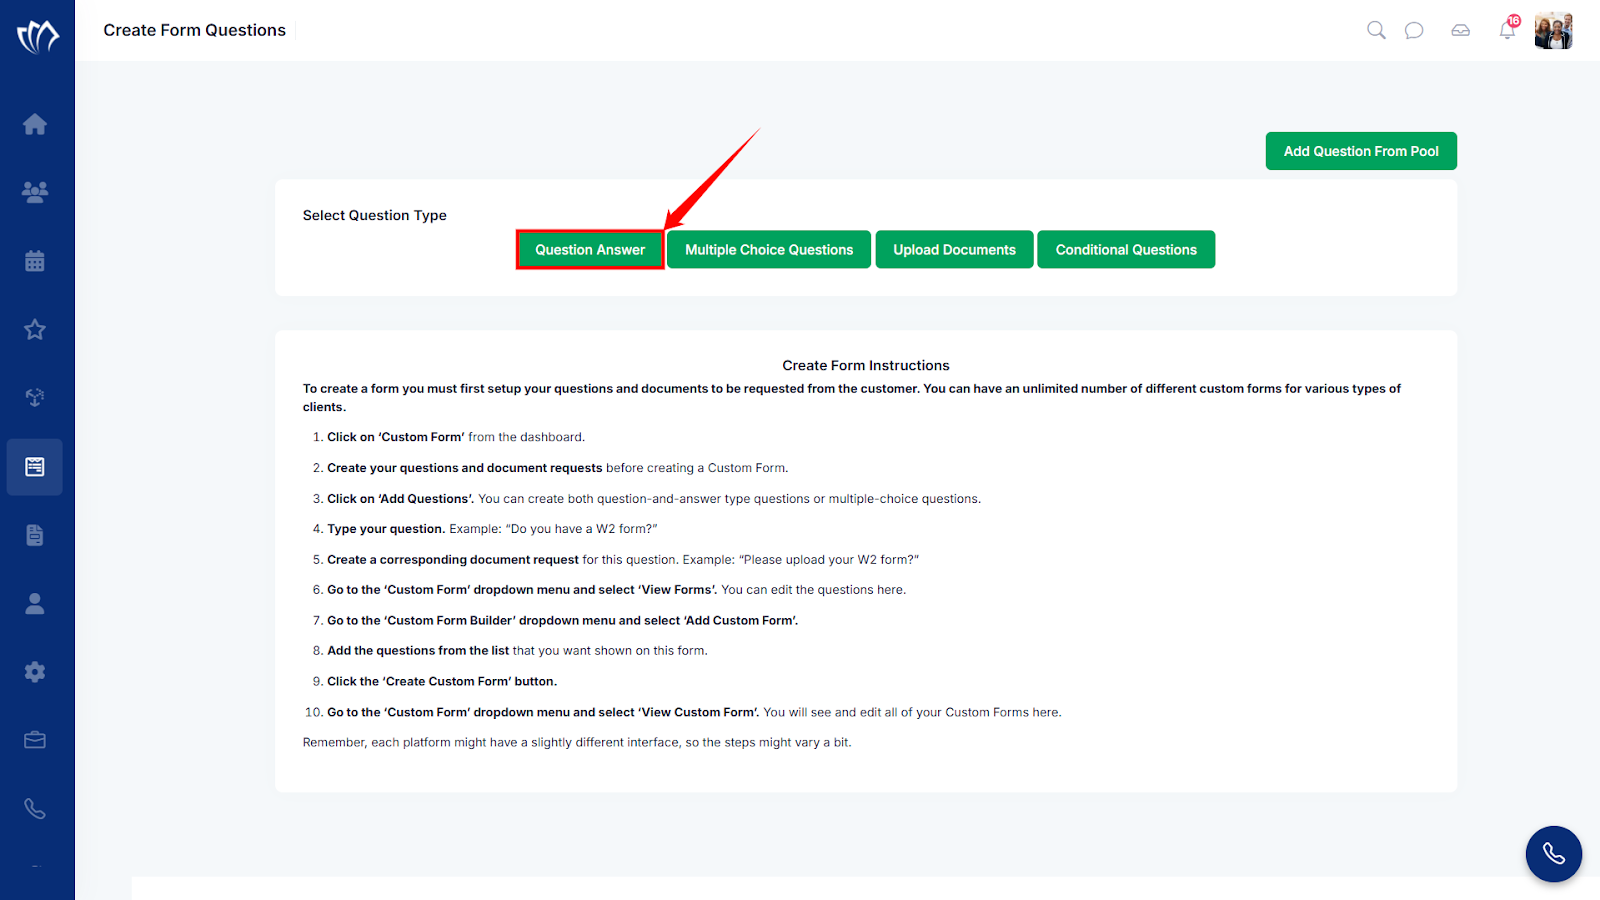
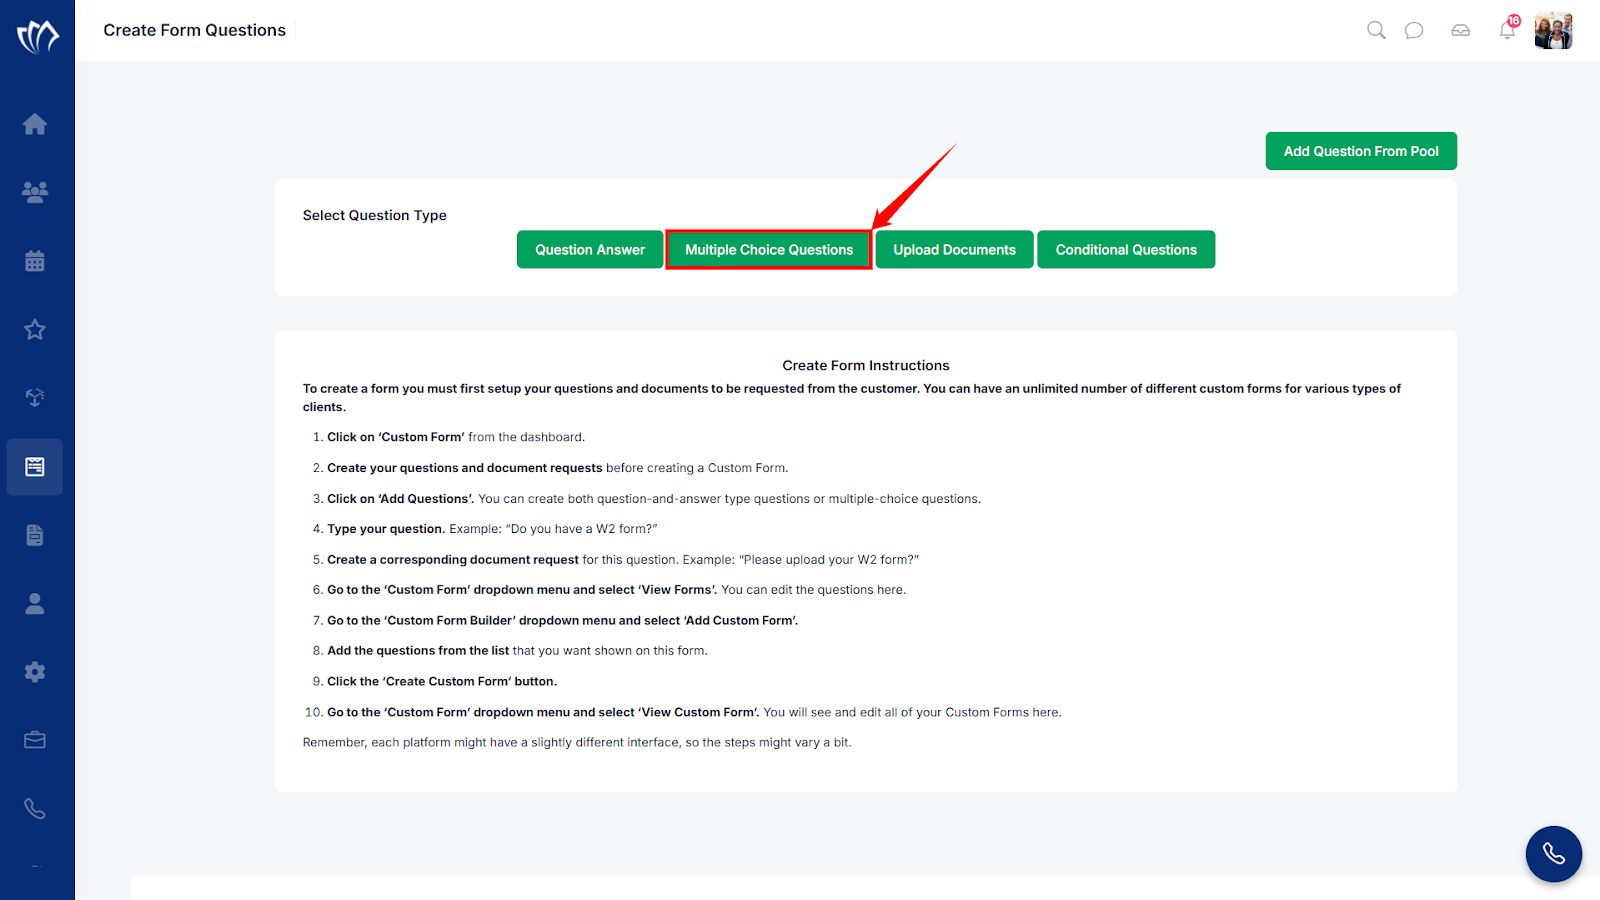
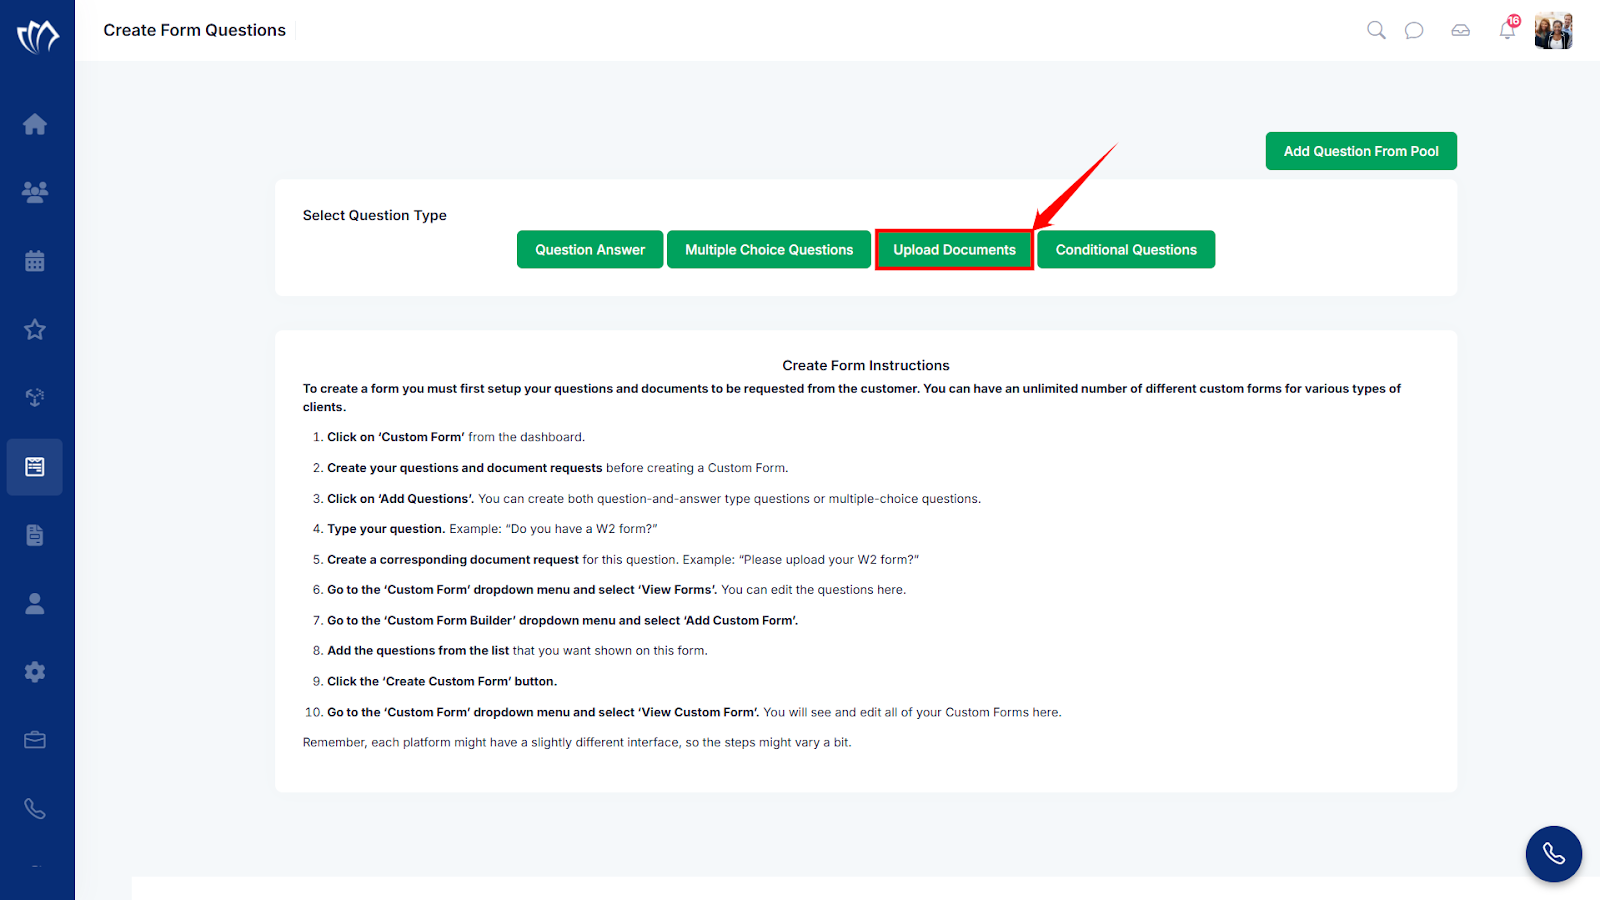
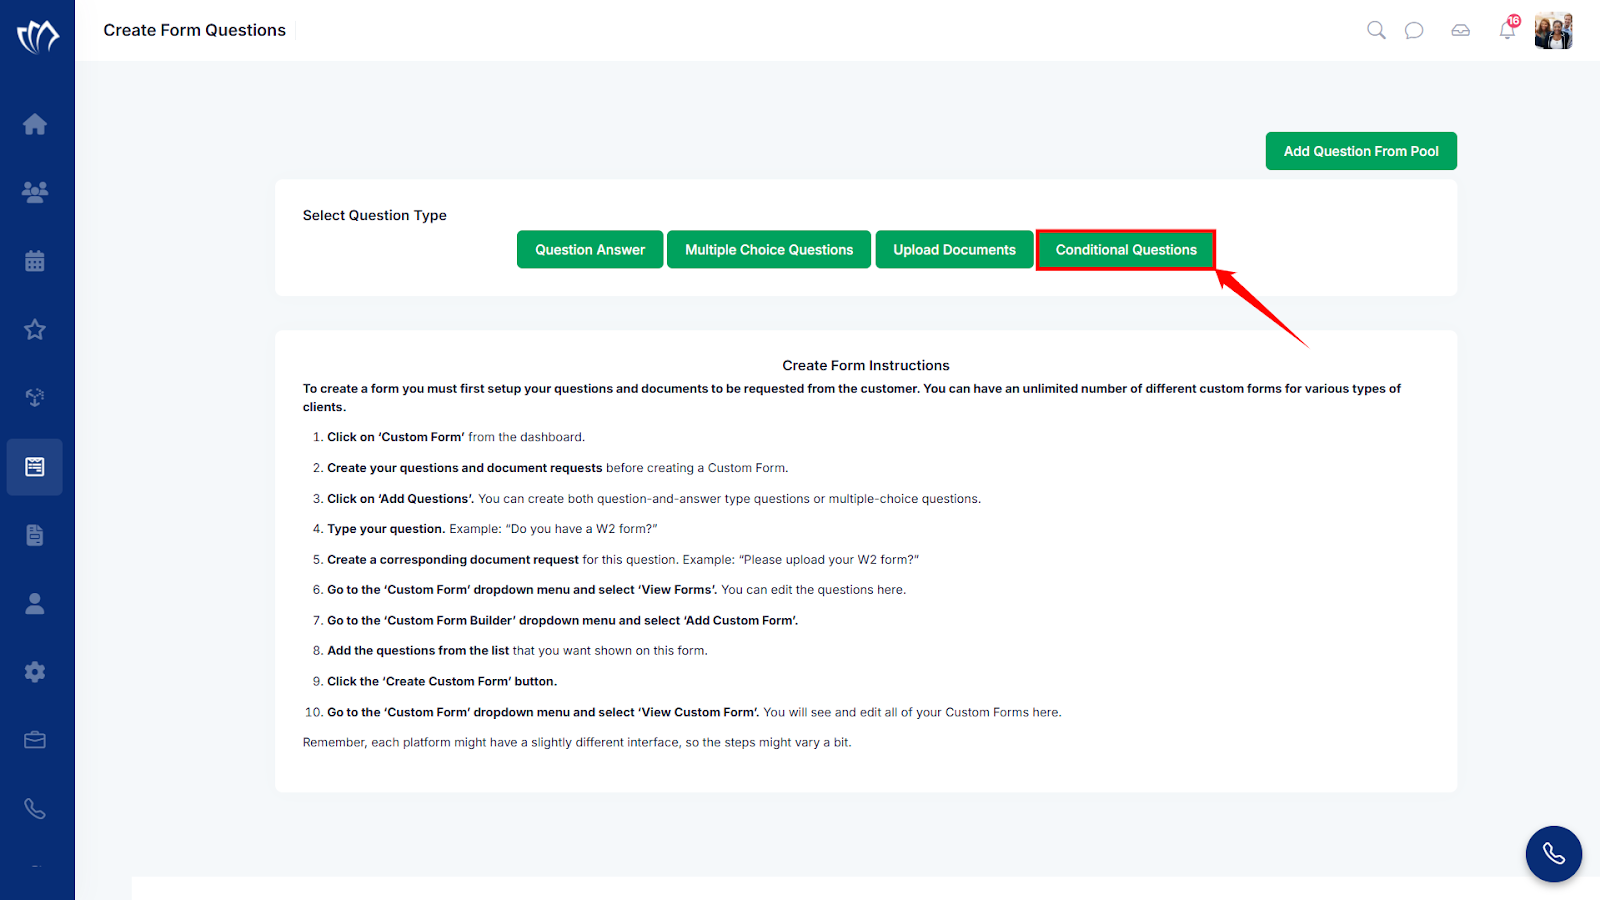
Step 2: A new screen will appear displaying different question types and detailed form creation instructions. At the top, you’ll see options to choose the type of question you want to create, such as:
Note: Below the question type screen, you’ll find the step-by-step Create Form Instructions, which guide you through the entire process of building a custom form. These instructions outline how to start from the dashboard, add questions, create document requests, and use the Custom Form Builder to assemble your form.
Make sure to follow each step carefully, starting with creating your questions and document requests, before moving on to adding them into your form layout. Once your form is ready, you’ll be able to manage and view it under the View Custom Form section.
Add Question From Pool
You can add a question from the pool to reuse existing questions without creating them from scratch. It saves time, keeps your forms consistent, and ensures that frequently used inputs stay standardized across different forms. This also maintains clarity in data collection and improves form-building efficiency.
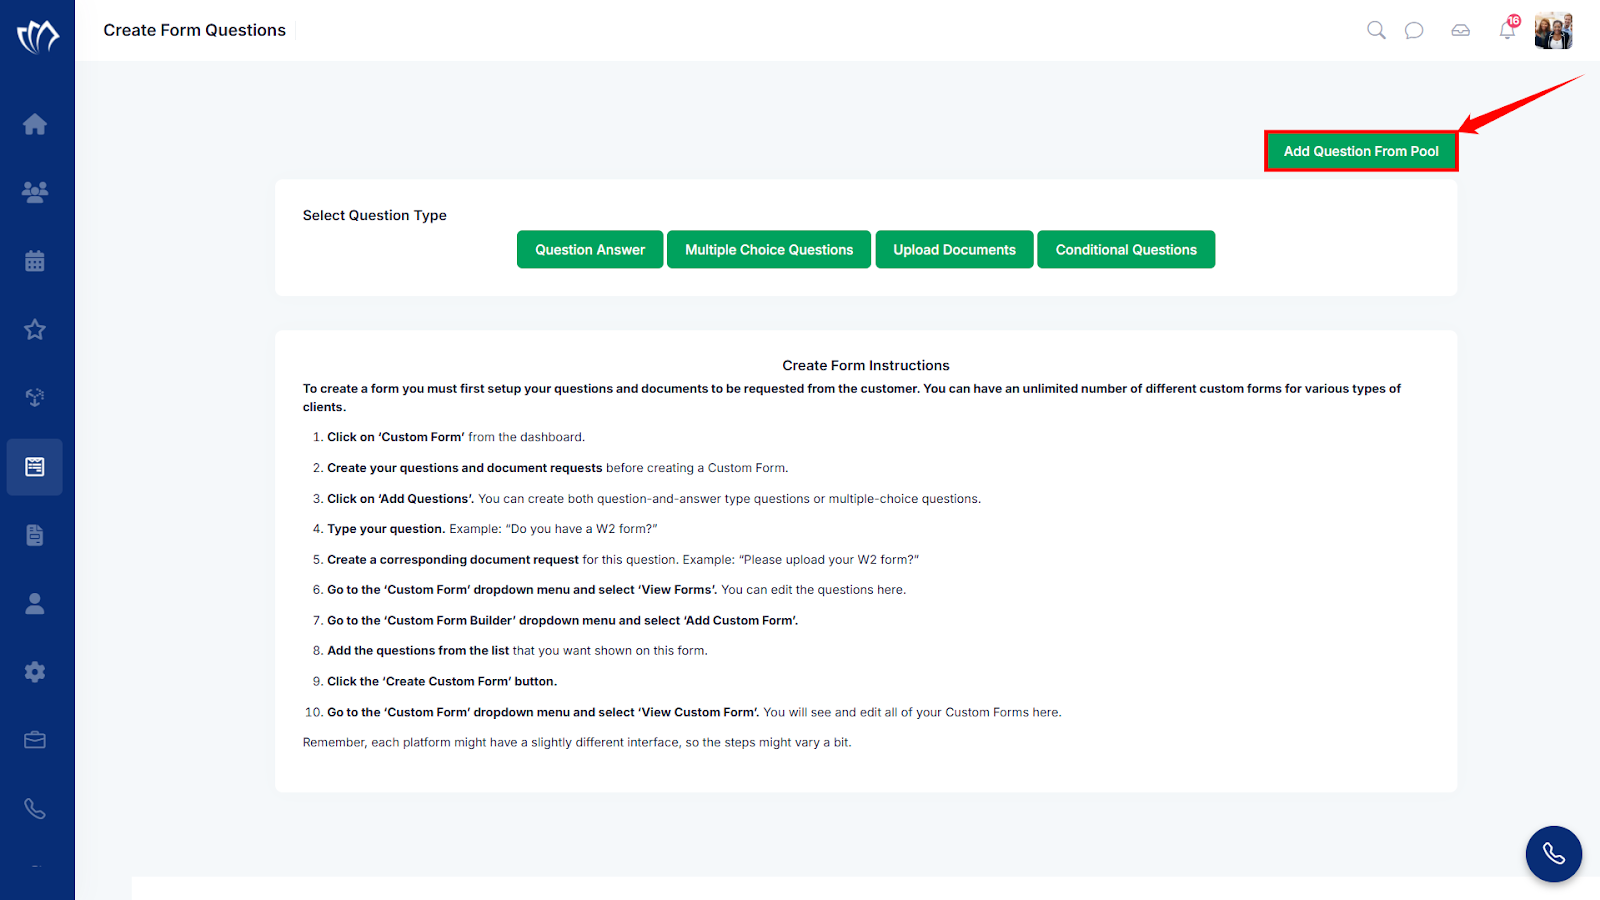
Step 1: Click on the “Add Question From Pool” button, located at the top-right corner of the page.
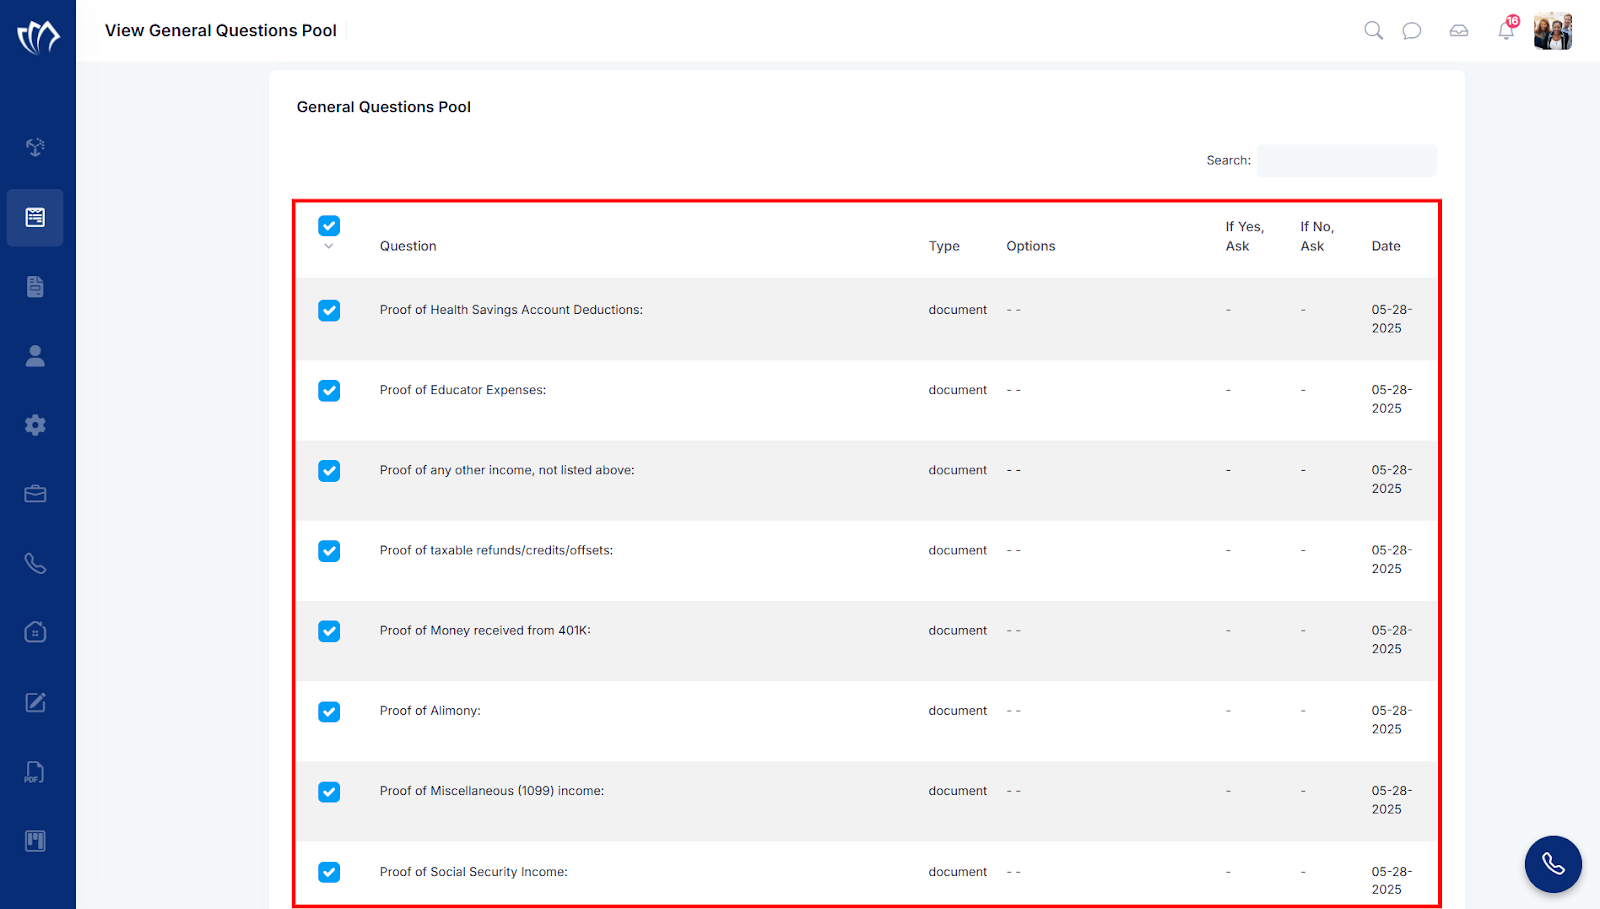
Step 2: A new screen will appear with a pool of general questions. Select the appropriate questions that you want to add.
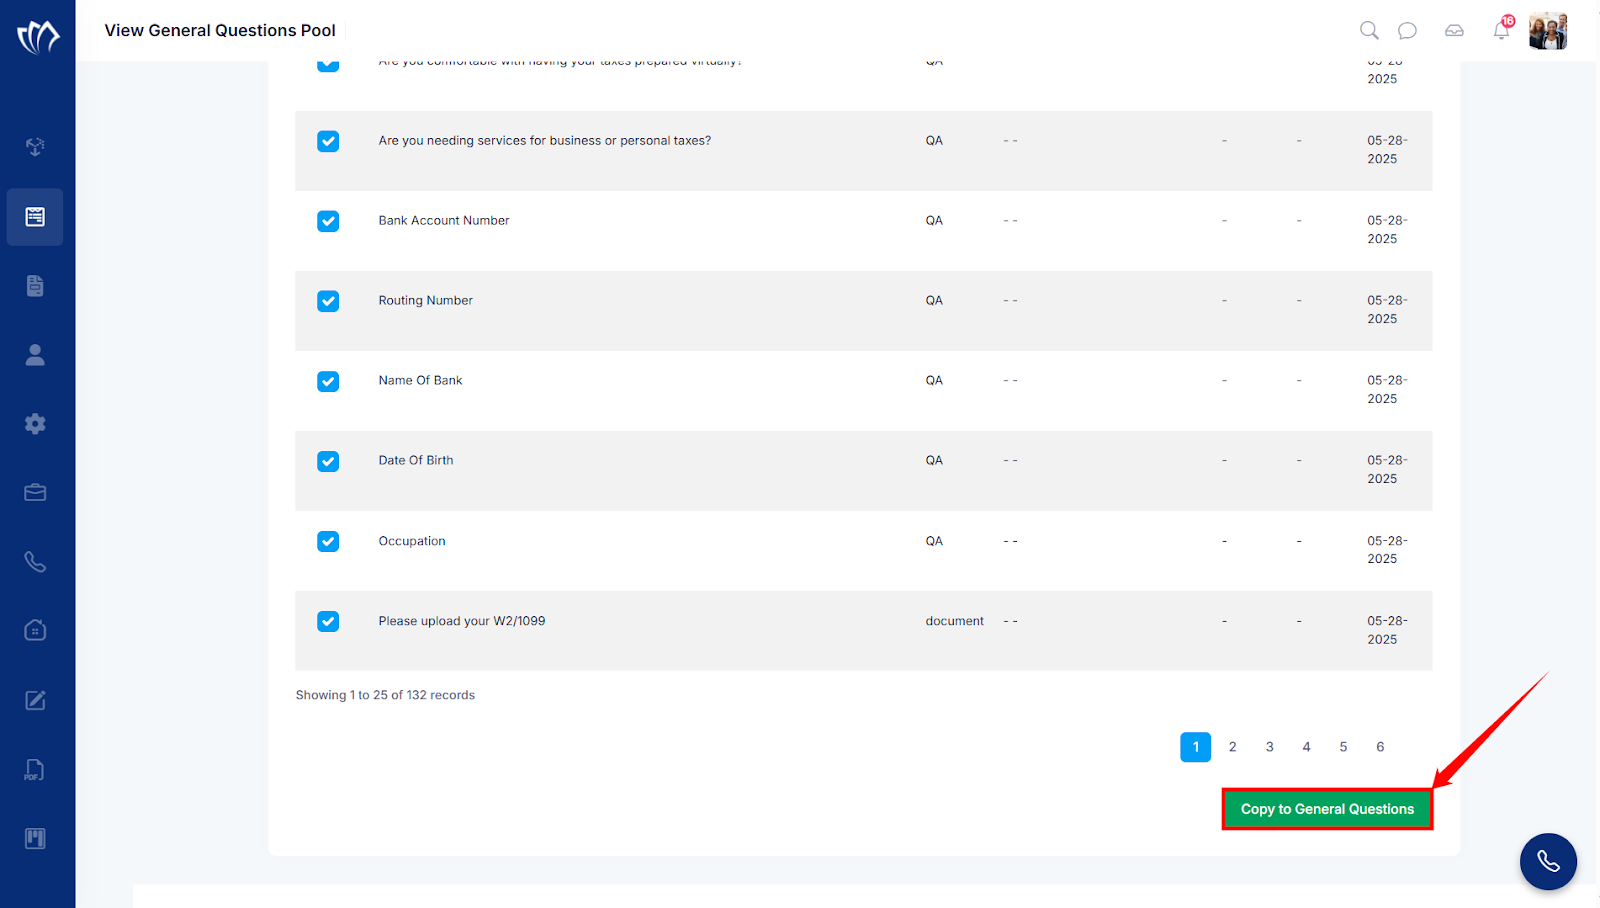
Step 3: Click on the “Copy to General Questions” button at the bottom of the screen.
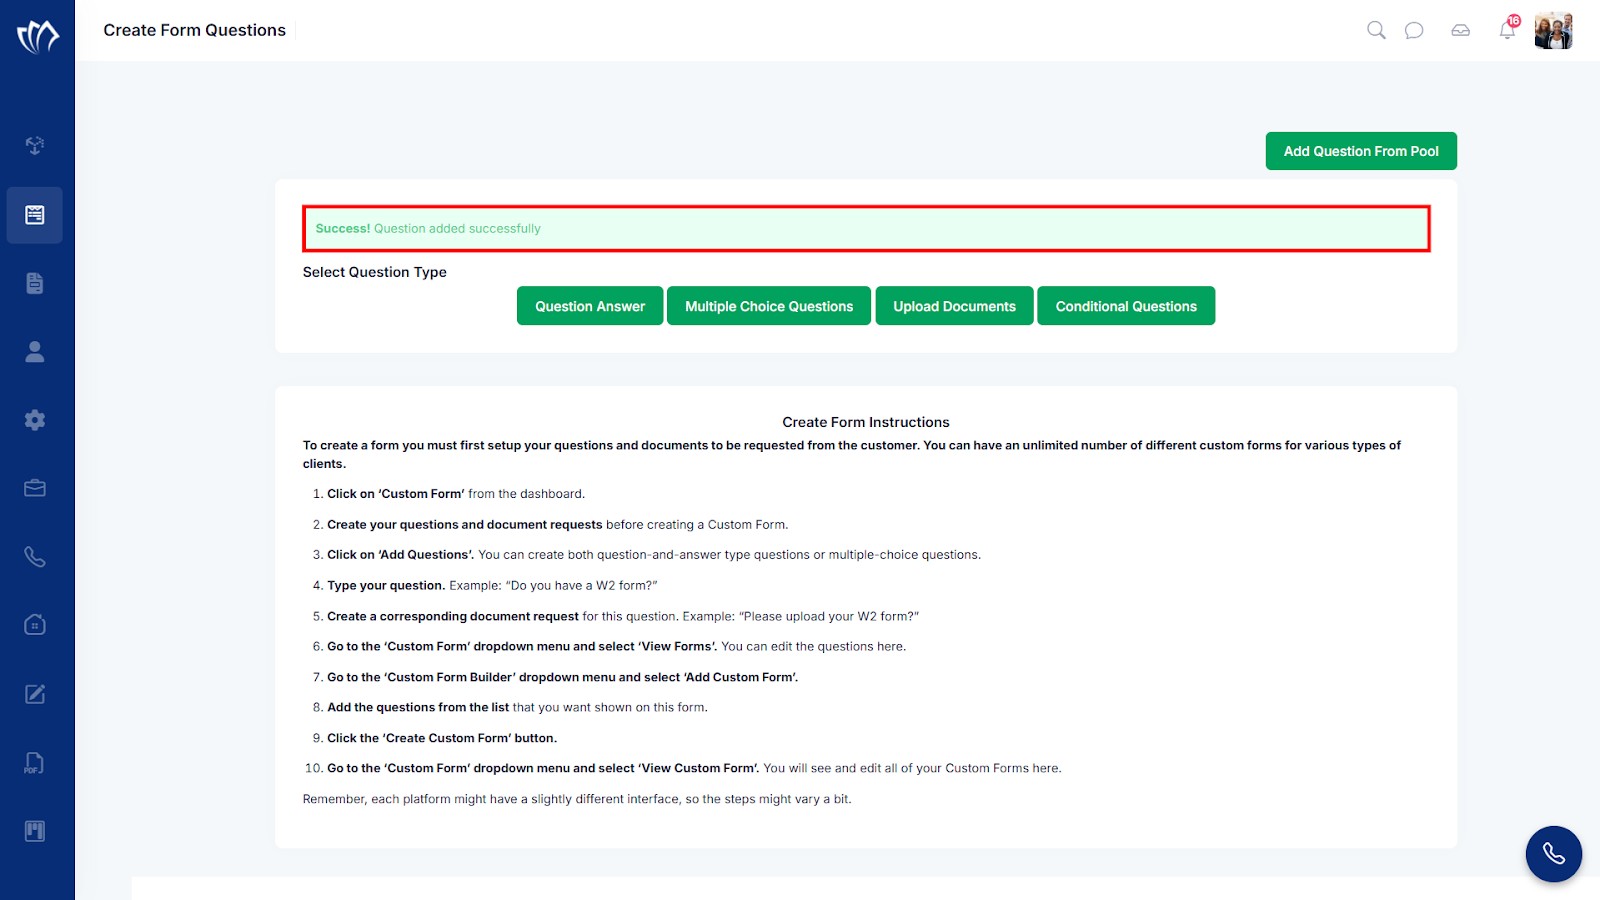
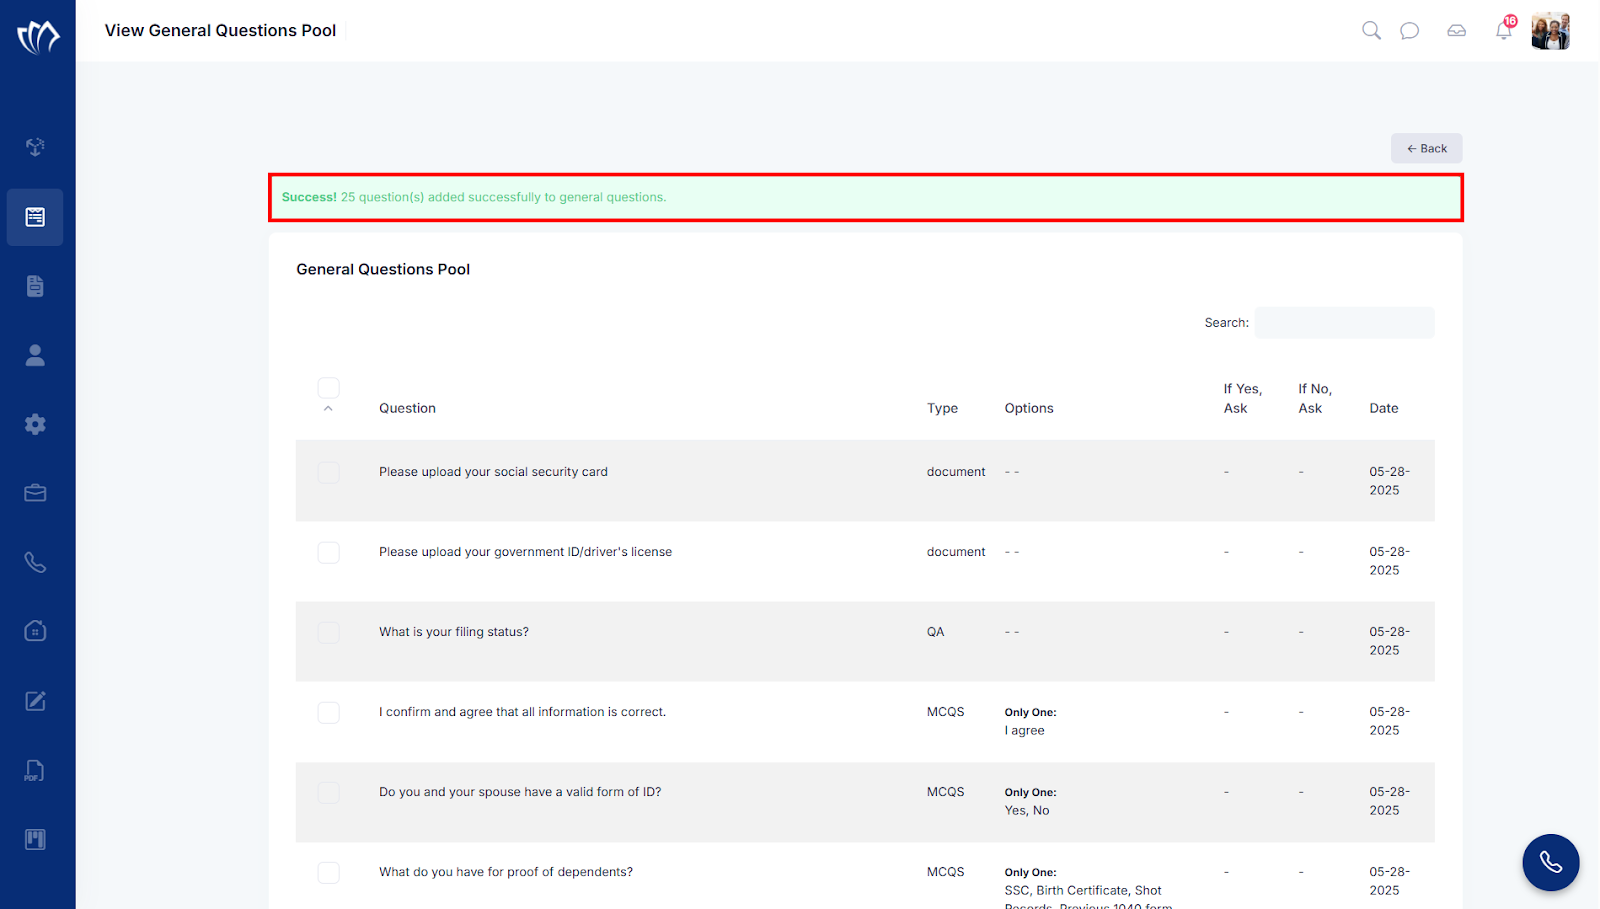
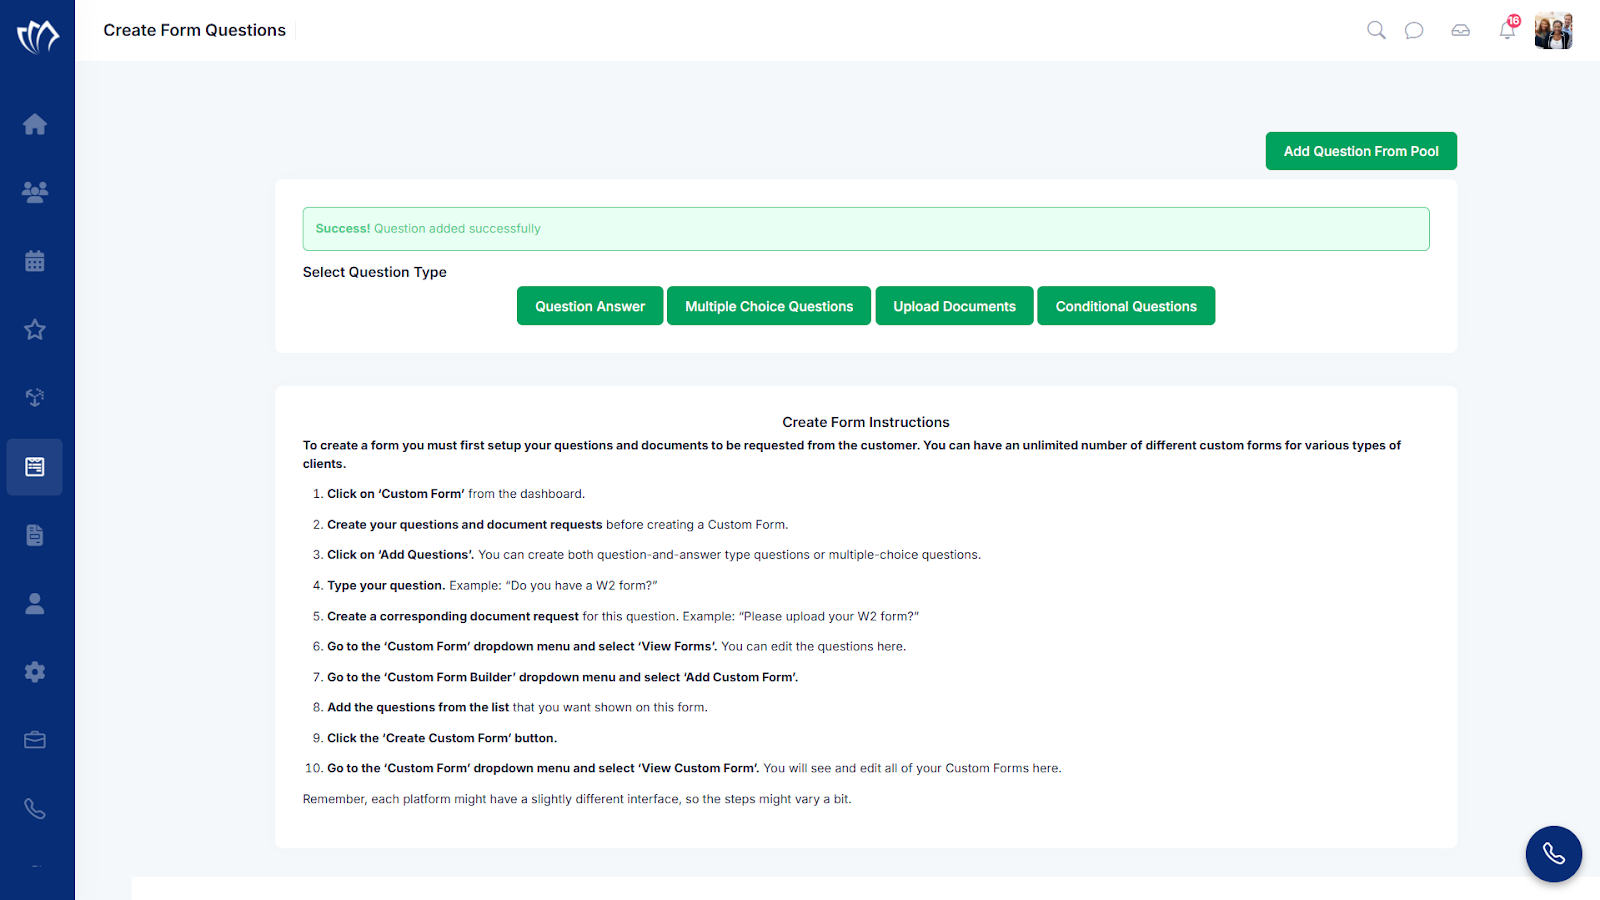
Step 4: After clicking on the “Copy to General Questions” button, a success message will flash at the top of the screen.
Select a Question Type
Selecting a question type defines how customers will input their responses, whether through text, dropdowns, checkboxes, or other formats. Choosing the right type ensures the data collected is accurate, structured, and easy to analyze. It also improves the user experience when filling out the form.
Question Answer
Step 1: Click on the “Question Answer” button under the “Select Question Type” section.
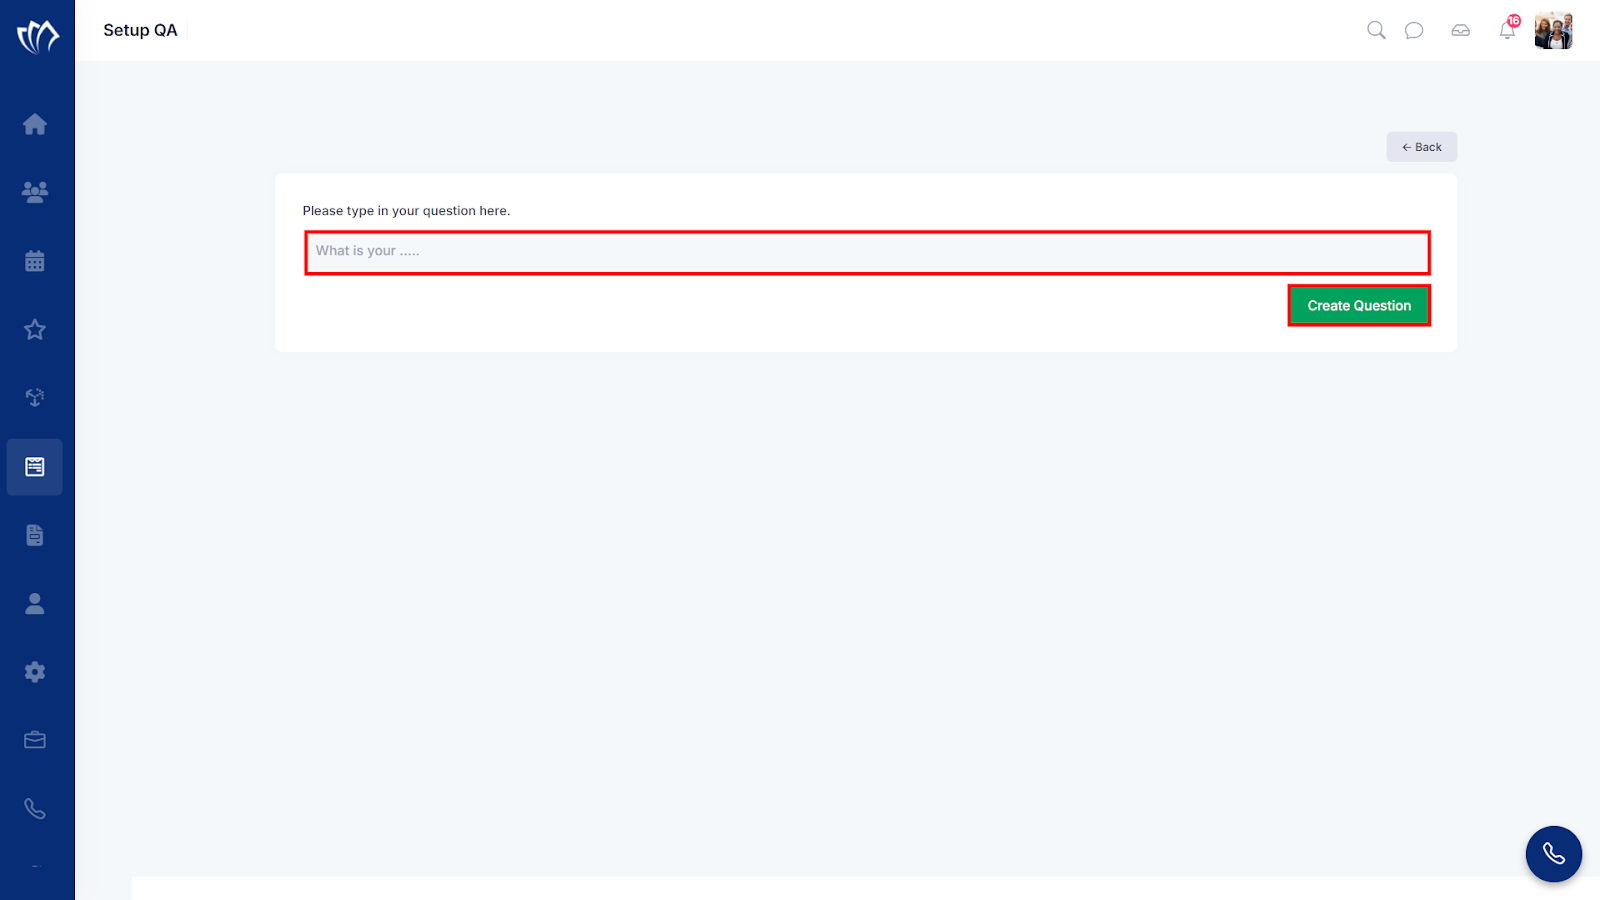
Step 2: A new screen will appear with a field to enter a question. Enter a question that you want to ask in the form, then click on the “Create Question” button.
Step 3: After clicking on the “Create Question” button, a success message will flash at the top of the screen.

Multiple Choice Question
The Multiple Choice Question option allows you to add questions with predefined answer choices, enabling users to select one or more options. This format is ideal for gathering structured responses and simplifying the decision-making process for your customers.
Step 1: Click on the “Multiple Choice Question” button under the “Select Question Type” section.
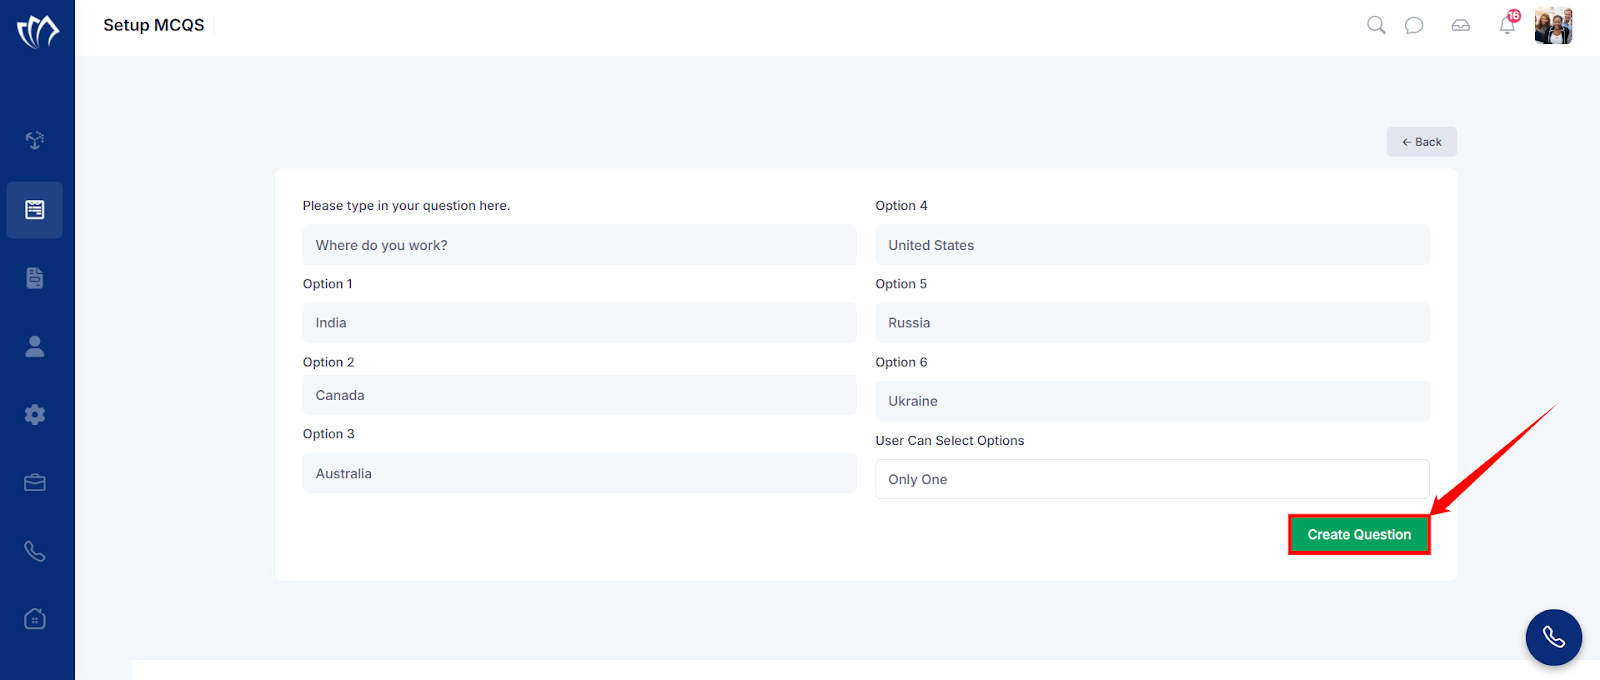
Step 2: A new screen will appear with a field to enter your question and six fields for the answer options. Simply type your question and fill in the six possible answer choices.
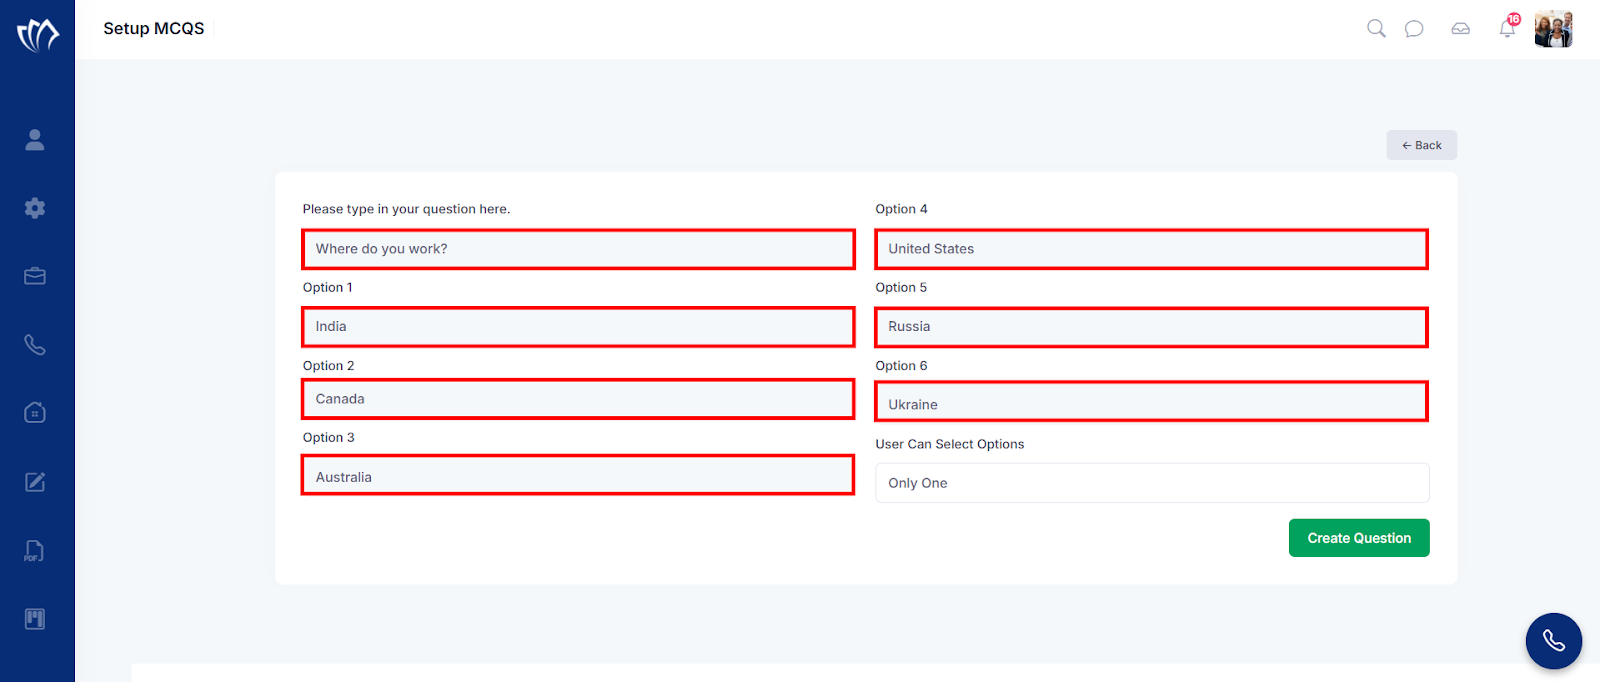
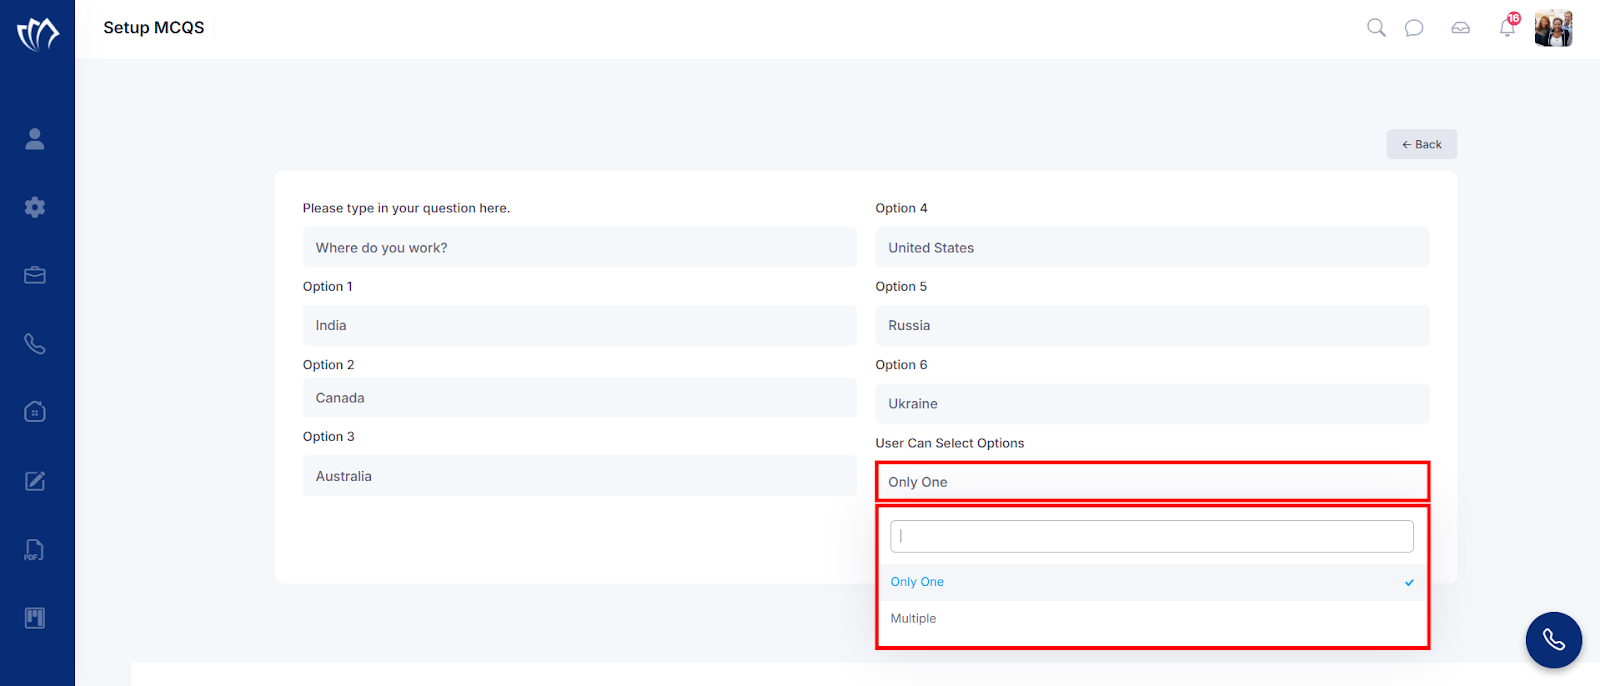
Step 3: Decide how many options your customer can select in the “User Can Select Options” dropdown.
Step 4: Click on the “Create Question” button.
After clicking on the “Create Question” button, a success message will flash at the top of the screen.

Upload Documents
The Upload Documents question type allows you to request specific files from customers directly within a form. By adding this question type, you can prompt users to upload required documents, such as IDs, tax forms, or contracts, ensuring you collect the right files at the right step in your workflow. This is ideal for gathering supporting documentation alongside other form responses.
Step 1: Click on the “Upload Documents” button
Step 2: A new screen will appear with a field where you can enter the name or description of the required document you need from the customer. After typing it in, click the “Create” button to add the document request to your form.
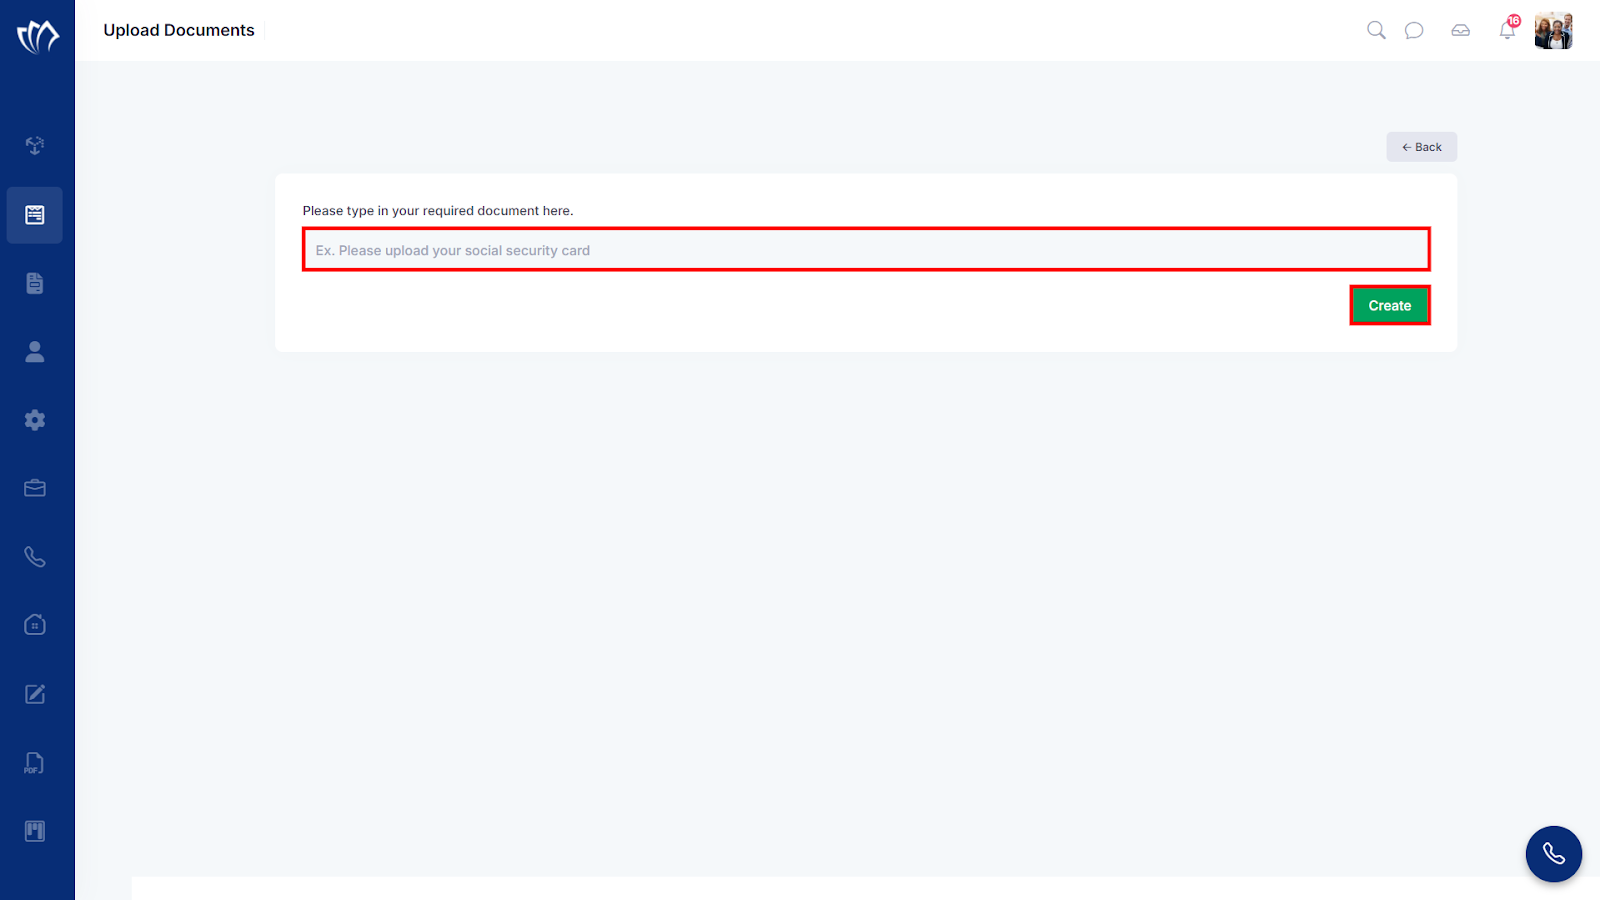
After clicking the “Create” button, a success message will briefly appear at the top of the screen, confirming that the document request has been successfully added to your question list.
Conditional Questions
The Conditional Questions feature allows you to display specific questions based on a user’s previous responses. This helps create dynamic, personalized forms that adapt to each customer’s input, ensuring a more relevant and streamlined experience.
Step 1: Click on the “Conditional Questions” button under the “Select Question Type” section.
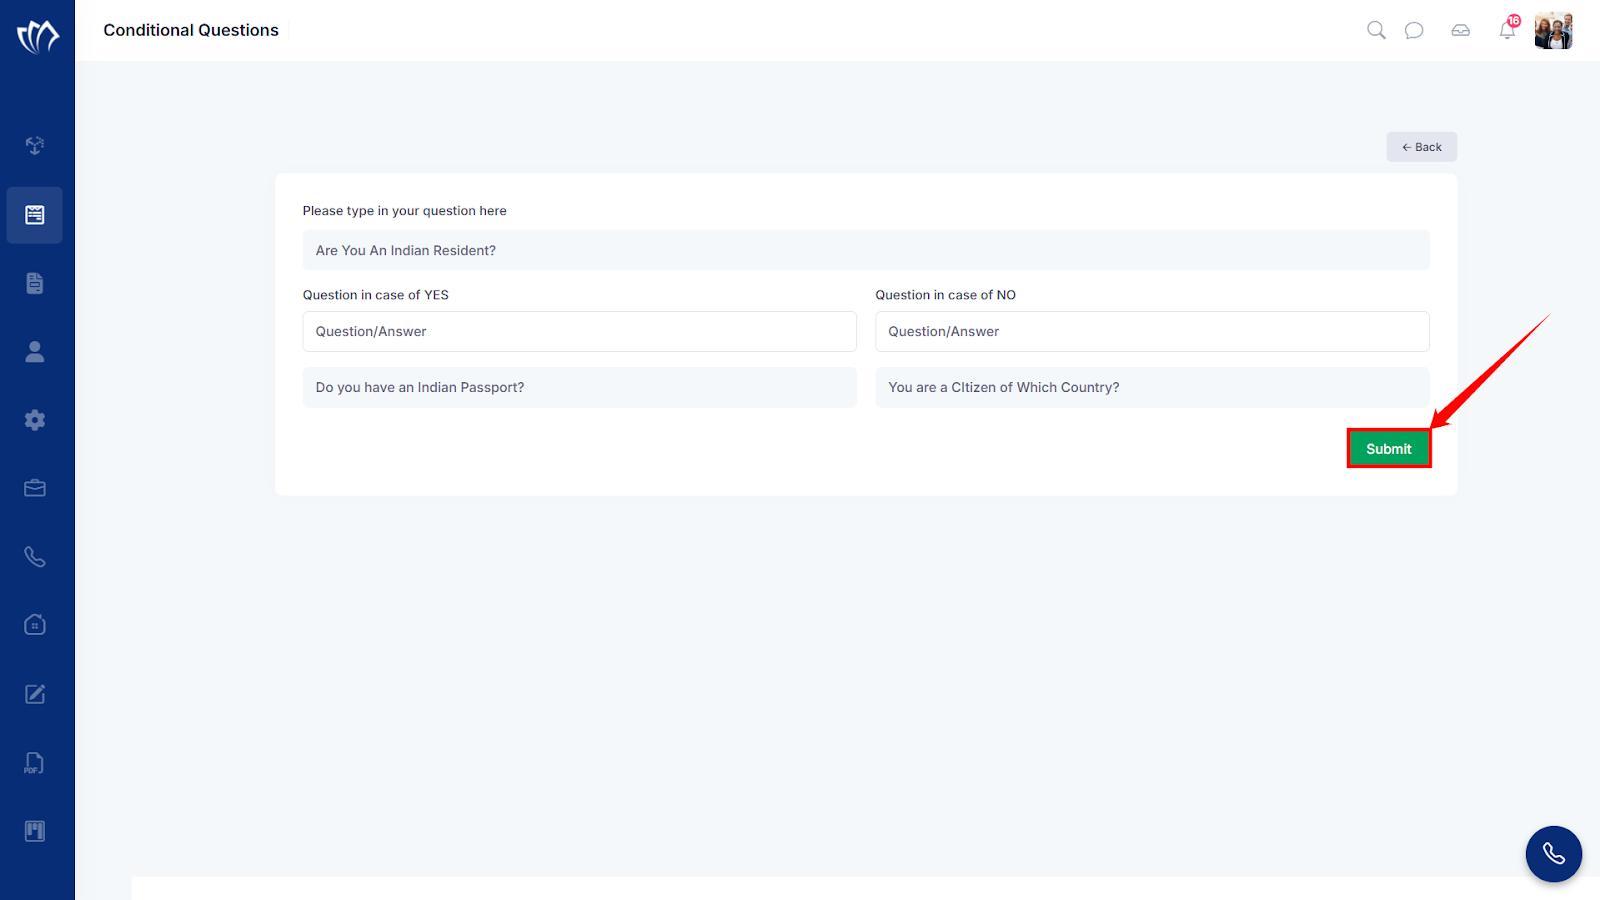
Step 2: A new screen will appear. Enter your primary question that acts as the condition that determines which follow-up questions will be shown based on the user’s response.

Step 3: After entering the questions and setting up the conditions, click on the “Submit” button.
Step 4: After clicking on the “Submit” button, a success message will flash at the top of the screen.