The Task Board in TAAX Pro is a visual workspace used to manage and monitor tasks throughout different stages of a workflow. It organizes tasks into lists such as To Do, In Progress, Done, and more, making it easier to plan, assign, and track work in a structured way. This board is essential for improving task visibility, streamlining team collaboration, and ensuring timely completion of assignments.
Follow the step-by-step guide below on how to view the default task board on the TAAX Pro platform.
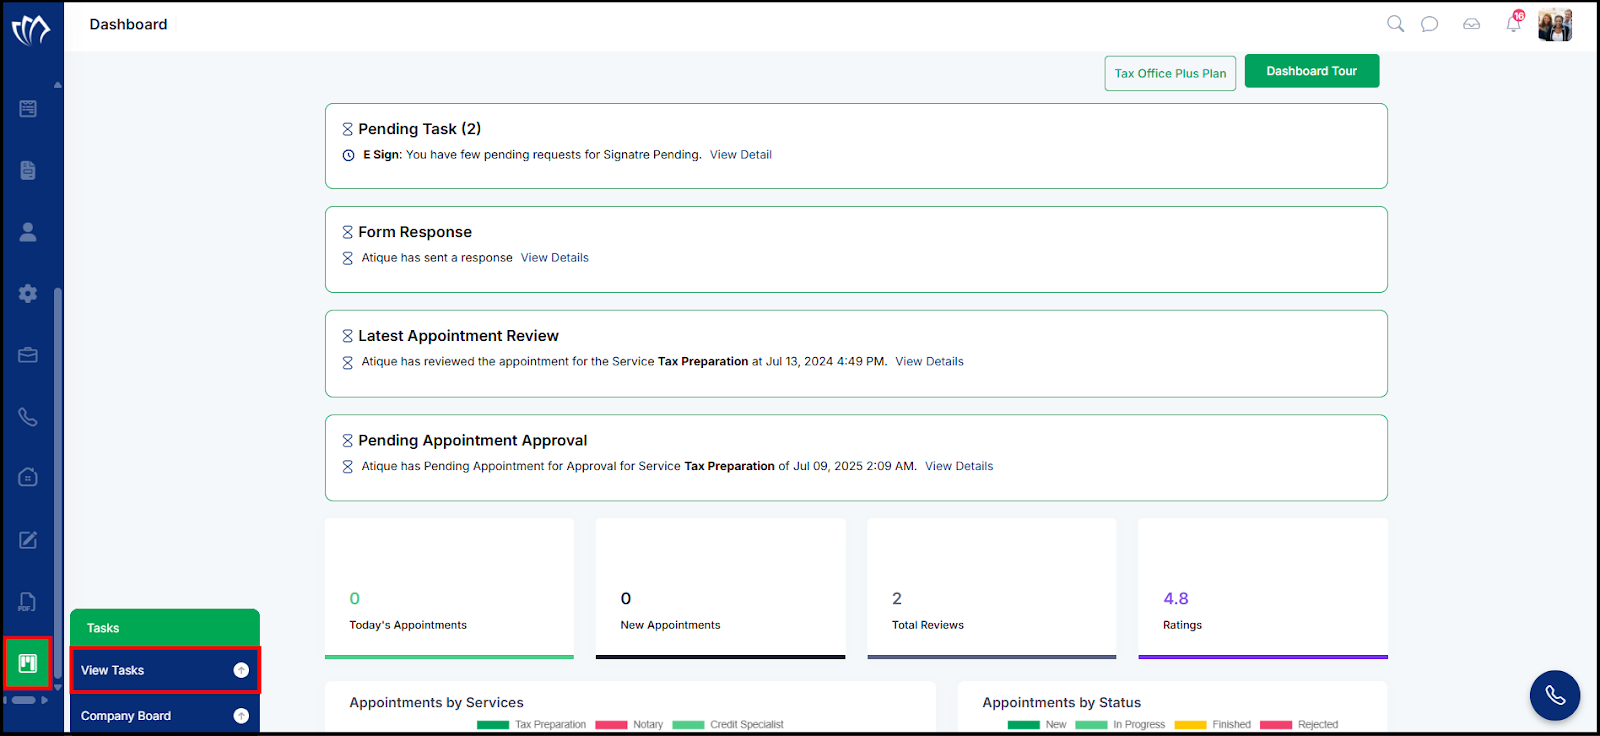
Step 1: Navigate to the left side panel, hover over the “Tasks” section, then click on the “View Tasks” option.
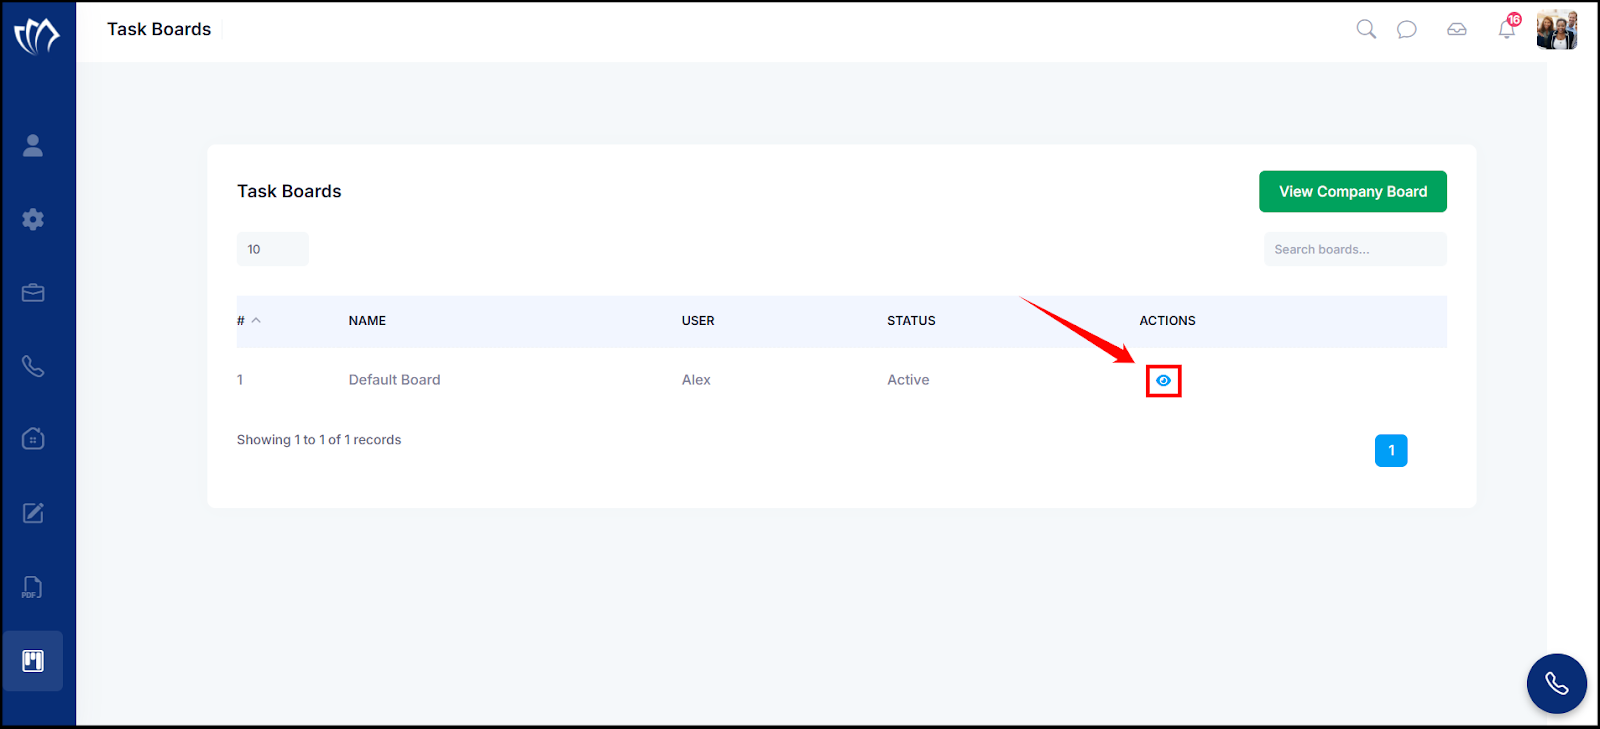
Step 2: The Task Boards screen will appear, showing a list of available boards with their name, user, status, and actions. Click on the eye icon under the Actions column next to the Default Board to view the default task board.
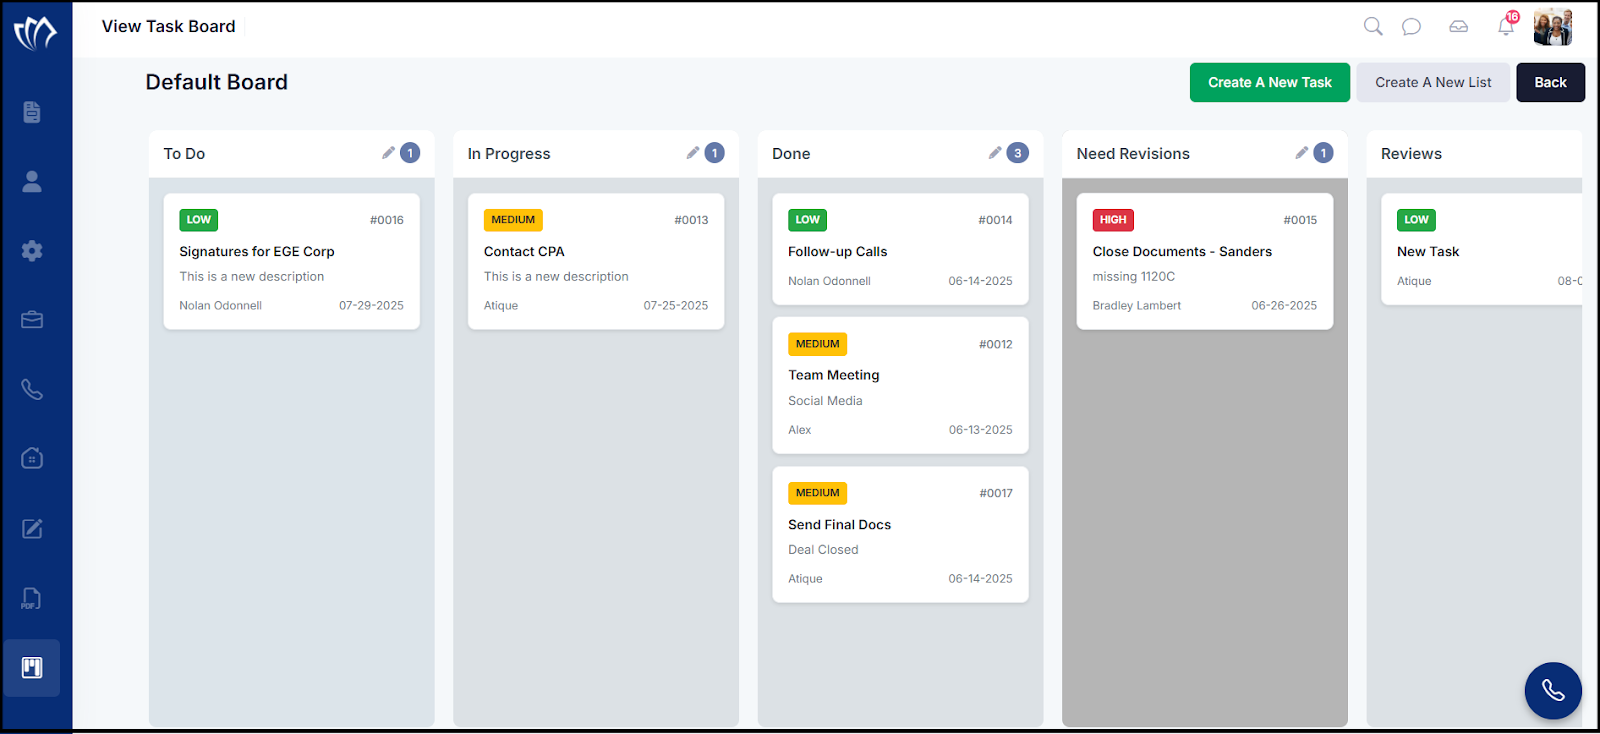
Step 3: The View Task Board screen will appear, displaying the Default Board with all its task lists.
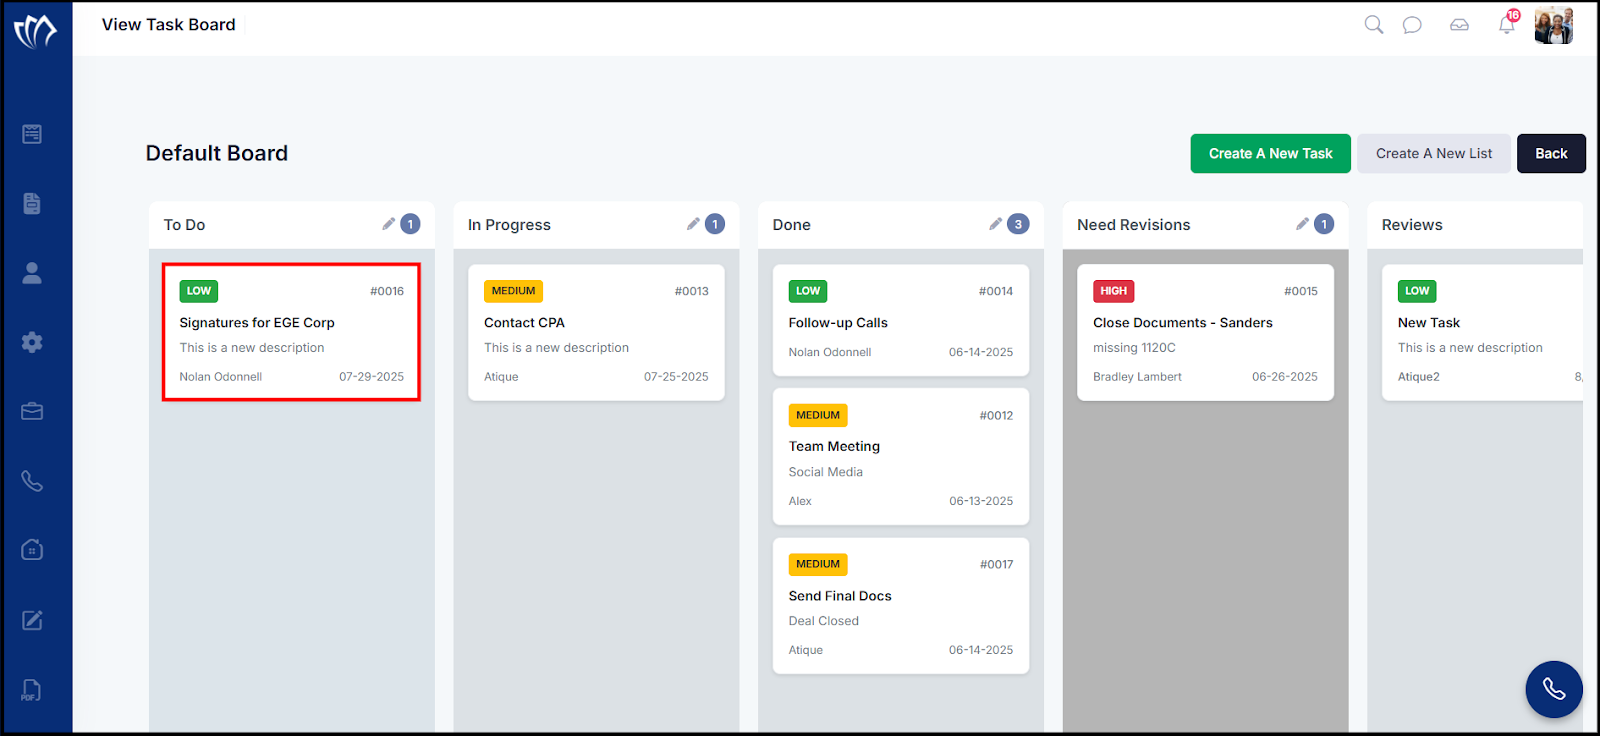
Default Task Board View
The Default Task Board View displays a pre-set collection of task lists such as To Do, In Progress, Done, and Need Revisions that help you organize tasks based on their progress. It provides a centralized space to manage, monitor, and navigate through all assigned work efficiently.
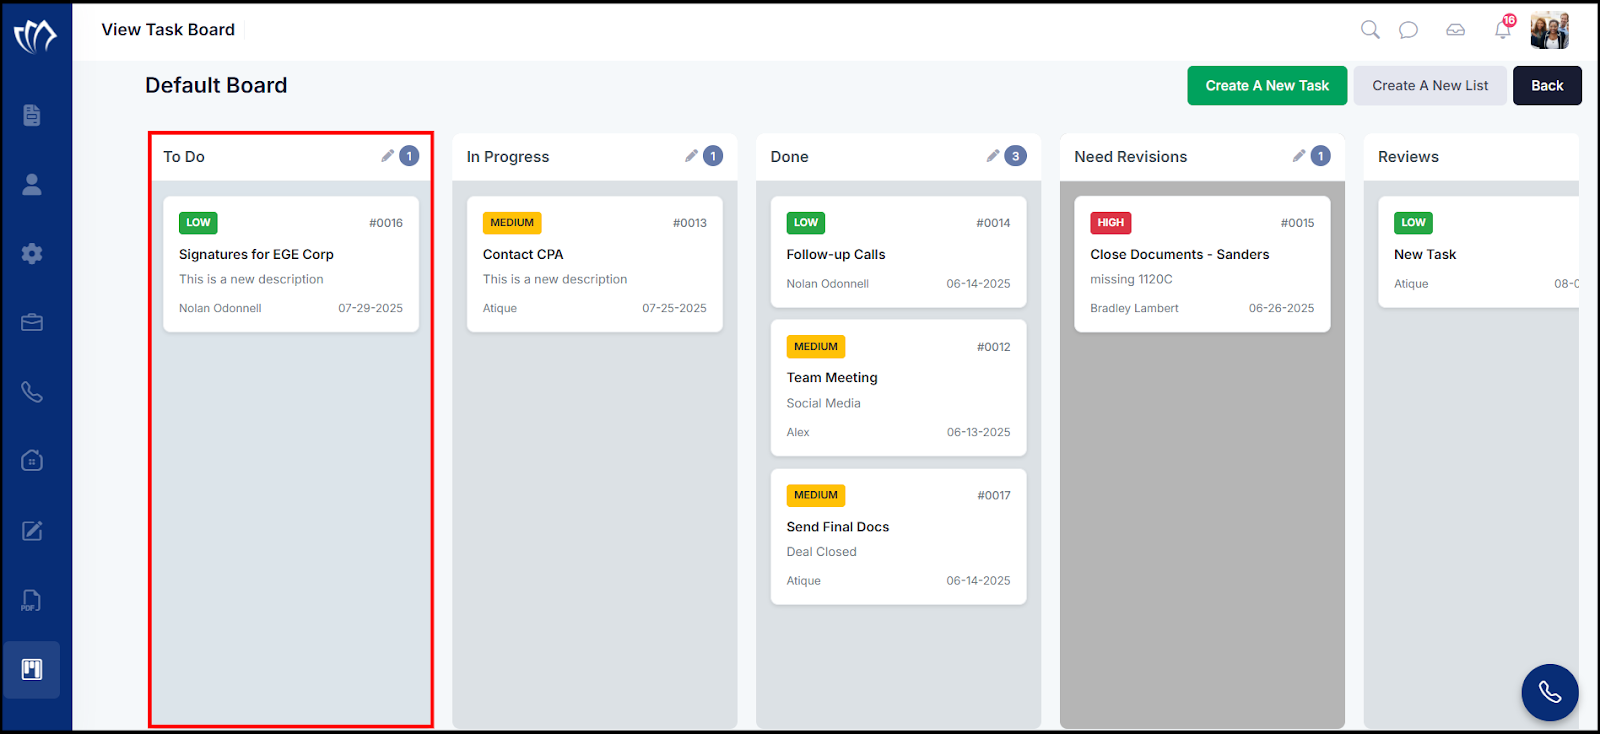
To Do
The Task Board includes a “To Do” section where tasks that are yet to be started are placed. It serves as the initial stage in the workflow, collecting newly assigned or pending tasks.
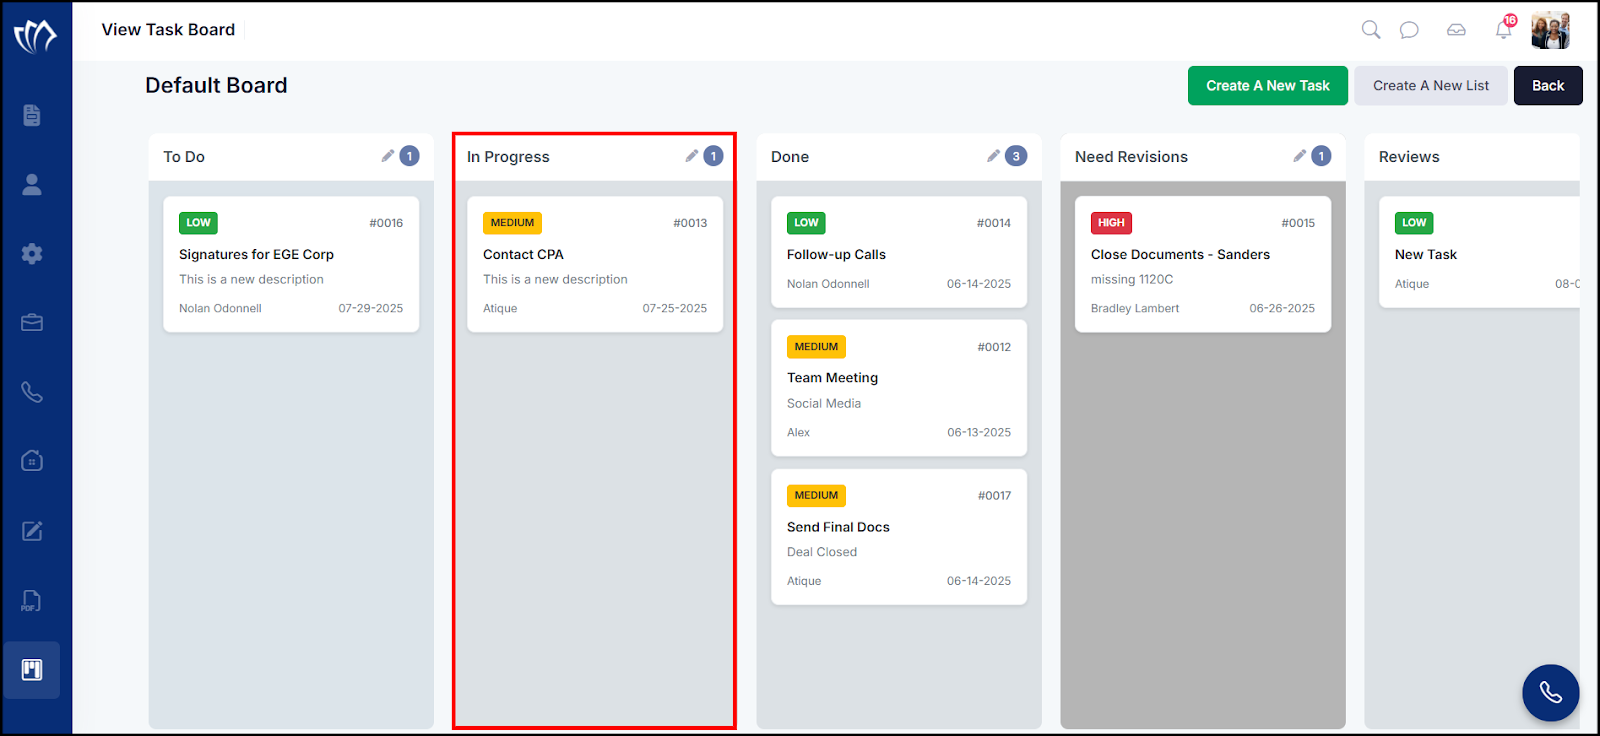
In Progress
The In Progress list on the Task Board contains tasks that are currently being worked on. Moving a task here indicates that it is actively under execution or review.
Done
Completed tasks are moved to the Done list on the Task Board. This list helps maintain a clear record of finished work for reference and reporting.

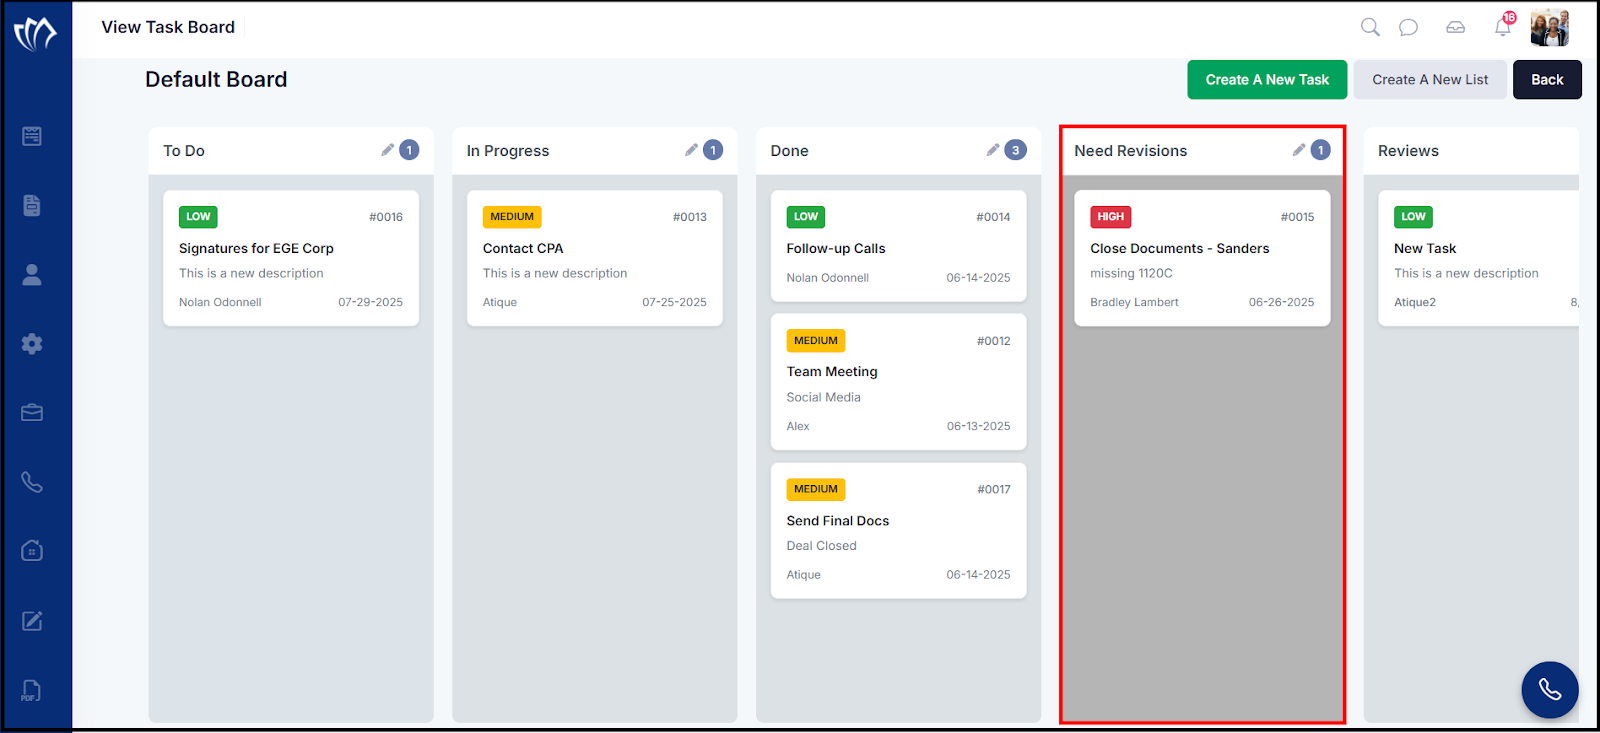
Need Revisions
The Task Board includes a “Need Revisions” section where tasks that require further changes or corrections are placed. It helps ensure that feedback is addressed before tasks can be considered complete.
You can add new lists to the board by clicking the Create A New List button. Once a list is created, it will appear on the Default Board. Tasks can then be added to any of these lists. While creating a task, you can assign it to a specific list by selecting the desired status.
Create a Custom List in the Task Board
You can also create a custom task list within the Task Board to categorize tasks based on your specific workflow. This helps in better organizing, managing, and tracking tasks as per your team’s process.
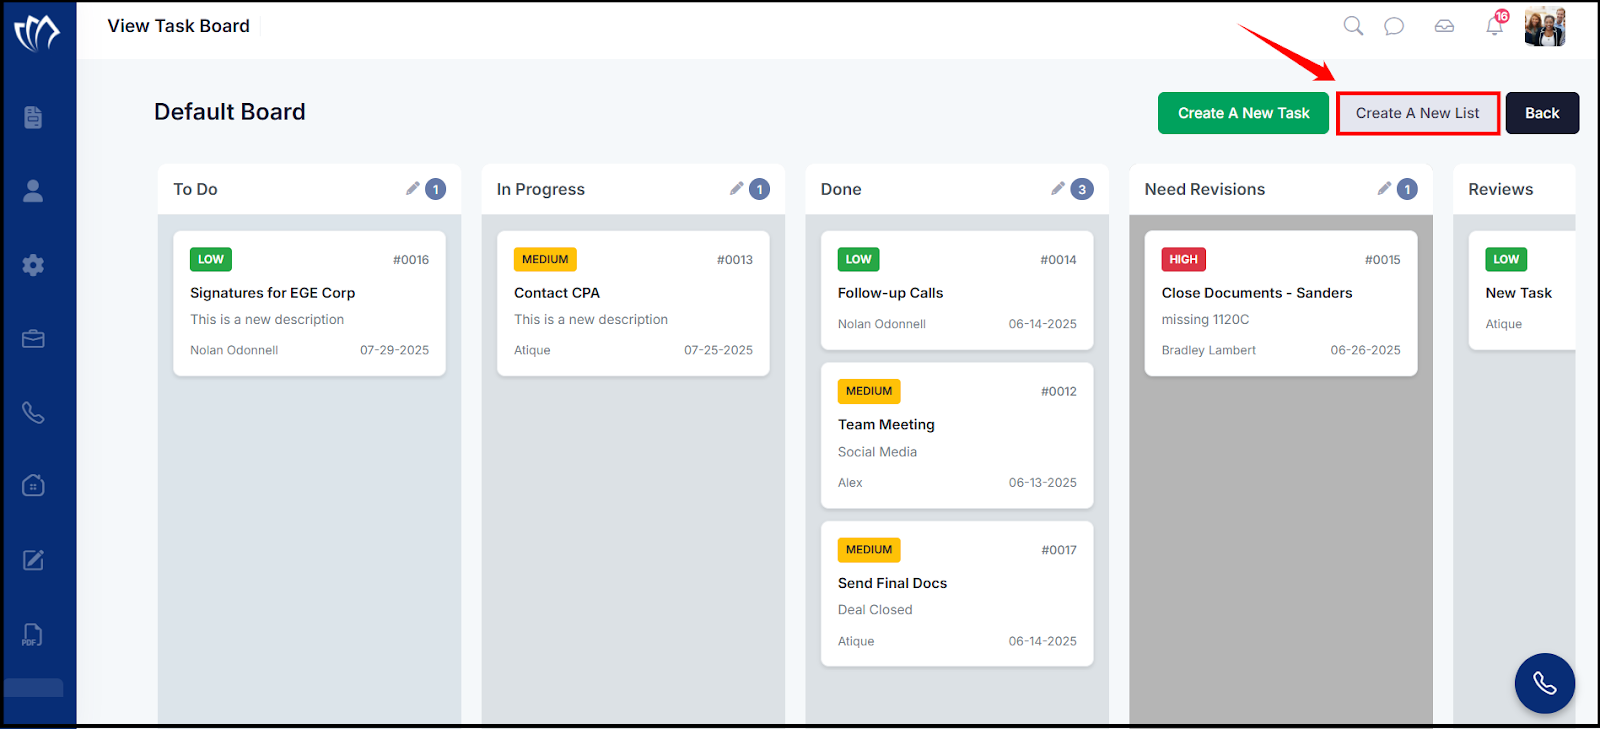
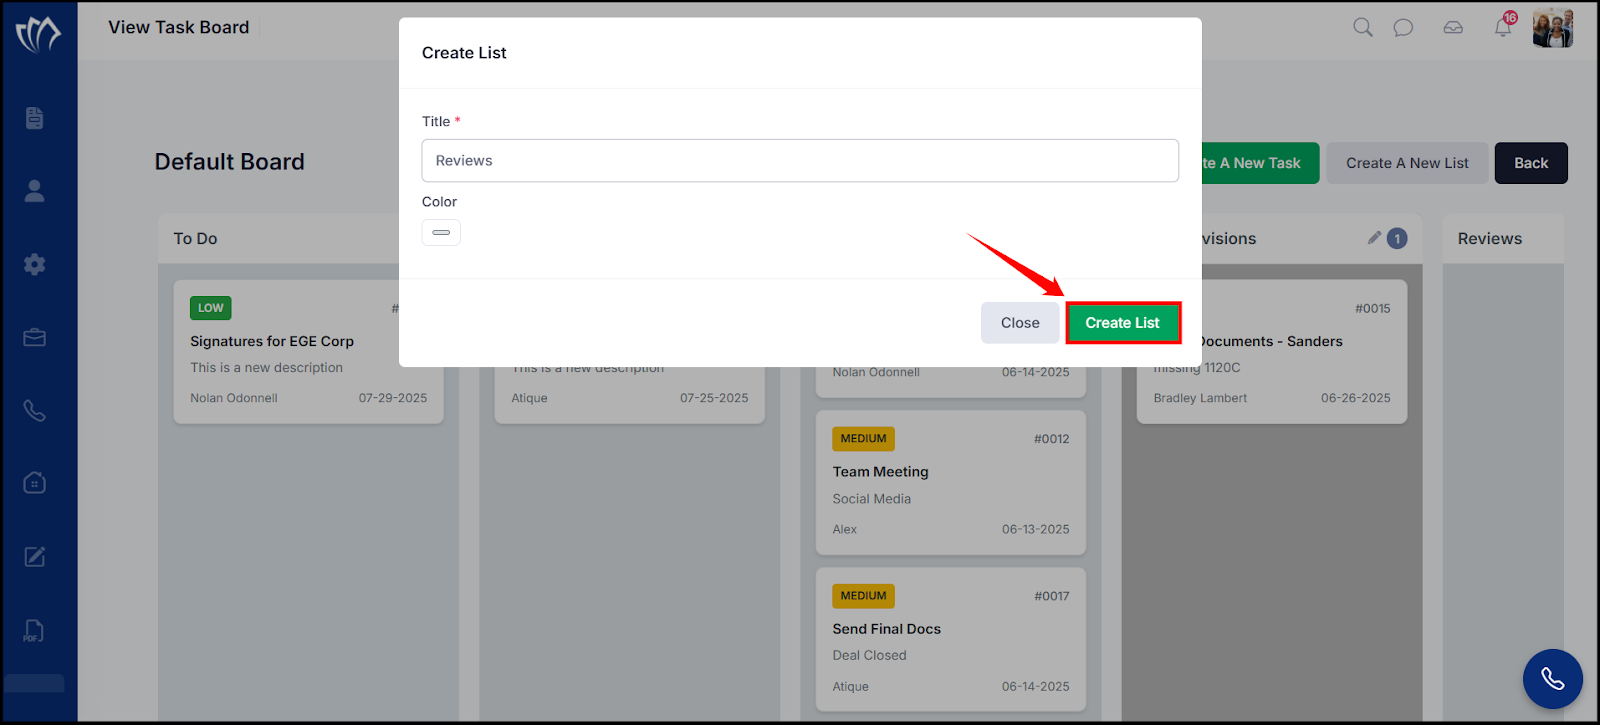
Step 1: Click the “Create A New List” button on the top right of the default task board.
Step 2: The Create List window will appear. Enter the title and select a color to define your new list.
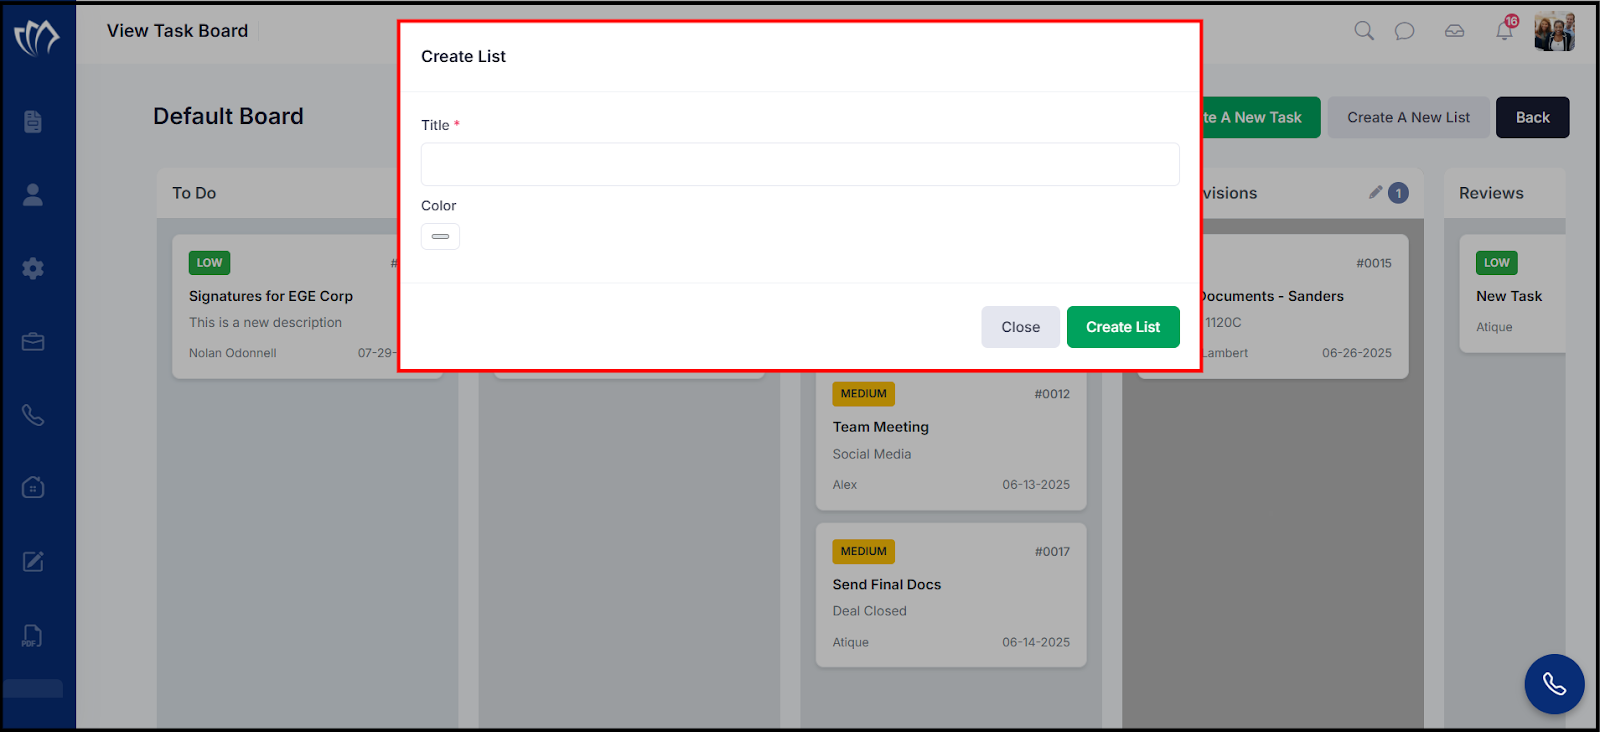
Step 3: After entering the list details, click the Create List button to add the new task list to the board.
Step 4: After clicking on the “Create List” button, a success message will flash in the top-right corner of the screen.
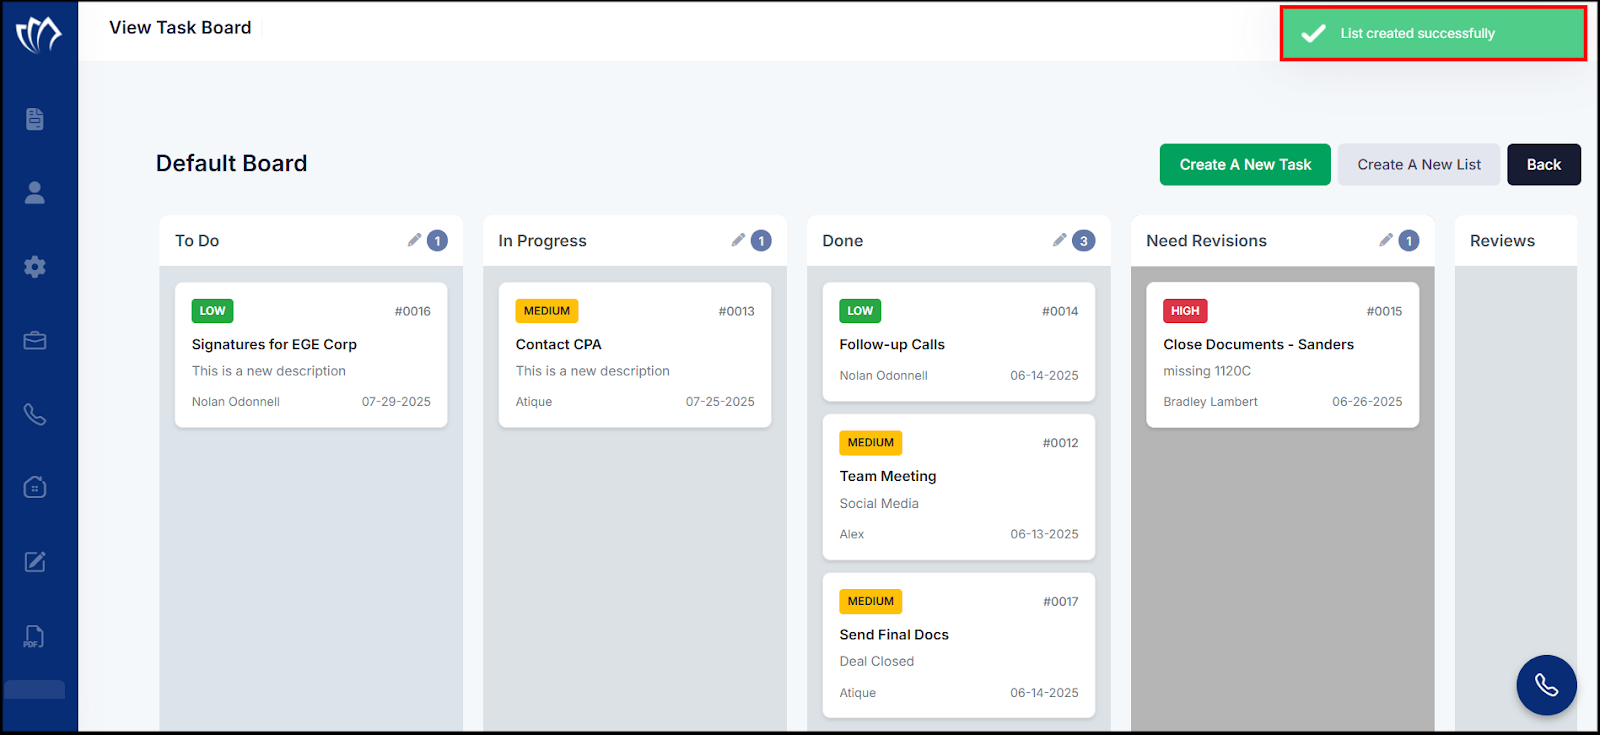
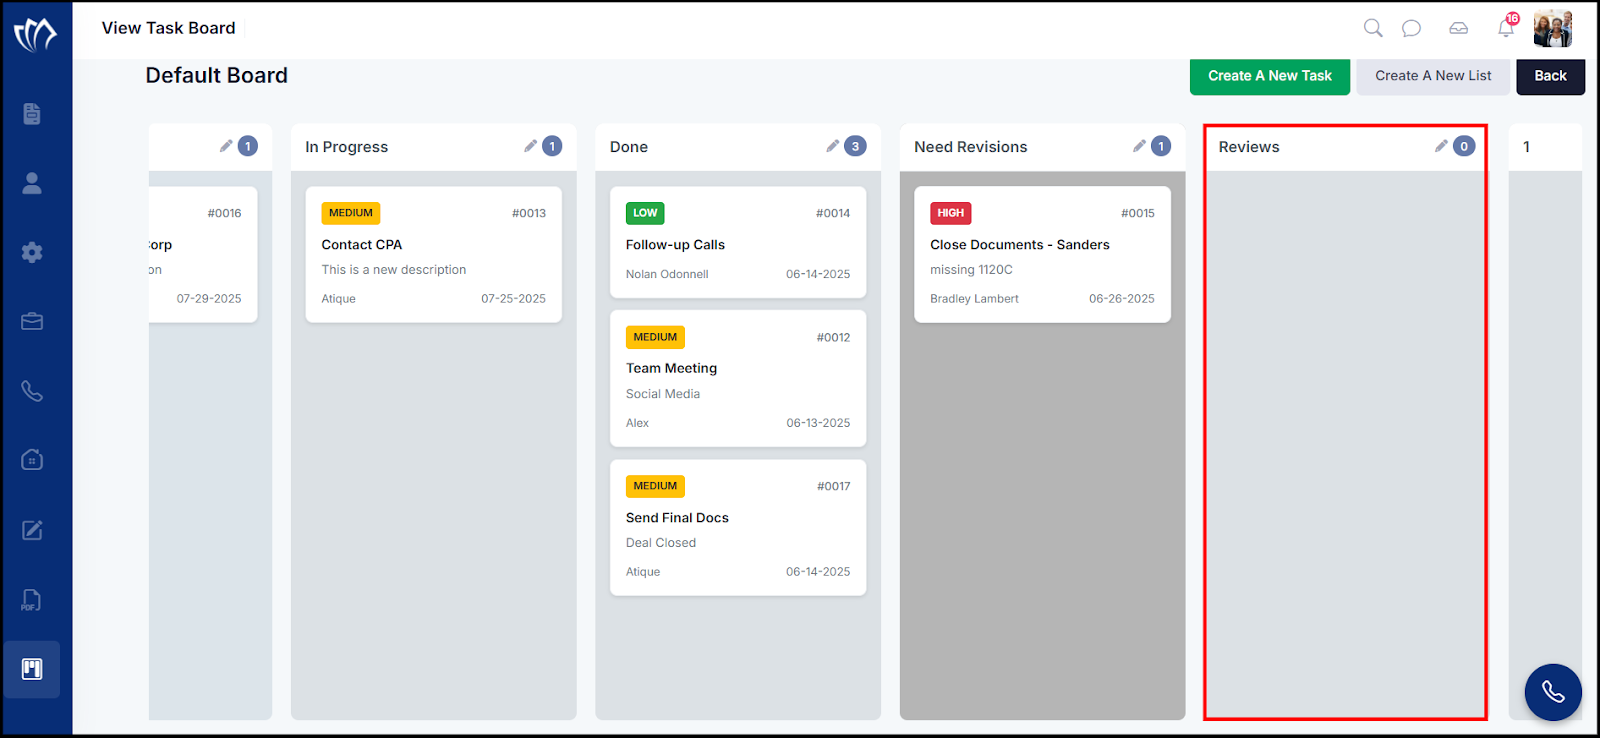
After creating the list, it will be added to the Task Board.
Create A New Task
Creating a new task helps you assign work under specific lists on the Default Board, making it easier to organize responsibilities, set deadlines, and monitor progress effectively.
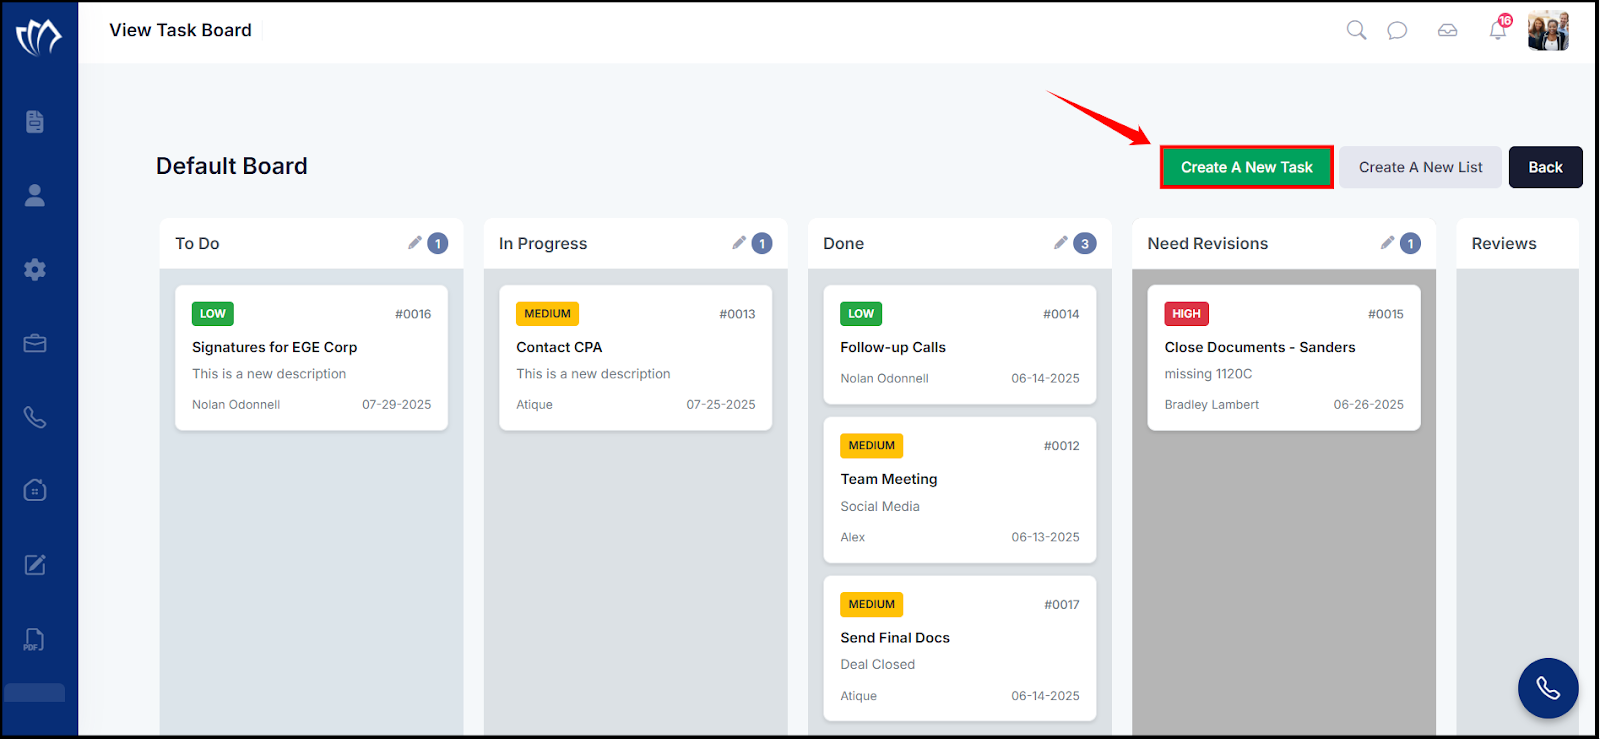
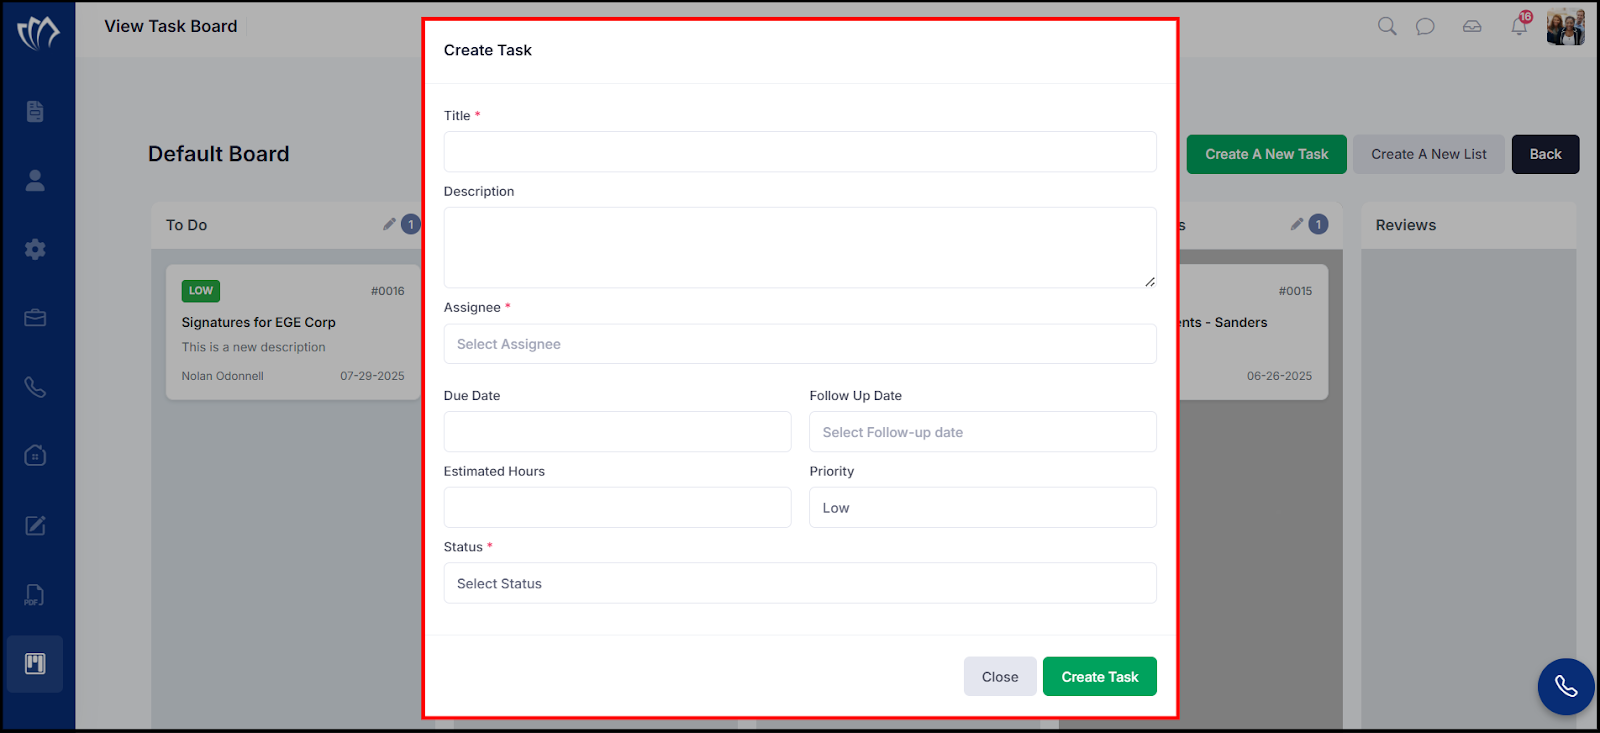
Step 1: Click on the “Create A New Task” button to begin creating a new task.
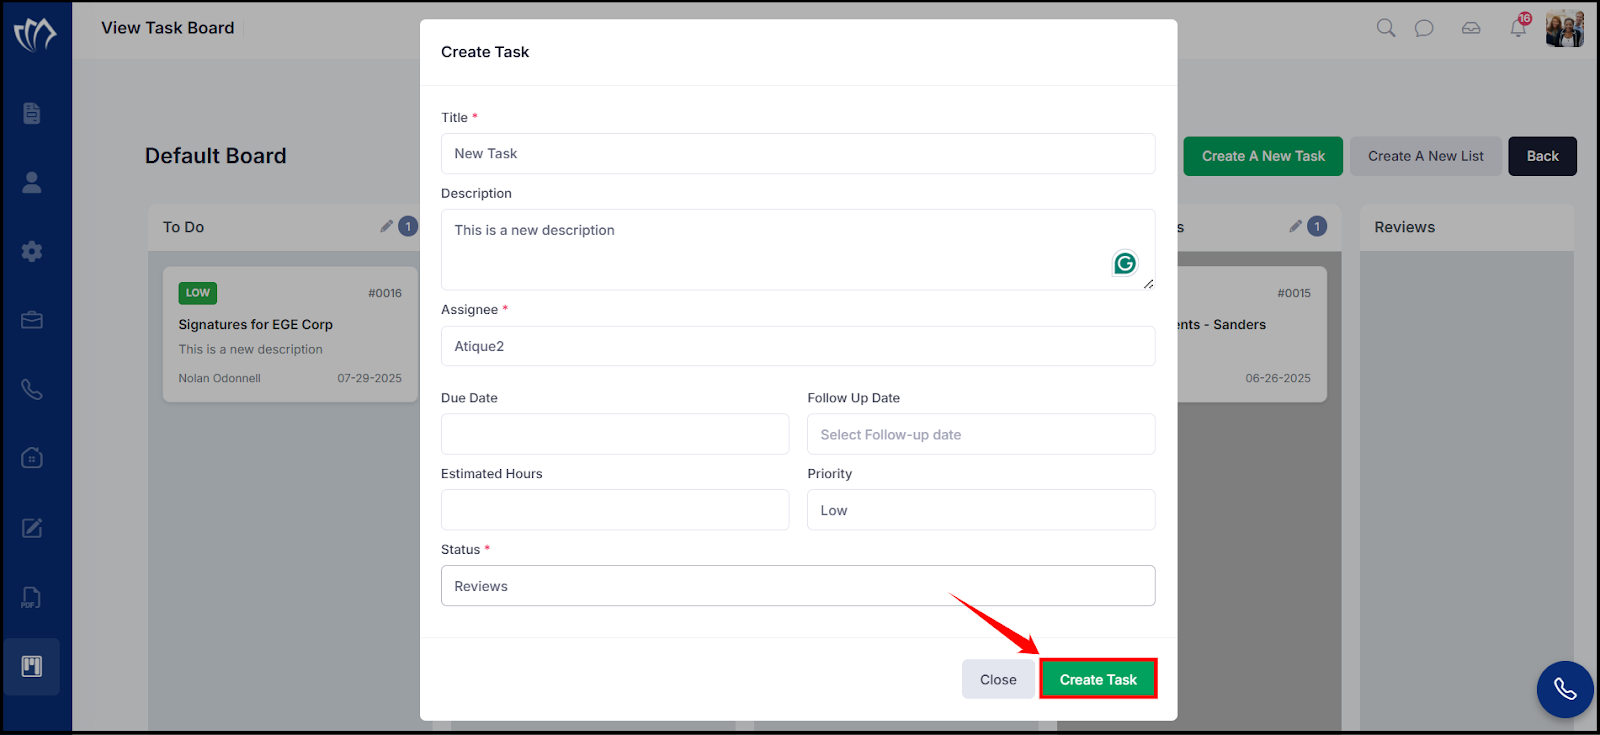
Step 2: A “Create Task” window will appear. Enter the required details such as title, description, assignee, customer, due date, estimated hours, priority, and status.
Step 3: After entering all necessary fields, click the Create Task button to save the new task.
Step 4: After clicking on the “Create Task” button, a success message will flash on the top-right corner of the screen.
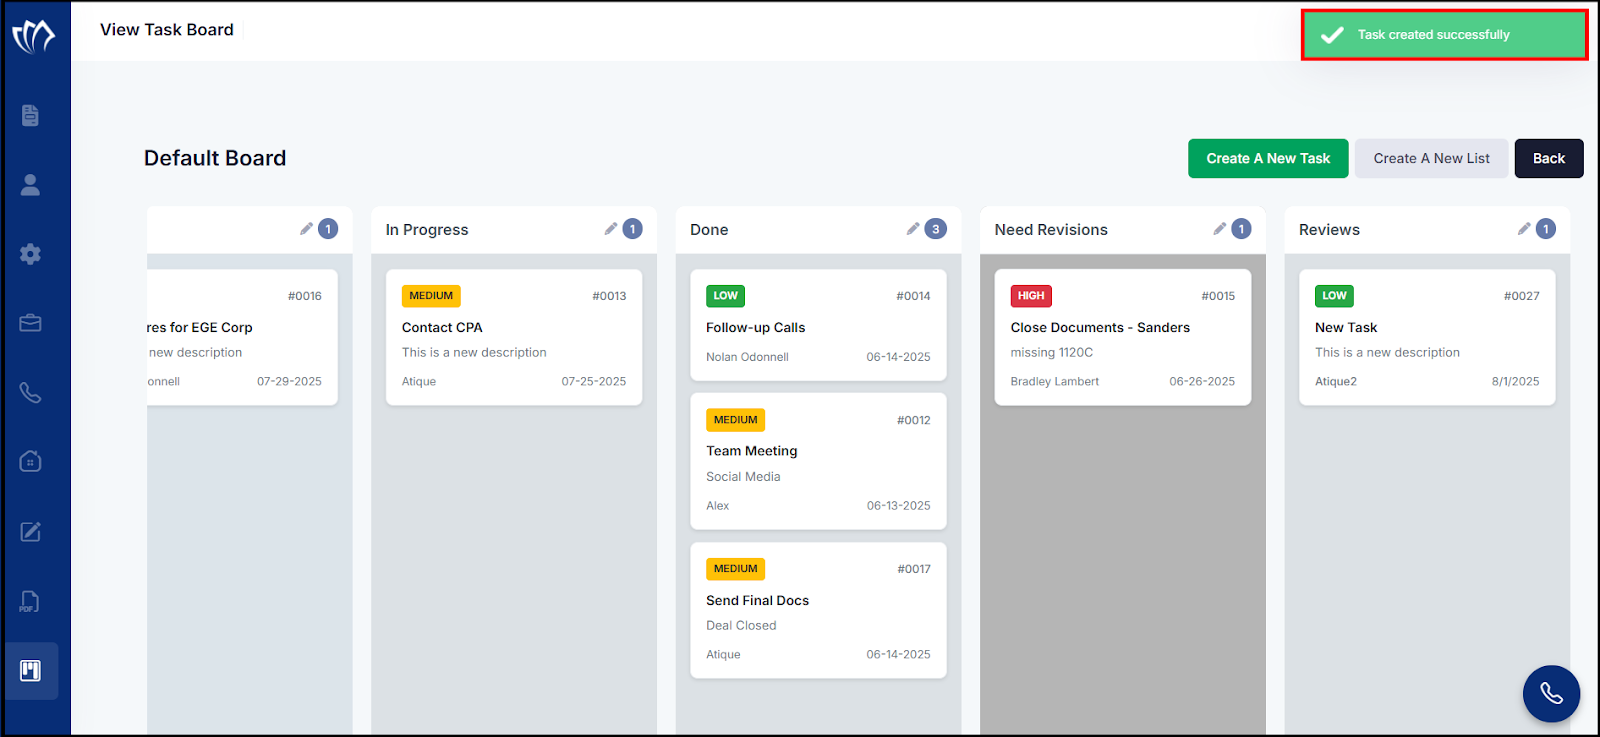
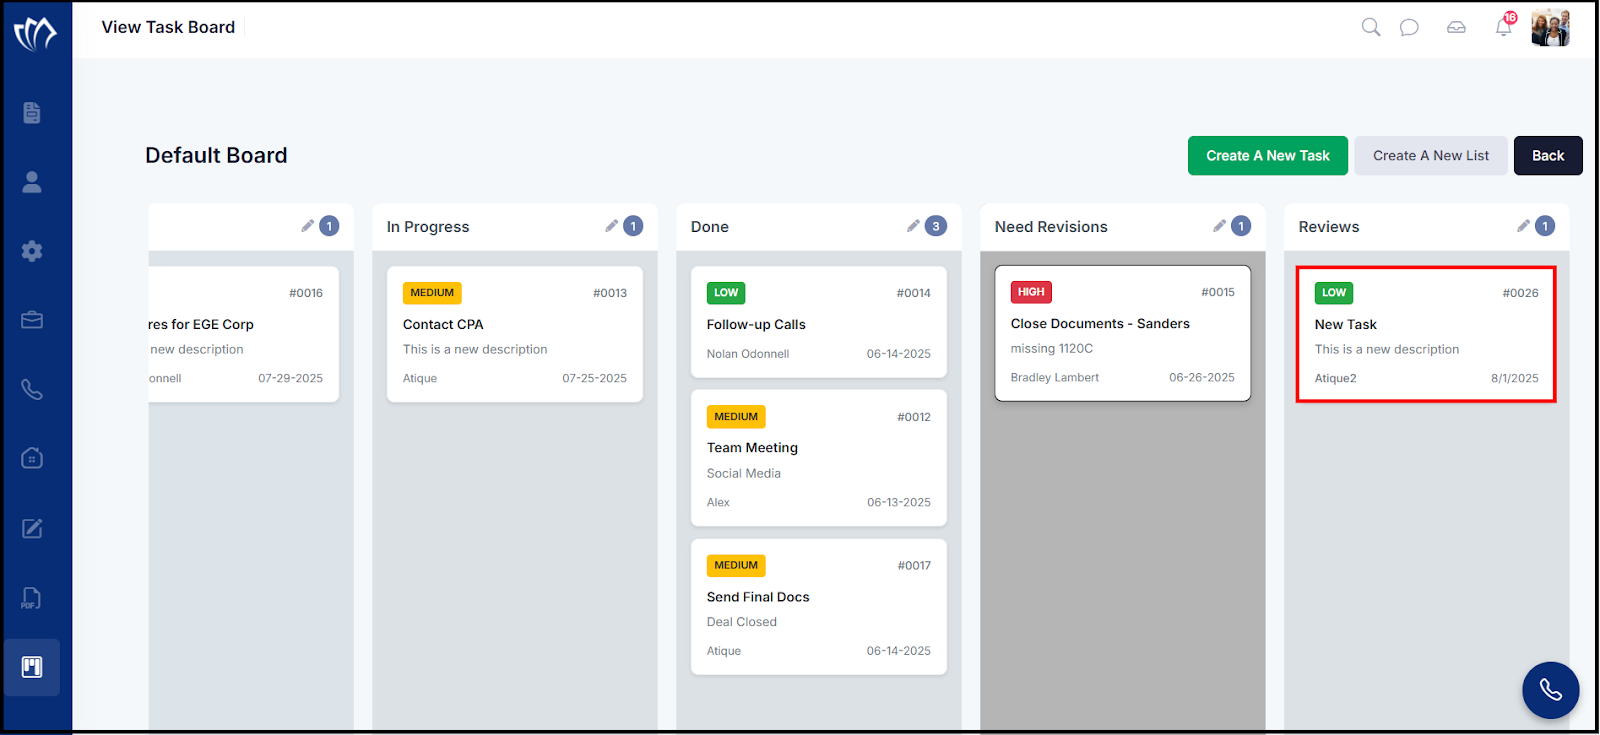
After creating the task, it will appear in the selected list.
View Task
Viewing tasks lets you check details like priority, due dates, and assignees, helping you track progress and manage work efficiently.
Step 1: Click on the task within any list to view its complete details and status.
Step 2: The task details window will appear, displaying information such as priority, due date, follow-up date, estimated hours, assigned employee, customer, description, and activity comments.

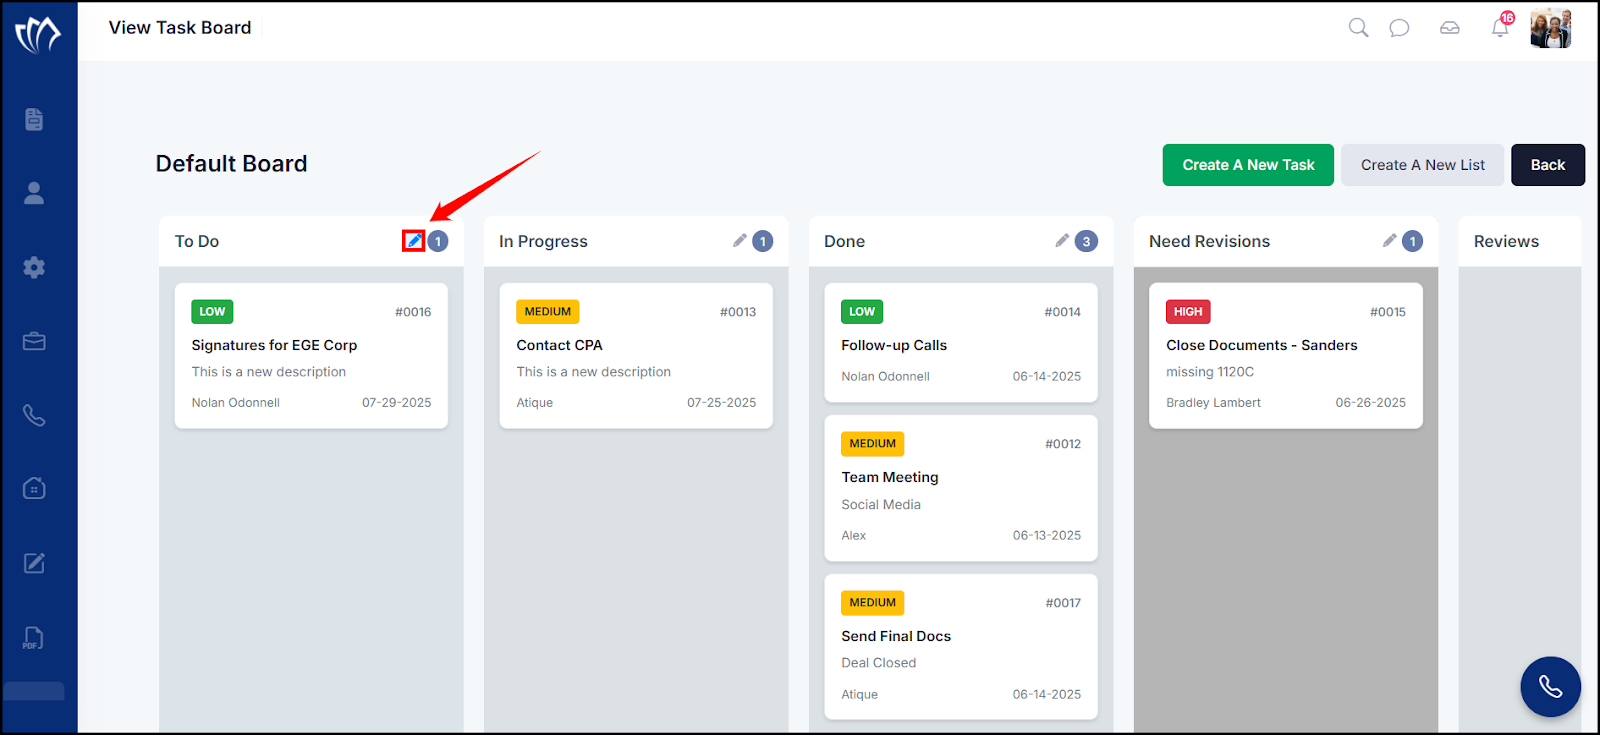
Edit List
Edit existing task lists by updating their color to better align with your workflow and keep your Task Board organized.
Step 1: Click on the edit icon located at the top-right corner of the list you want to modify.
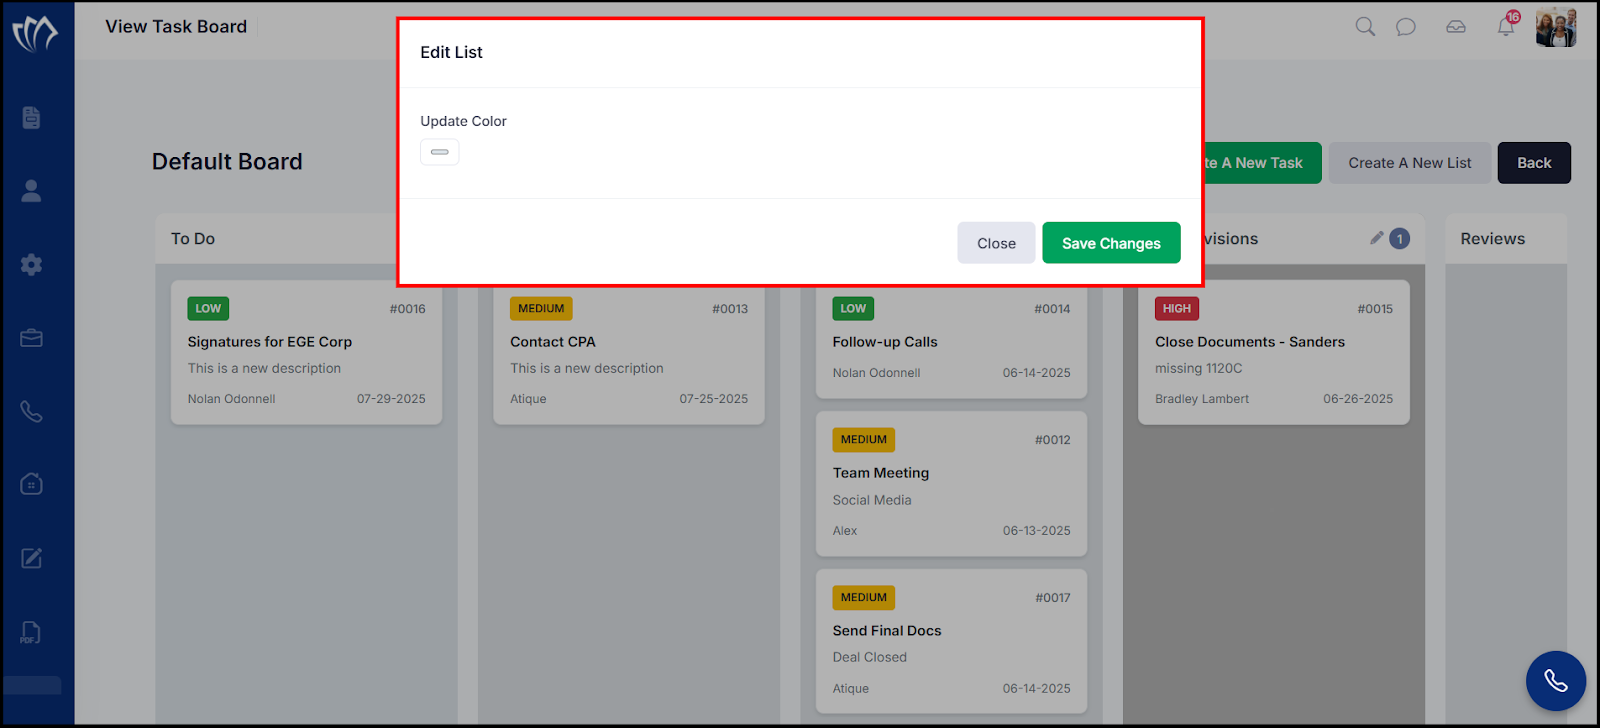
Step 2: The Edit List window will appear. Here, you can make changes such as updating the list color.
Step 3: Click the Save Changes button to apply the changes to your list.
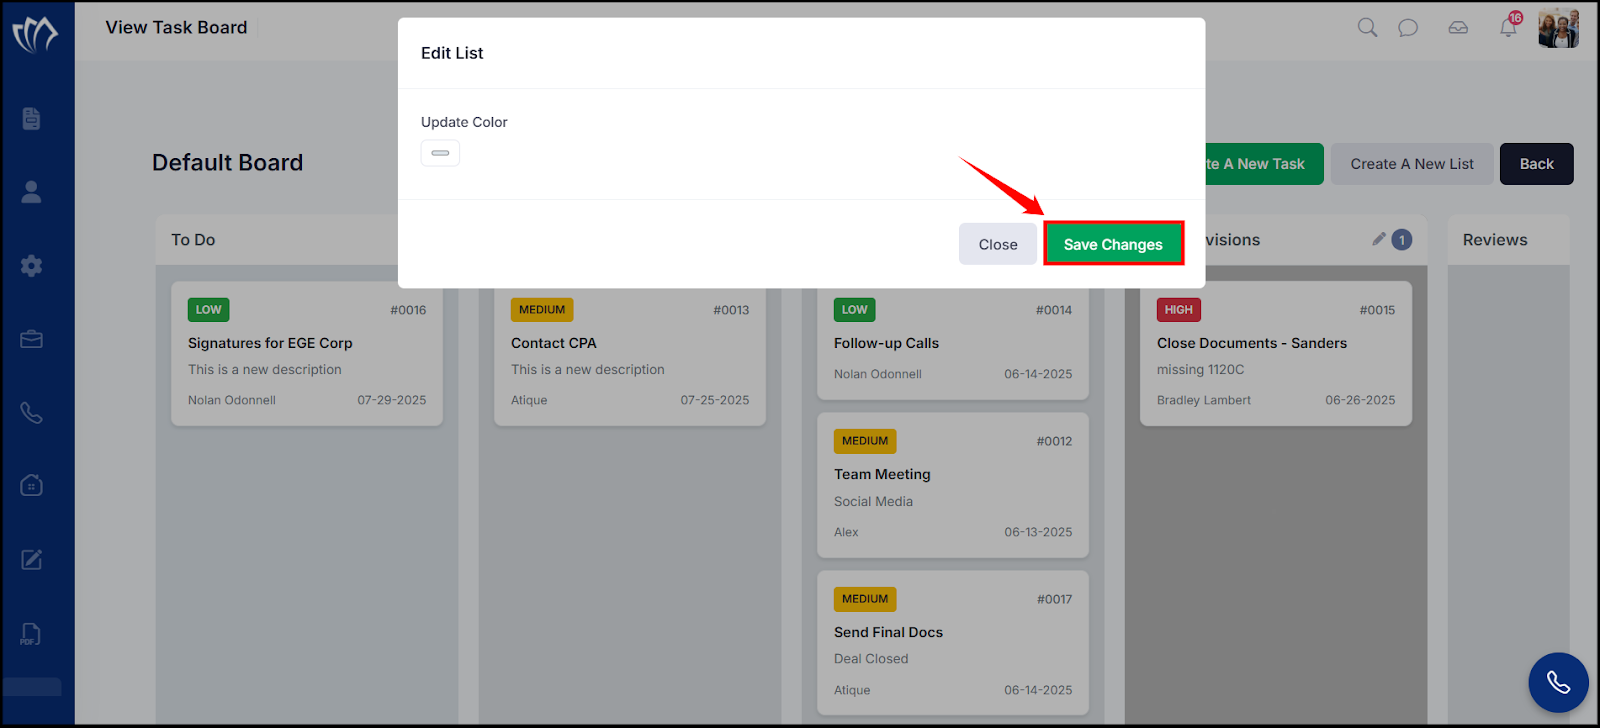
After editing the list, the changes will be reflected on the Task Board.