Cloning an invoice allows you to quickly create a new invoice using the details of an existing one. This is especially useful when billing repeat customers or reusing similar invoice structures. Duplicating the original invoice, you save time and reduce manual entry errors while maintaining consistency across your invoices.
Follow the step-by-step guide below to clone the invoices on the TAAX Pro platform.
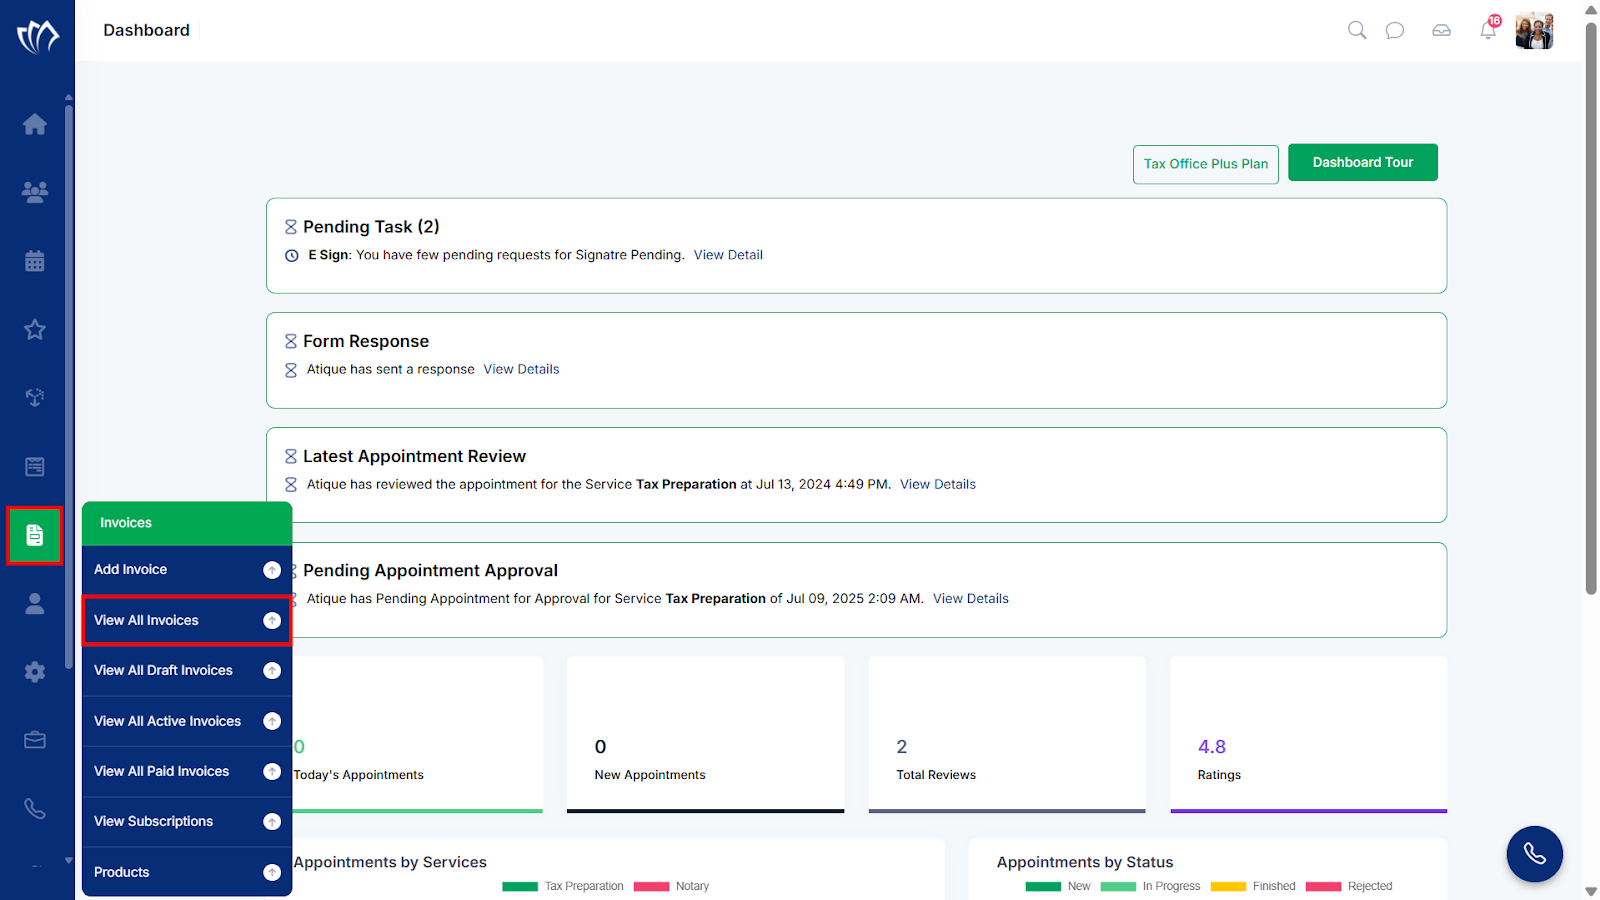
Step 1: Navigate to the left side panel, hover over the “Invoices” section, then click on the “View All Invoices” option.
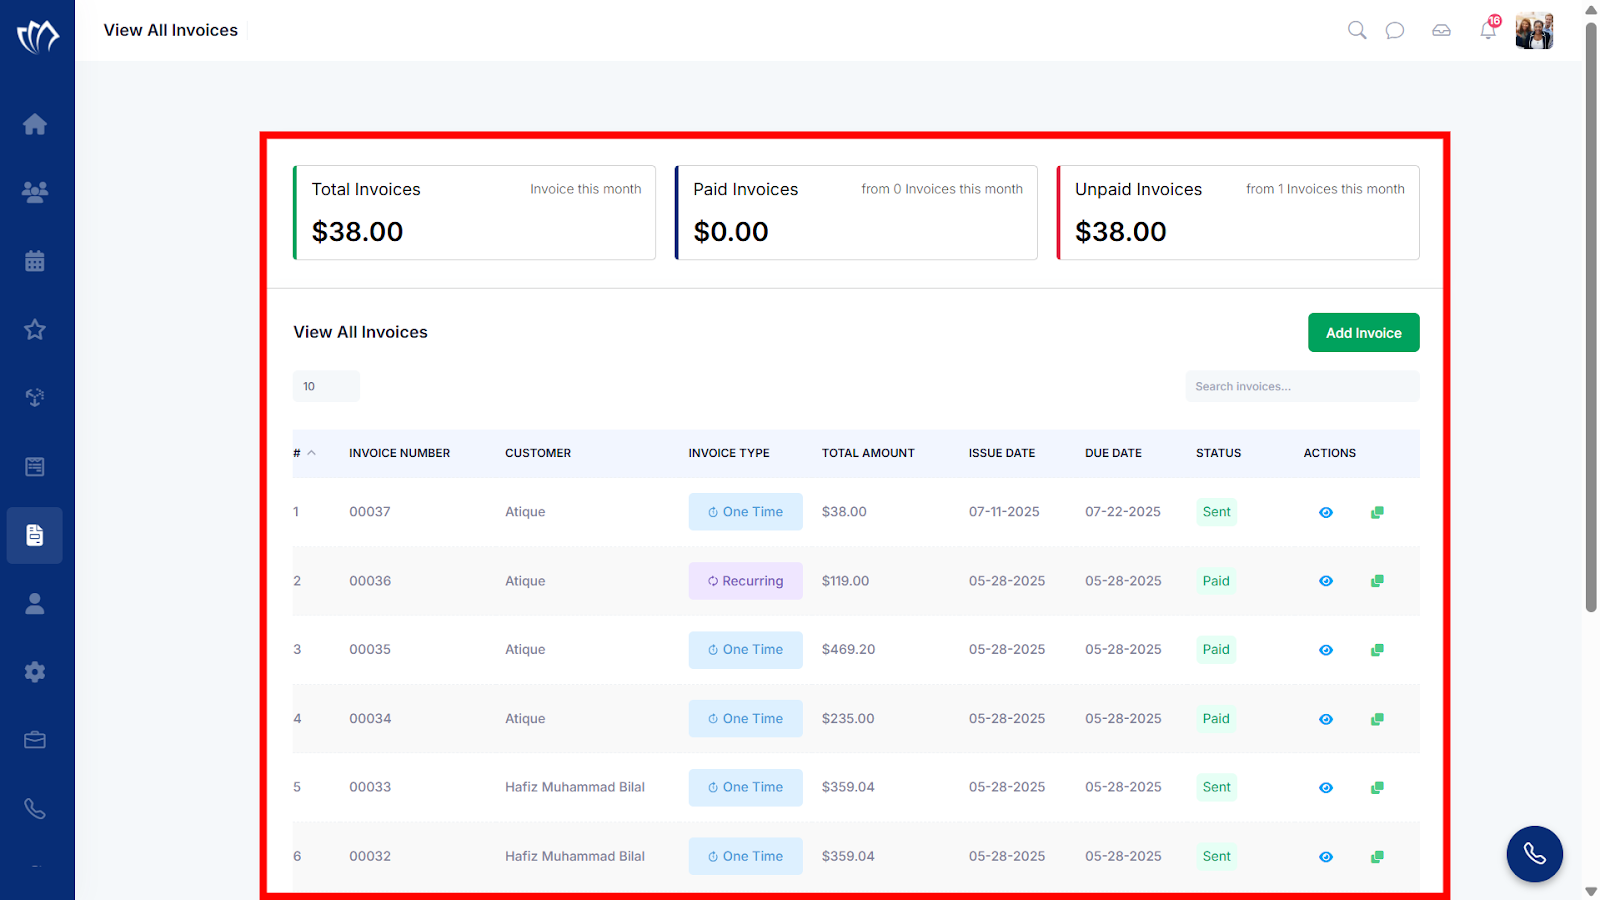
Step 2: A new screen will open with the details of all previous invoices, where you can also add a new invoice.
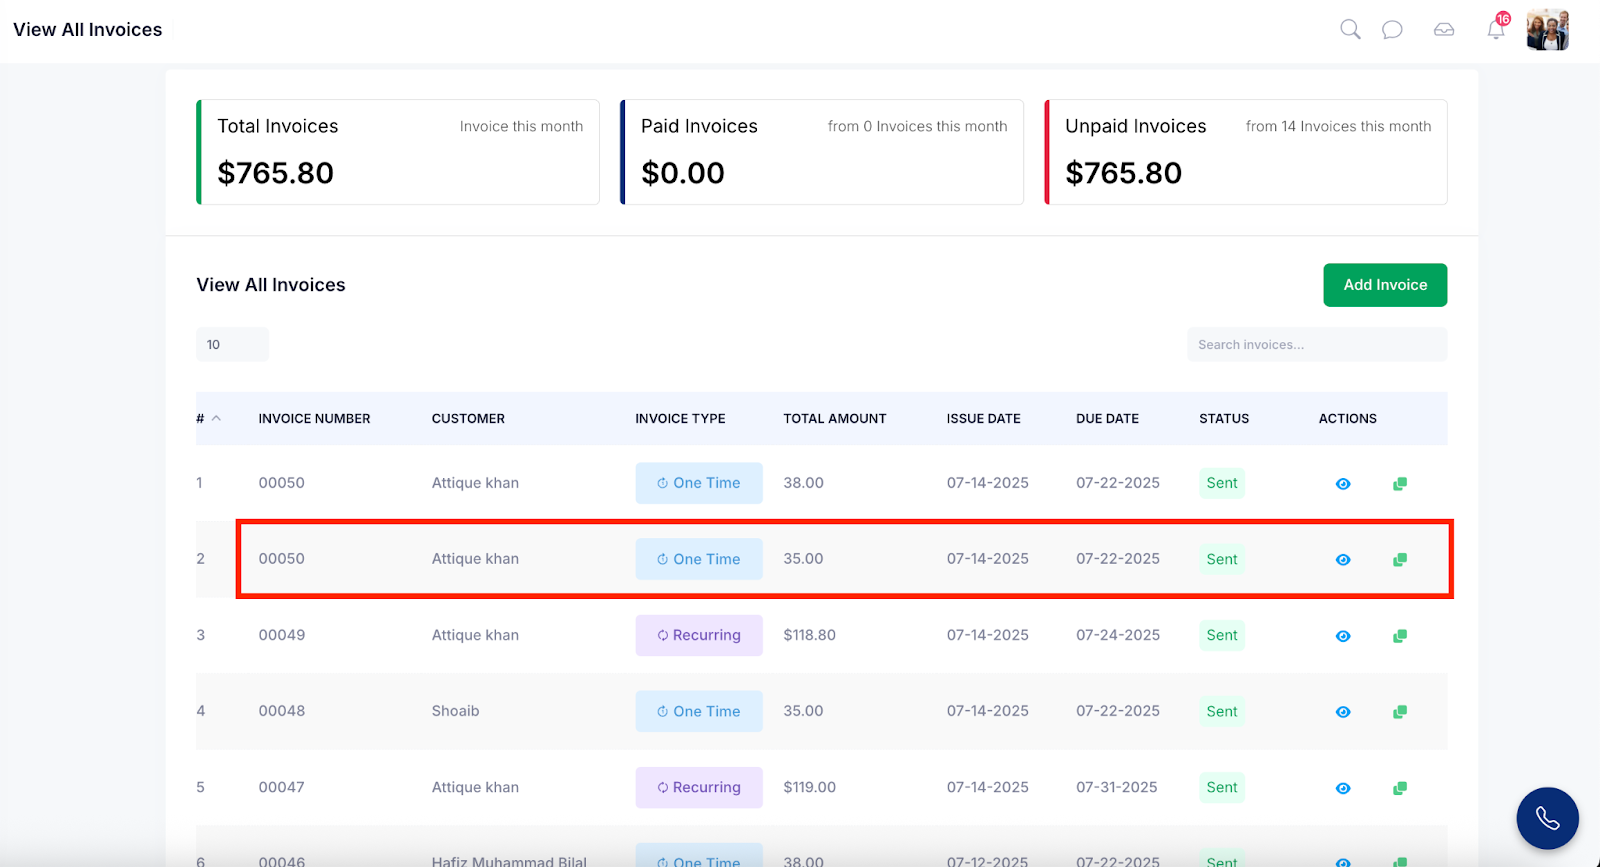
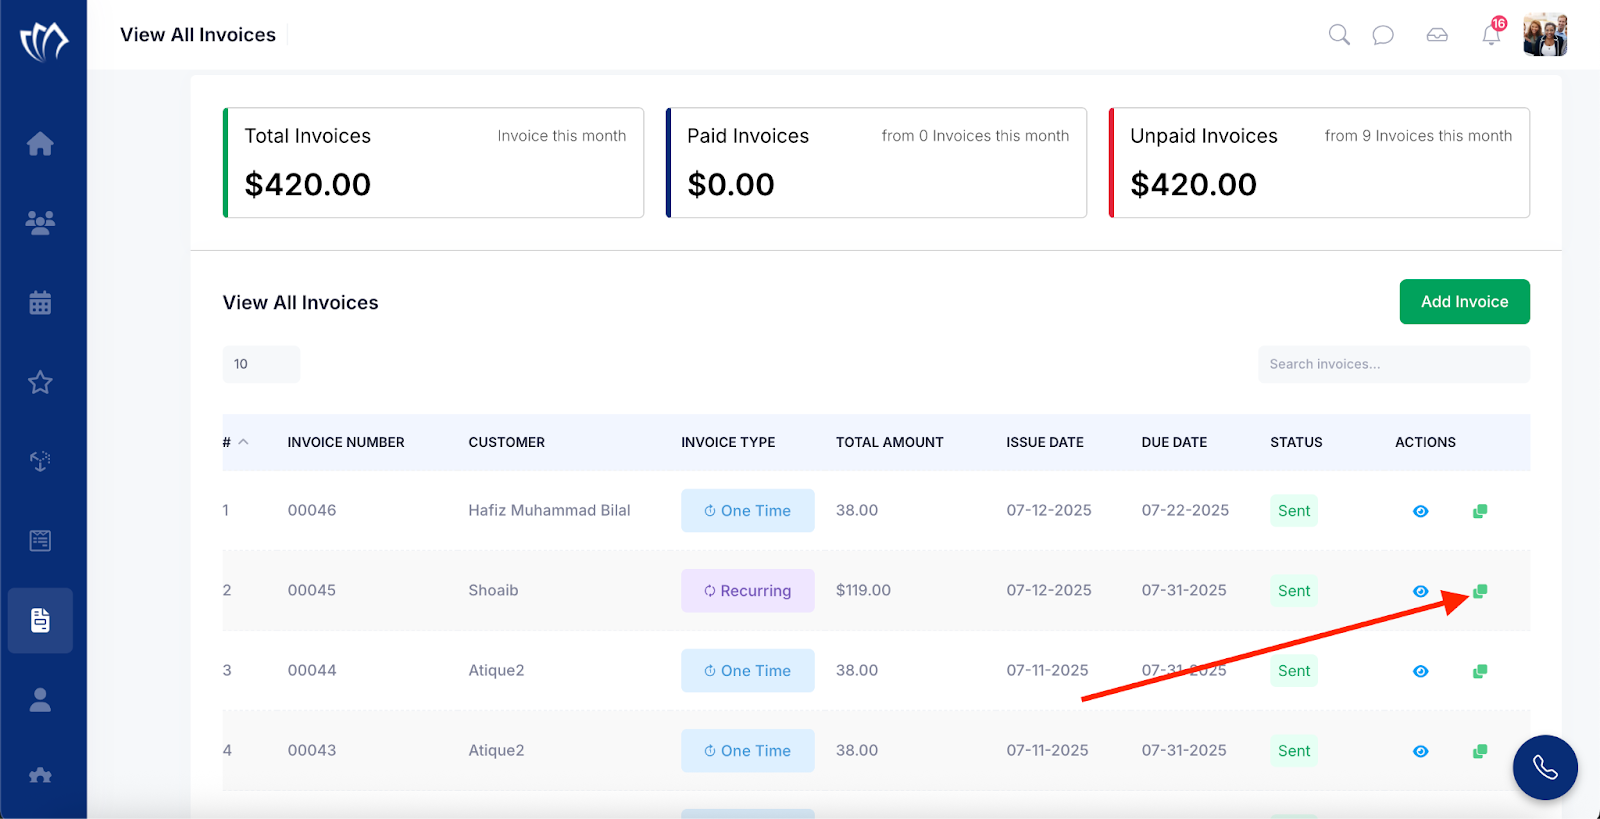
Step 3: Click the copy (clone) iconnext to any of the invoices you wish to clone.
Step 4: The Clone Invoice screen will appear, allowing you to review and confirm the invoice details. You can either keep the same values or edit any of the following information as per your new invoice requirement.
| Fields | Description |
|---|---|
| Invoice Reference | Enter a unique identifier or label for the invoice to help with internal tracking or linking to a specific job/order. |
| Business Location | Select the business location that is issuing the invoice, which may affect tax or compliance settings. |
| Address | Provide the billing or service address associated with the client receiving the invoice. |
| Issue Date | Set the date on which the invoice is generated or sent to the client. |
| Due Date | Specify the payment deadline based on the agreed terms with the client. |
| Invoice Type (One Time, Recurring) | Choose whether the invoice is a one-time charge or part of a recurring billing schedule. |
| Cancel After Cycles | Define how many billing cycles the recurring invoice should run before it automatically stops. |
| Create (add) New Product | Add a new product or service line item by entering the Title (name), Unit Price, Quantity, Tax (%), Amount, and Total (Including Tax). |
| Add Discount (Flat Amount, Percentage) | Apply a discount to the invoice as either a flat amount or a percentage of the subtotal. |

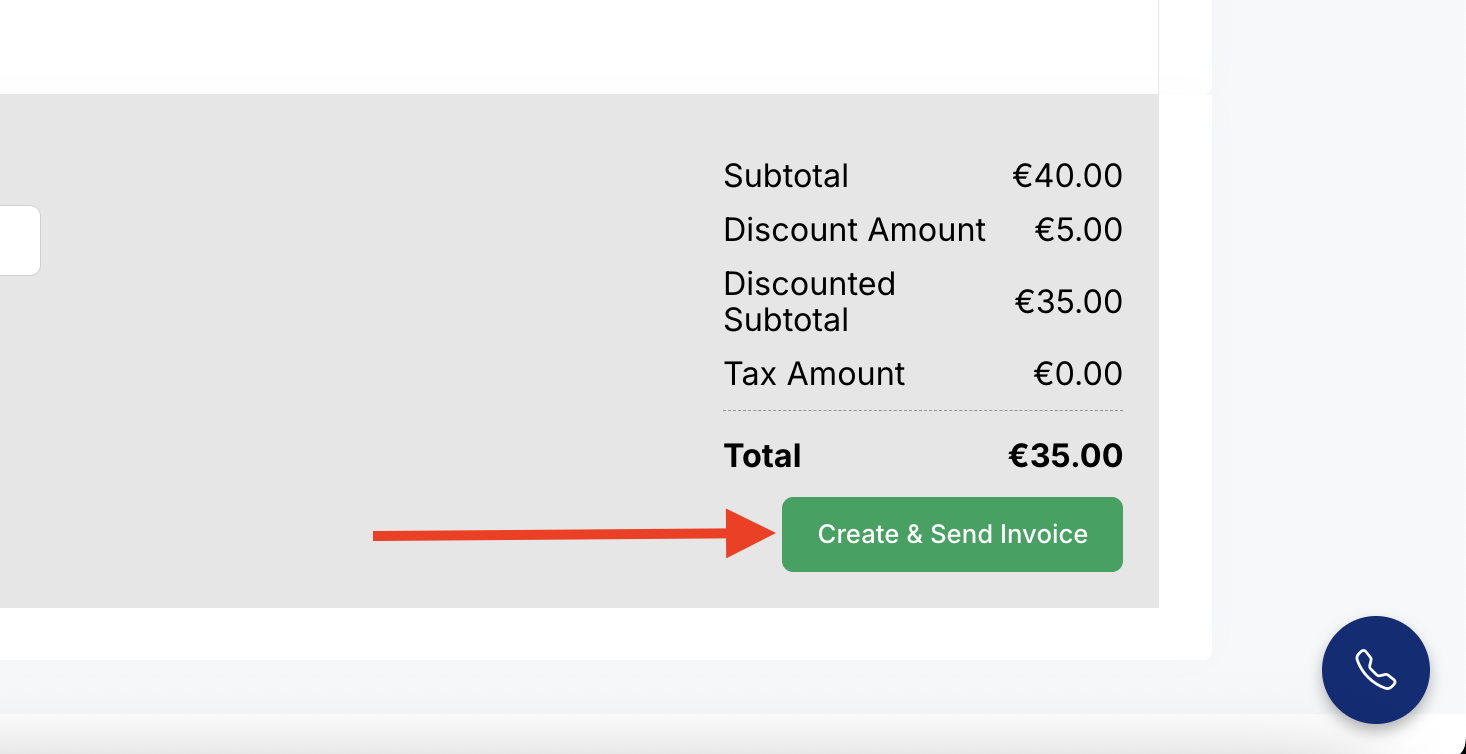
Step 5: After reviewing and updating the invoice details, click the Create & Send Invoice button to proceed.
Note: When cloning an invoice, you cannot save the cloned invoice as a draft.
Once the invoice is successfully cloned, it will appear on the View All Invoices screen with the status set to “Sent.”