You can structure and organize your business operations by creating and maintaining different departments, such as Sales, Support, Accounting, and more. Each department can be associated with specific users, roles, or phone extensions, making it easier to manage team responsibilities and streamline communication across your organization.
You can create new departments, mark them as Active or Inactive, and edit department names as needed to reflect changes in your business setup.
Follow the step-by-step guide below to manage the departments on the TAAX Pro platform.
Create Department
The Create Department allows you to add a new department to your system.
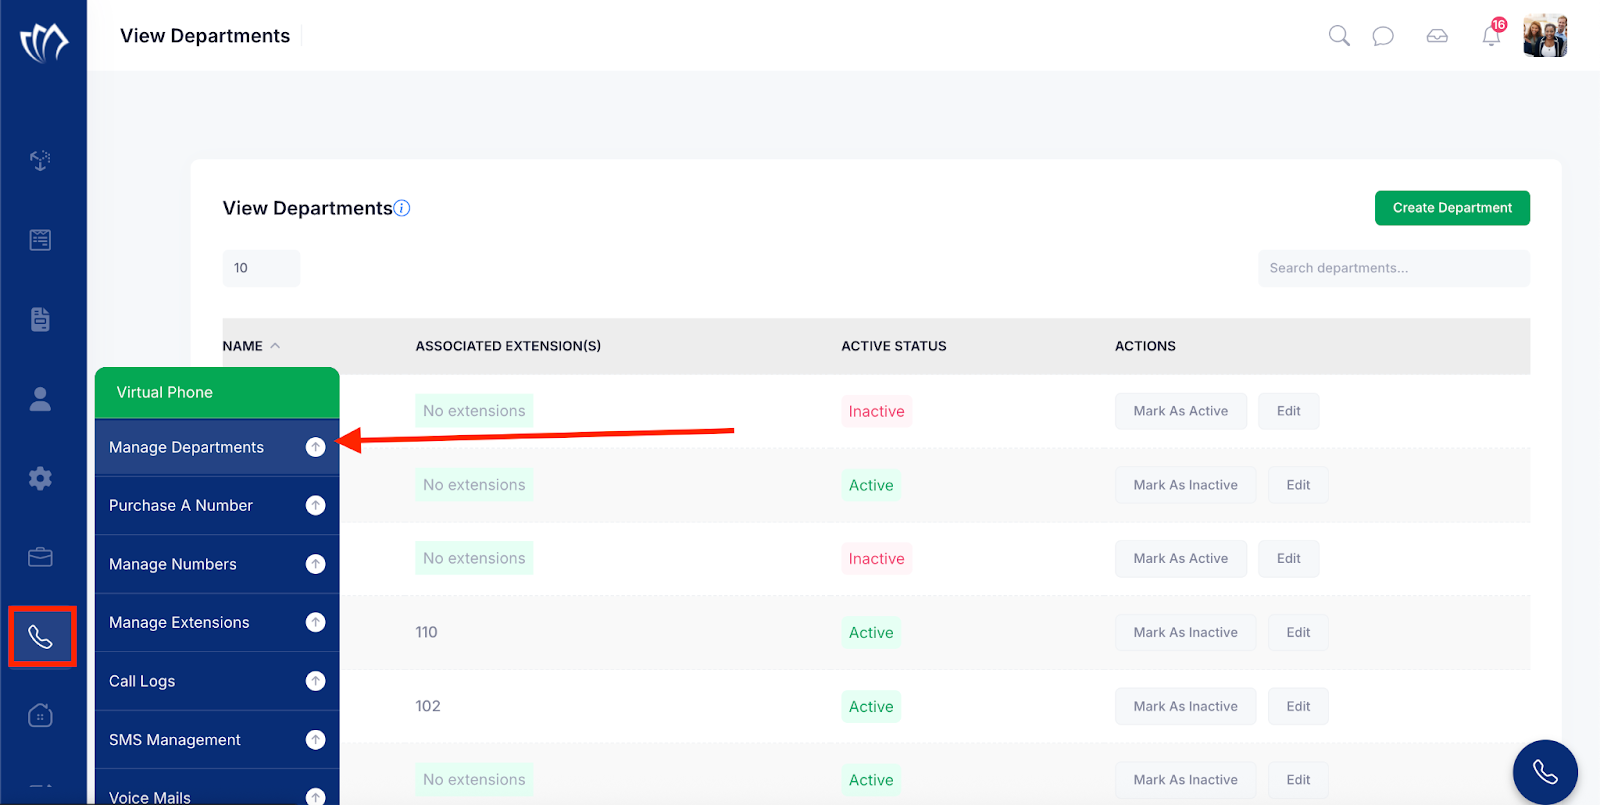
Step 1: Navigate to the left side panel, hover over the “Virtual Phone” section, then click on the “Manage Departments” option.

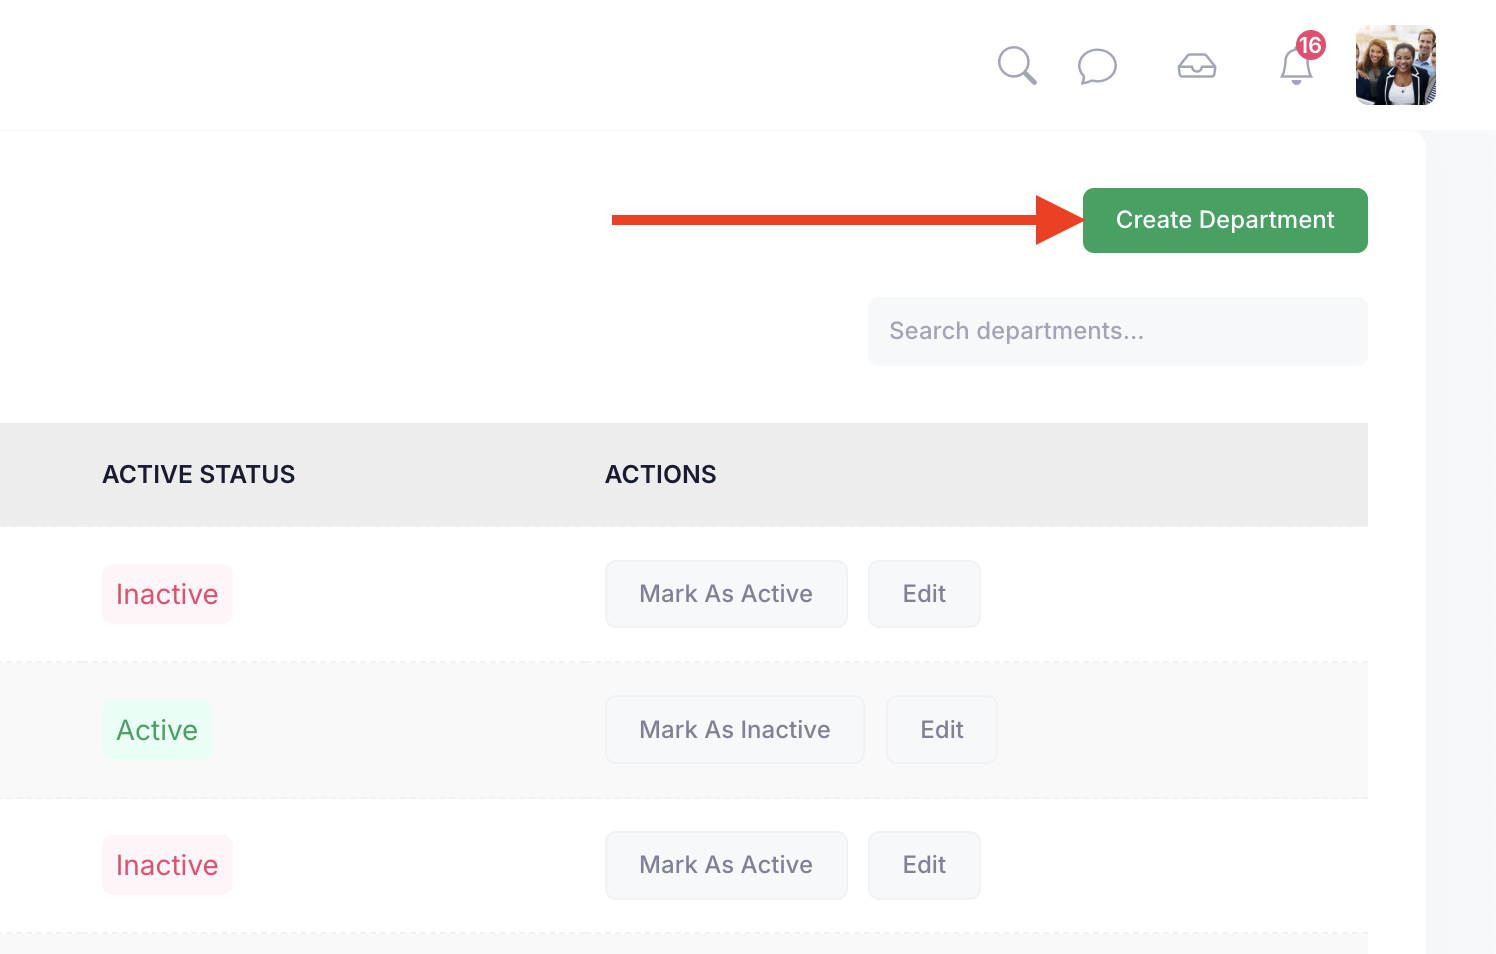
Step 2: The Manage Departments screen will appear, showing a list of all existing departments in the system. To add a new department, click the Create Department button and proceed with entering the required details.
Step 3: A modal will appear at the top of the screen, prompting you to enter the name of the department you want to create. Type the desired department name into the Name field to proceed.
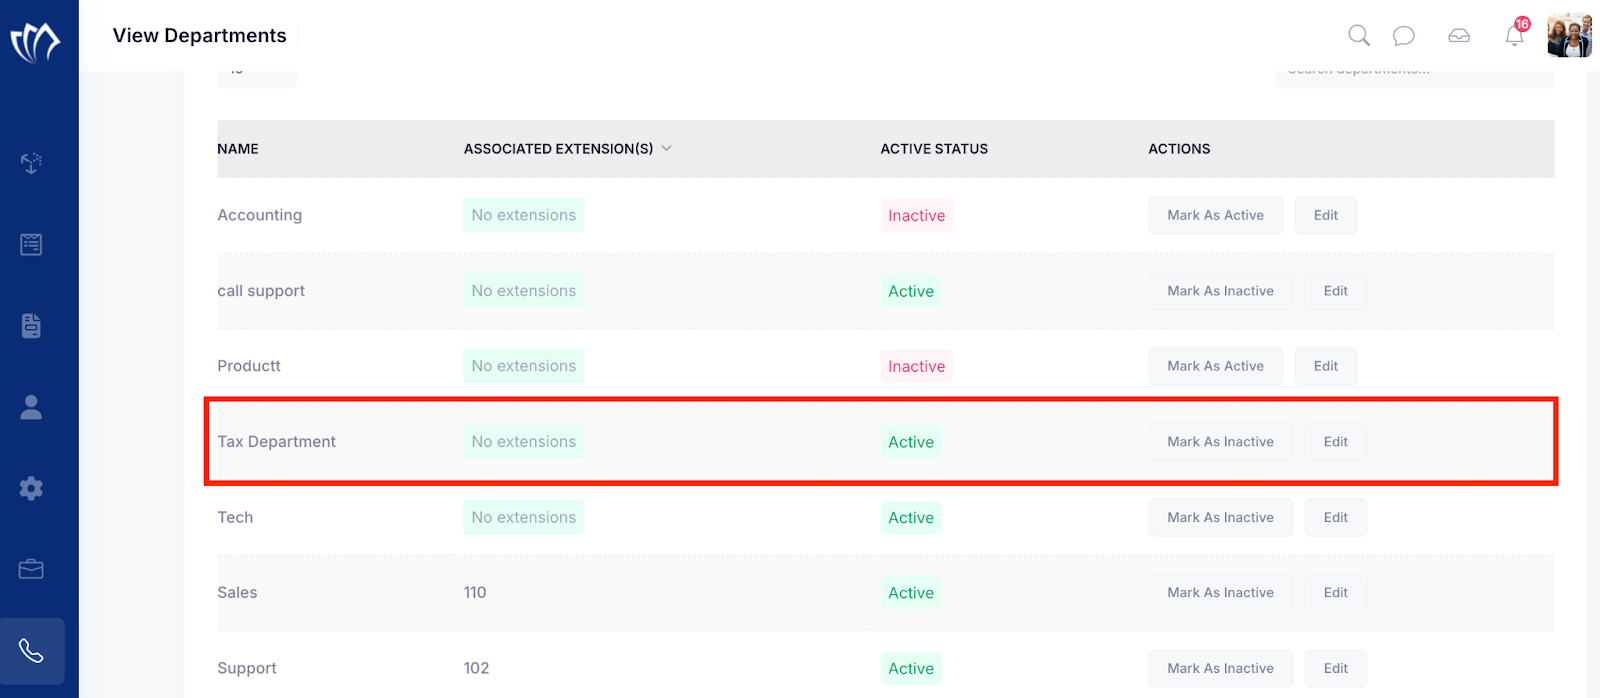
After successfully creating the department, it will appear in the View Departments screen, where you can see the newly added entry listed along with other existing departments.
Active/Inactive the Departments
You can easily manage department visibility by marking them as Active or Inactive. Use it to control which departments are currently in use without deleting any data.
Step 1: Navigate to the left side panel, hover over the “Virtual Phone” section, then click on the “Manage Departments” option.
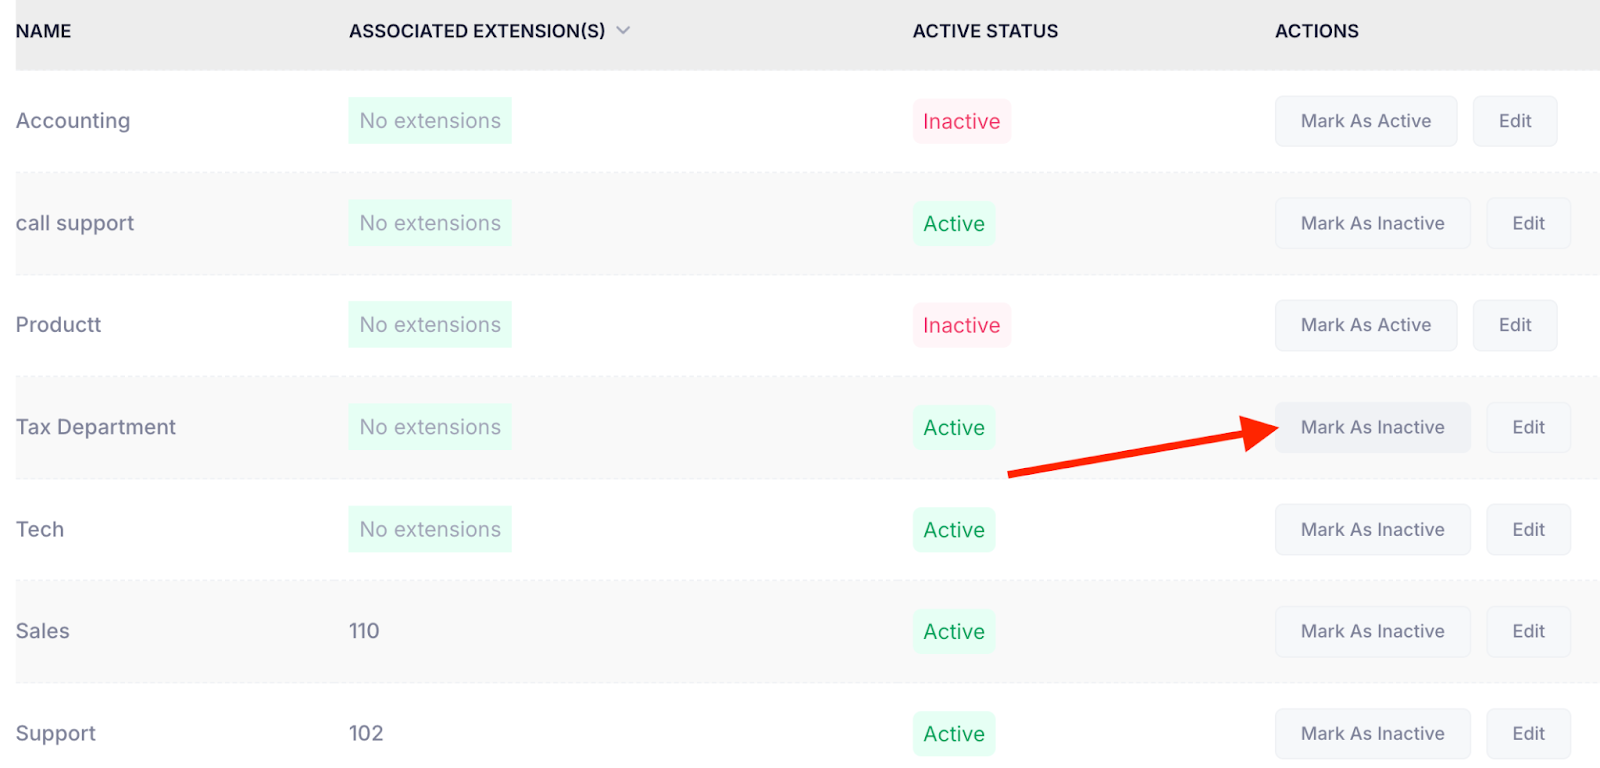
Step 2: The Manage Departments screen will appear, displaying a list of all existing departments in the system. To deactivate a department, click the Mark as Inactive button next to the department you wish to disable. This will prevent it from being used while keeping it in your records.
Note: When you create a new department, it is set to Active by default. You can later change its status to Inactive if needed.
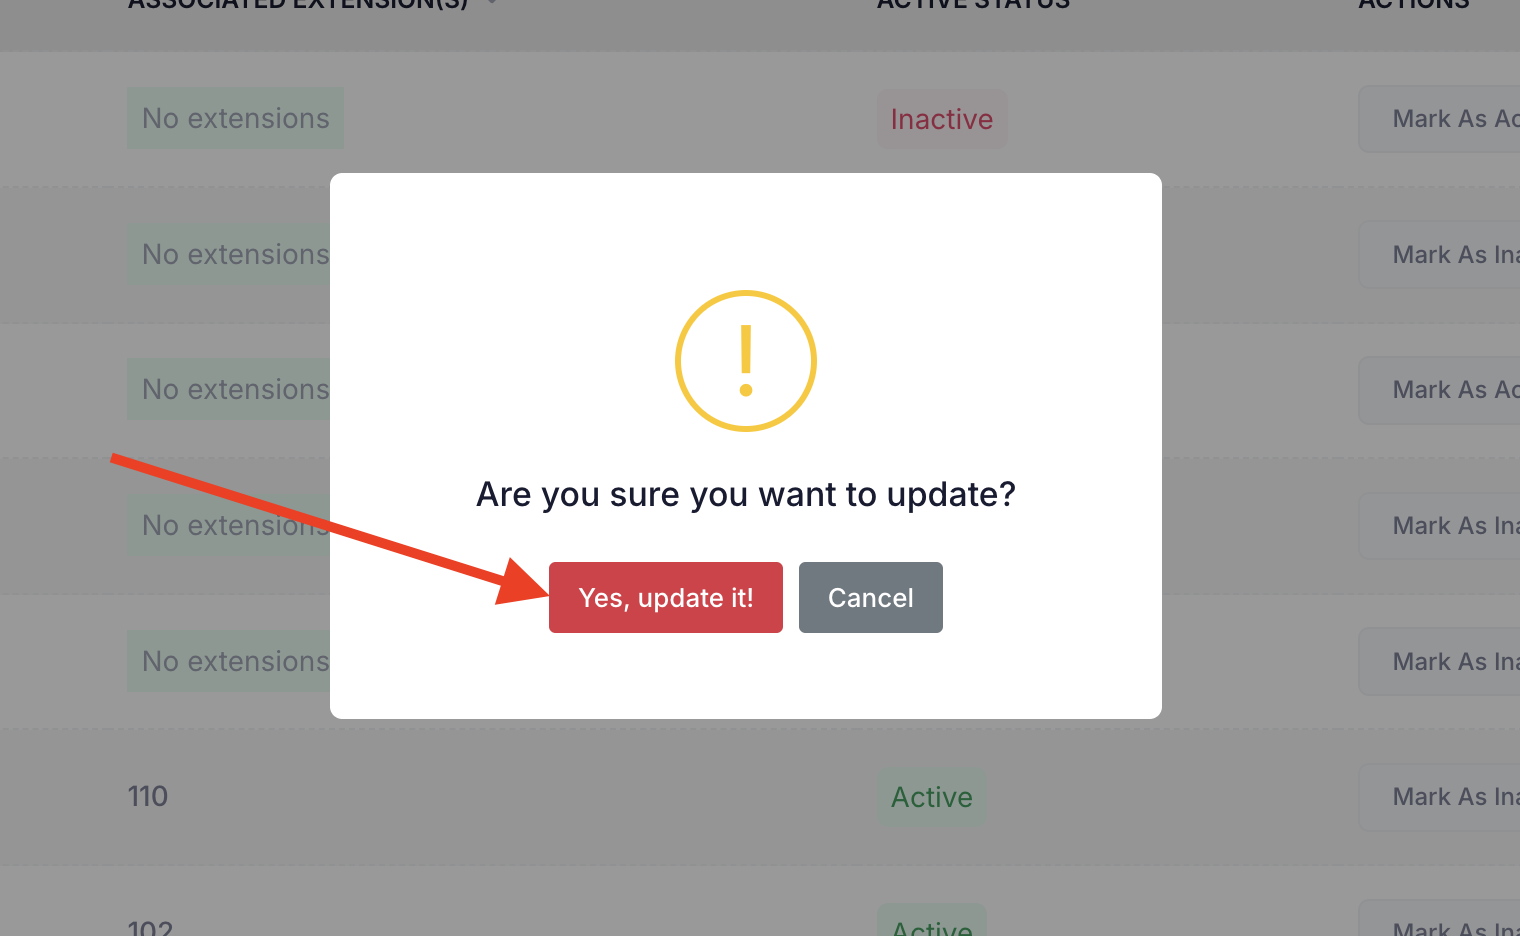
Step 3: A confirmation modal will appear at the center of the screen, asking you to confirm the status update. Click the “Yes, update it!” button to mark the department as Inactive.
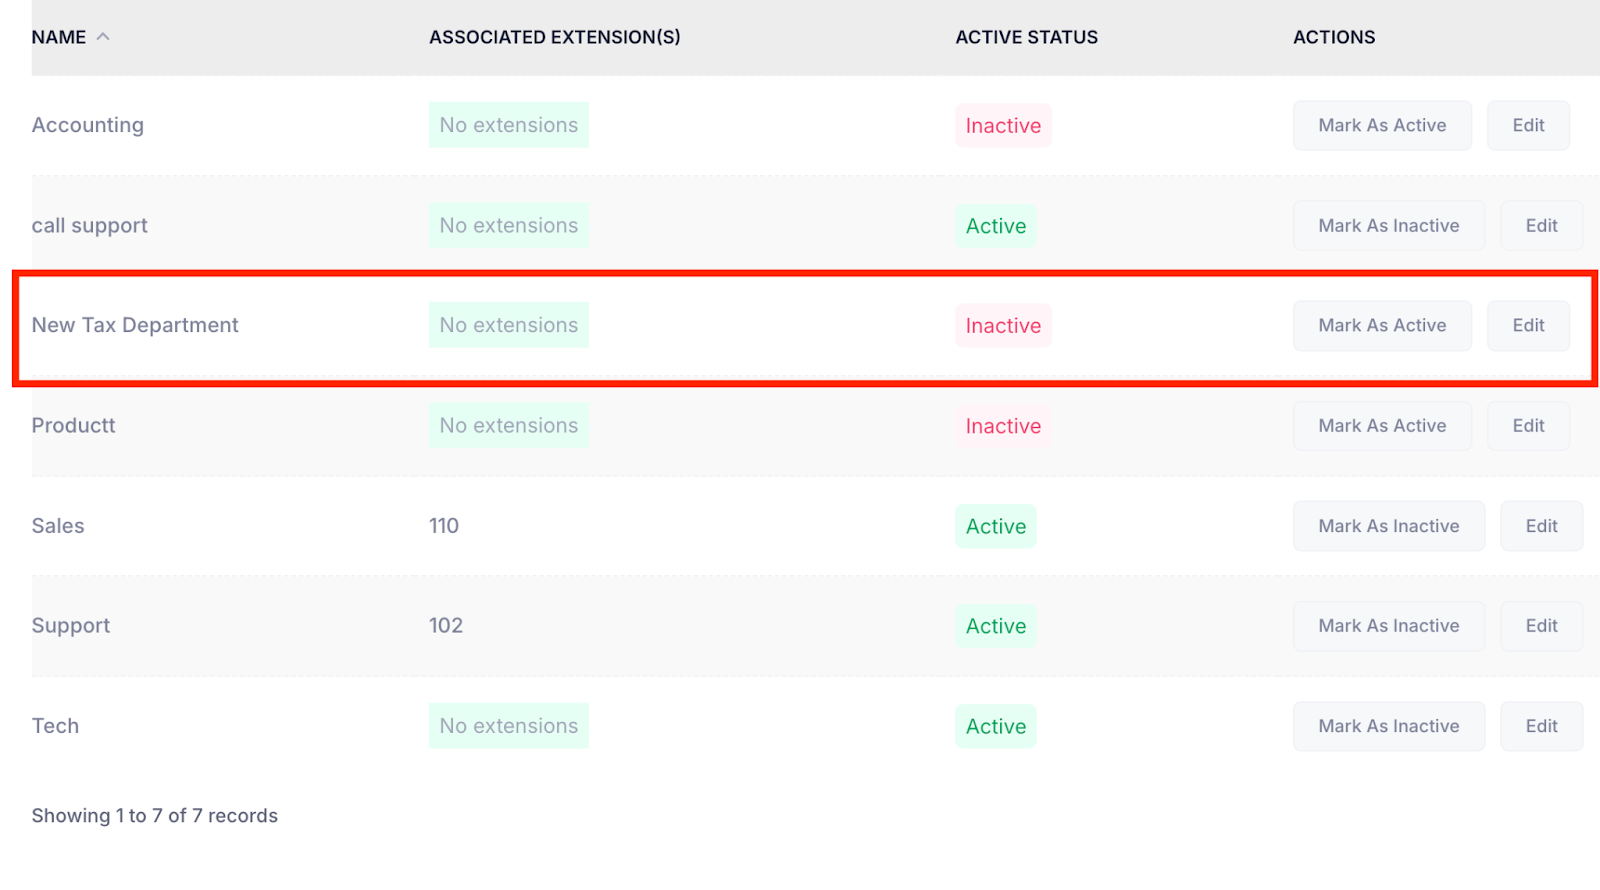
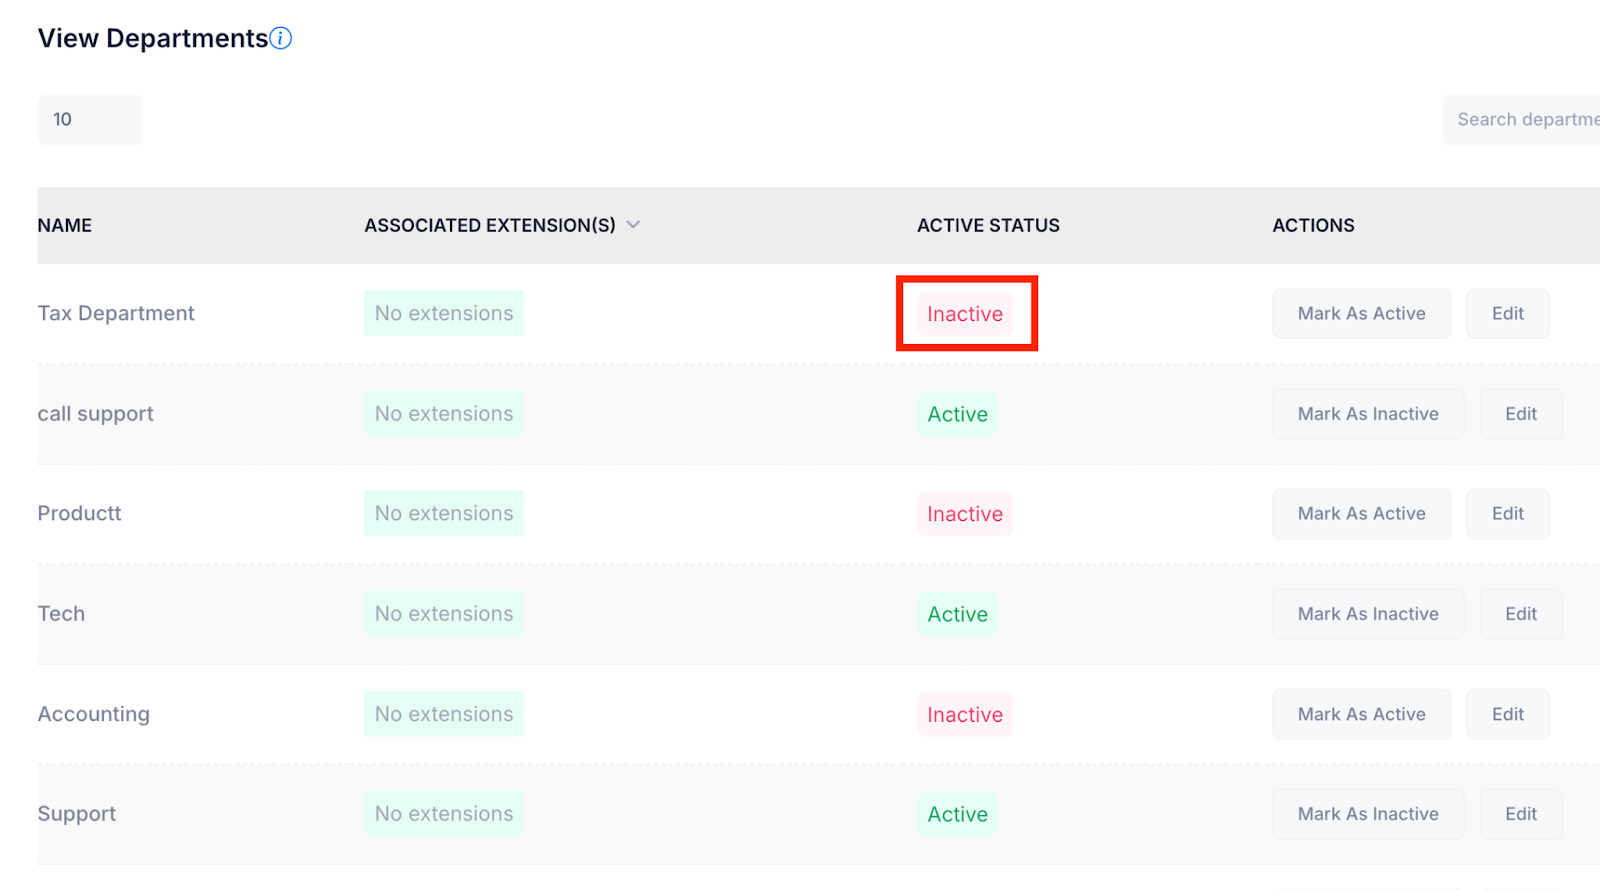
After successfully marking the department as Inactive, it will appear in the View Departments screen with the status displayed as “Inactive”. This helps you easily identify departments that are no longer active in the system.
Edit Department
The Edit Department allows you to update a department’s name or correct any errors, helping keep your organizational structure accurate and up to date.
Step 1: Navigate to the left side panel, hover over the “Virtual Phone” section, then click on the “Manage Departments” option.

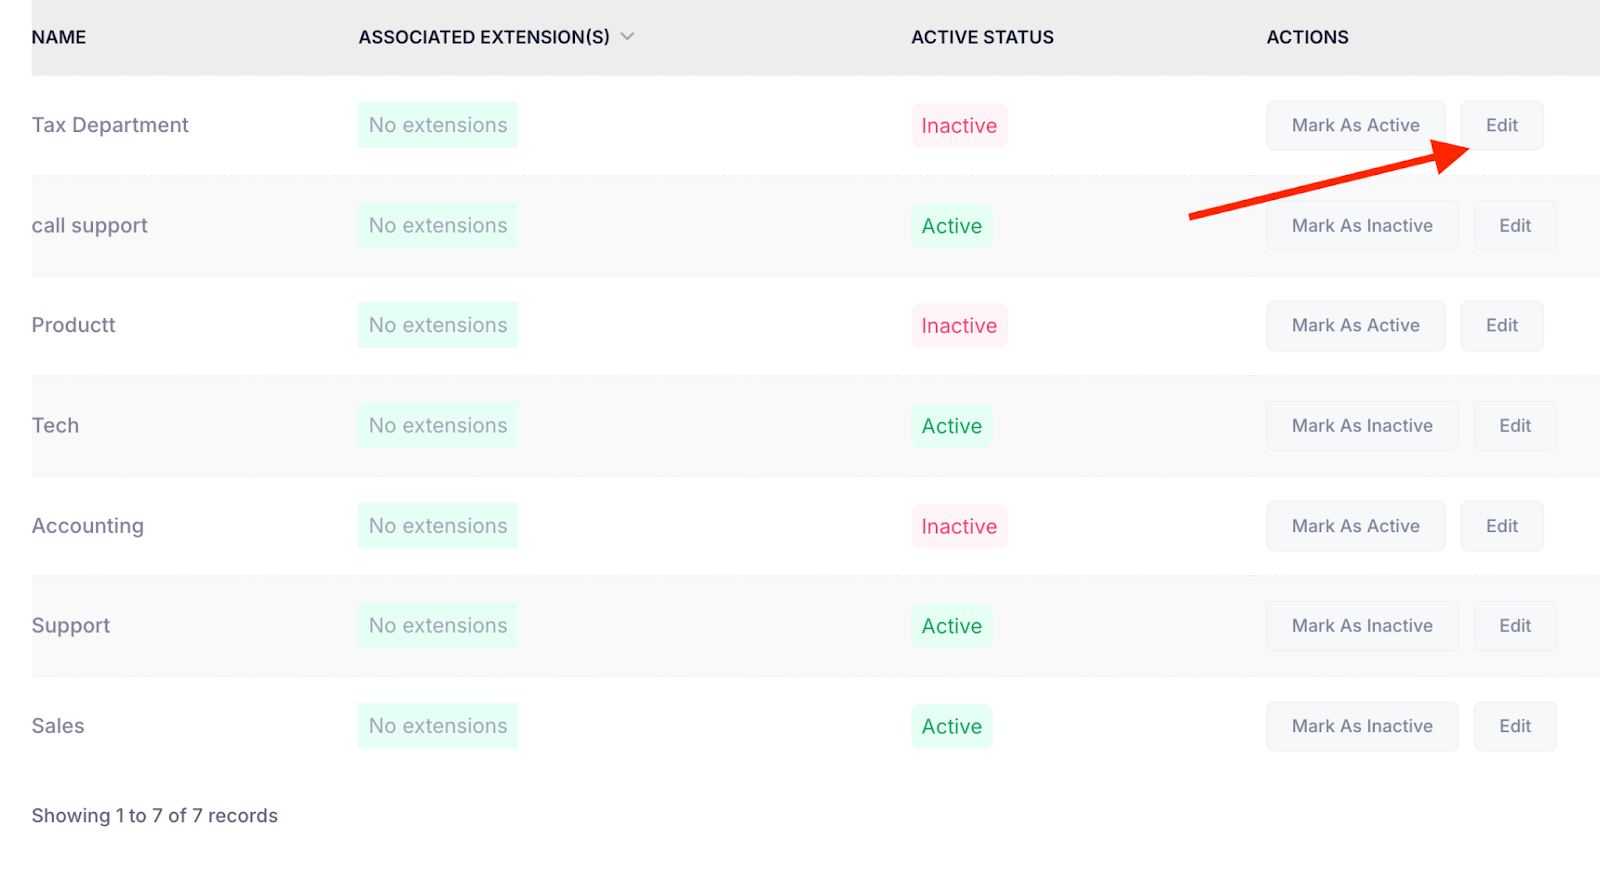
Step 2: The Manage Departments screen will appear, displaying a list of all existing departments in the system. Click the Edit button to update the department name.
Step 3: A modal will appear at the top of the screen, prompting you to re-enter the name of the department you want to update. Type the new department name into the Name field to proceed.

After successfully editing the department, it will appear in the View Departments screen, where you can see the newly updated entry listed along with other existing departments.