Managing resources and training ensures every team member understands how to use the tools available to them. Keeping this area updated supports smooth onboarding, reduces confusion, and improves daily operations. It also ensures that new features or changes don’t disrupt active workflows.
Follow the step-by-step guide below to manage the resources and training page on the TAAX Pro platform.
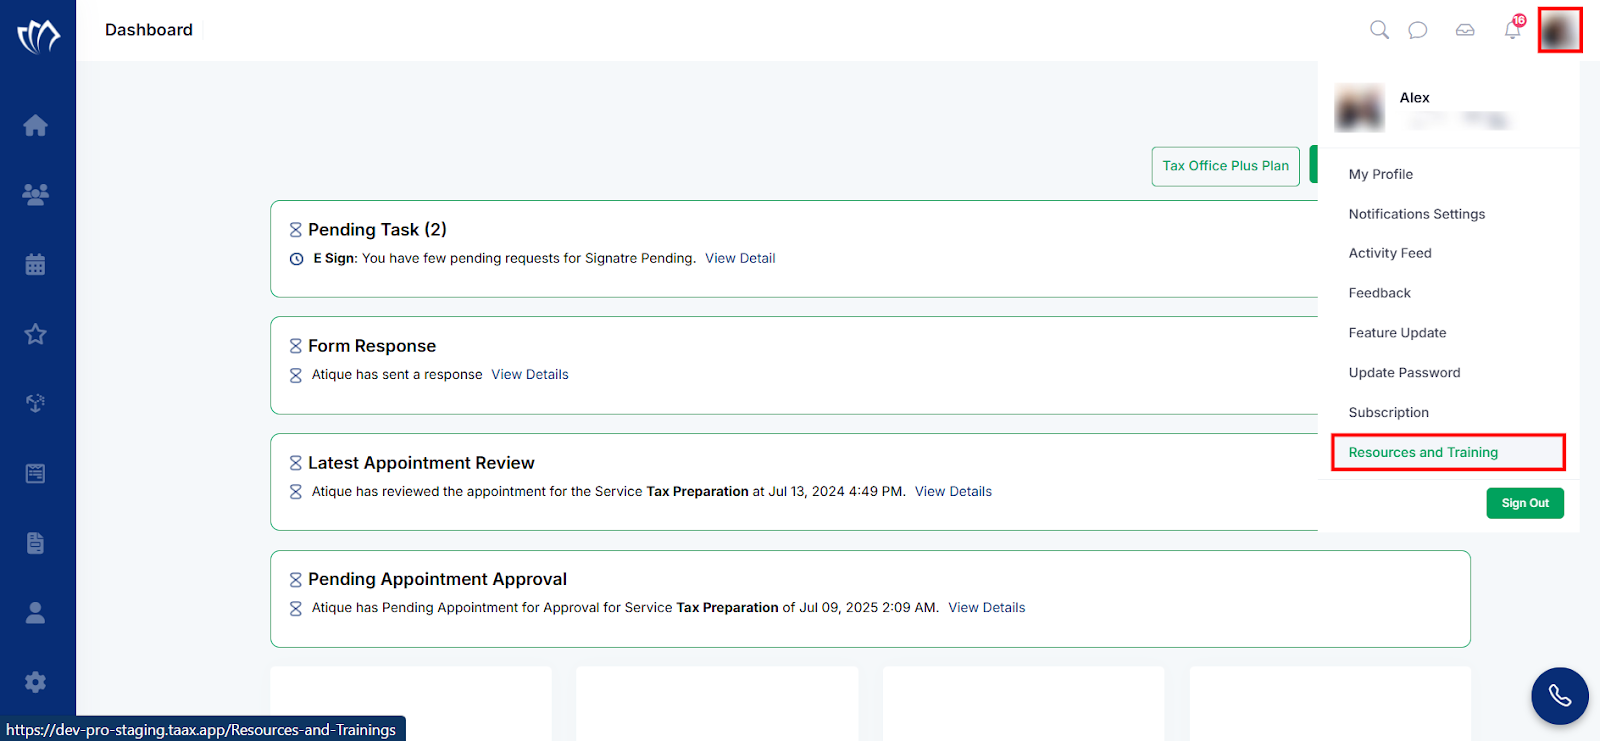
Step 1: Navigate and click on your profile from the top-right corner of the interface, and select the “Resources and Training” option from the dropdown list.
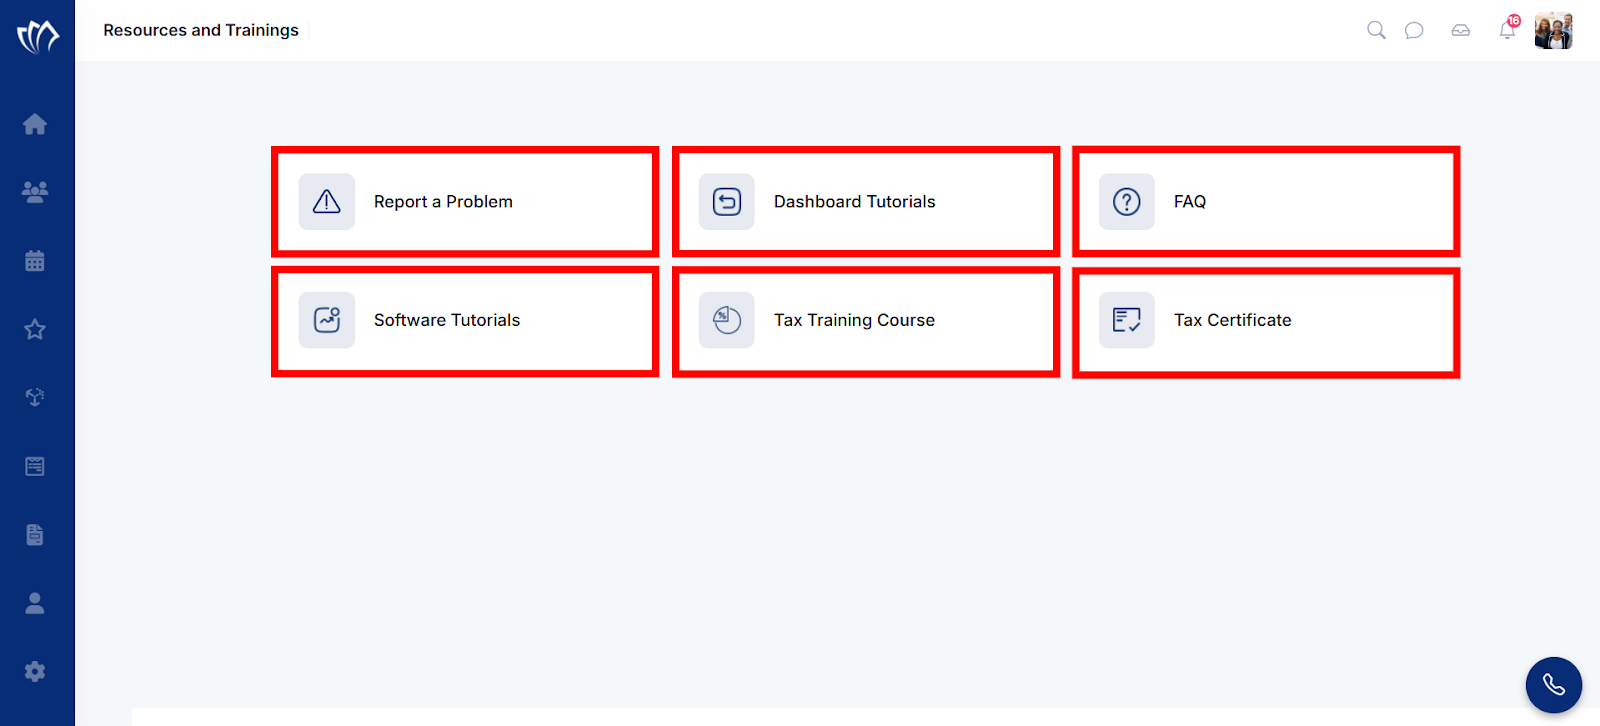
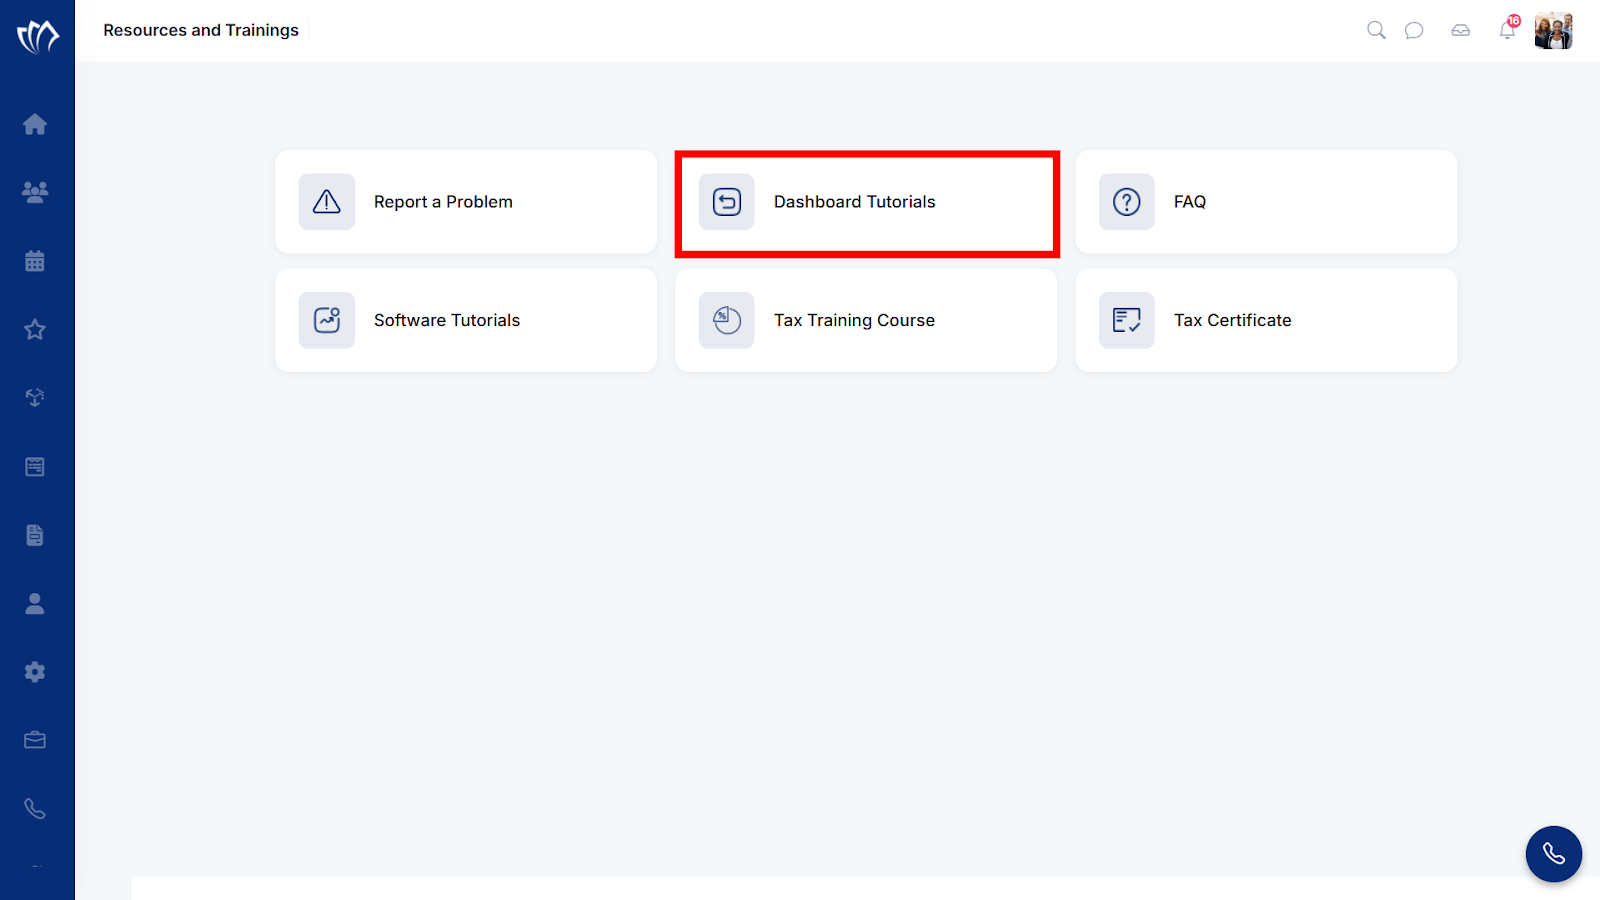
Step 2: A new screen will open containing all the resources and training materials, including:
- Report a Problem
- View Dashboard Tutorials
- View FAQs
- View Software Tutorials
- View Tax Training Course
- View Tax Certificate
Report a Problem
Reporting a problem ensures that any issue you face is logged and resolved by the support team. It maintains smooth operations by addressing unexpected behavior in time. Quick reporting fixes errors and reduces interruptions in your workflow.
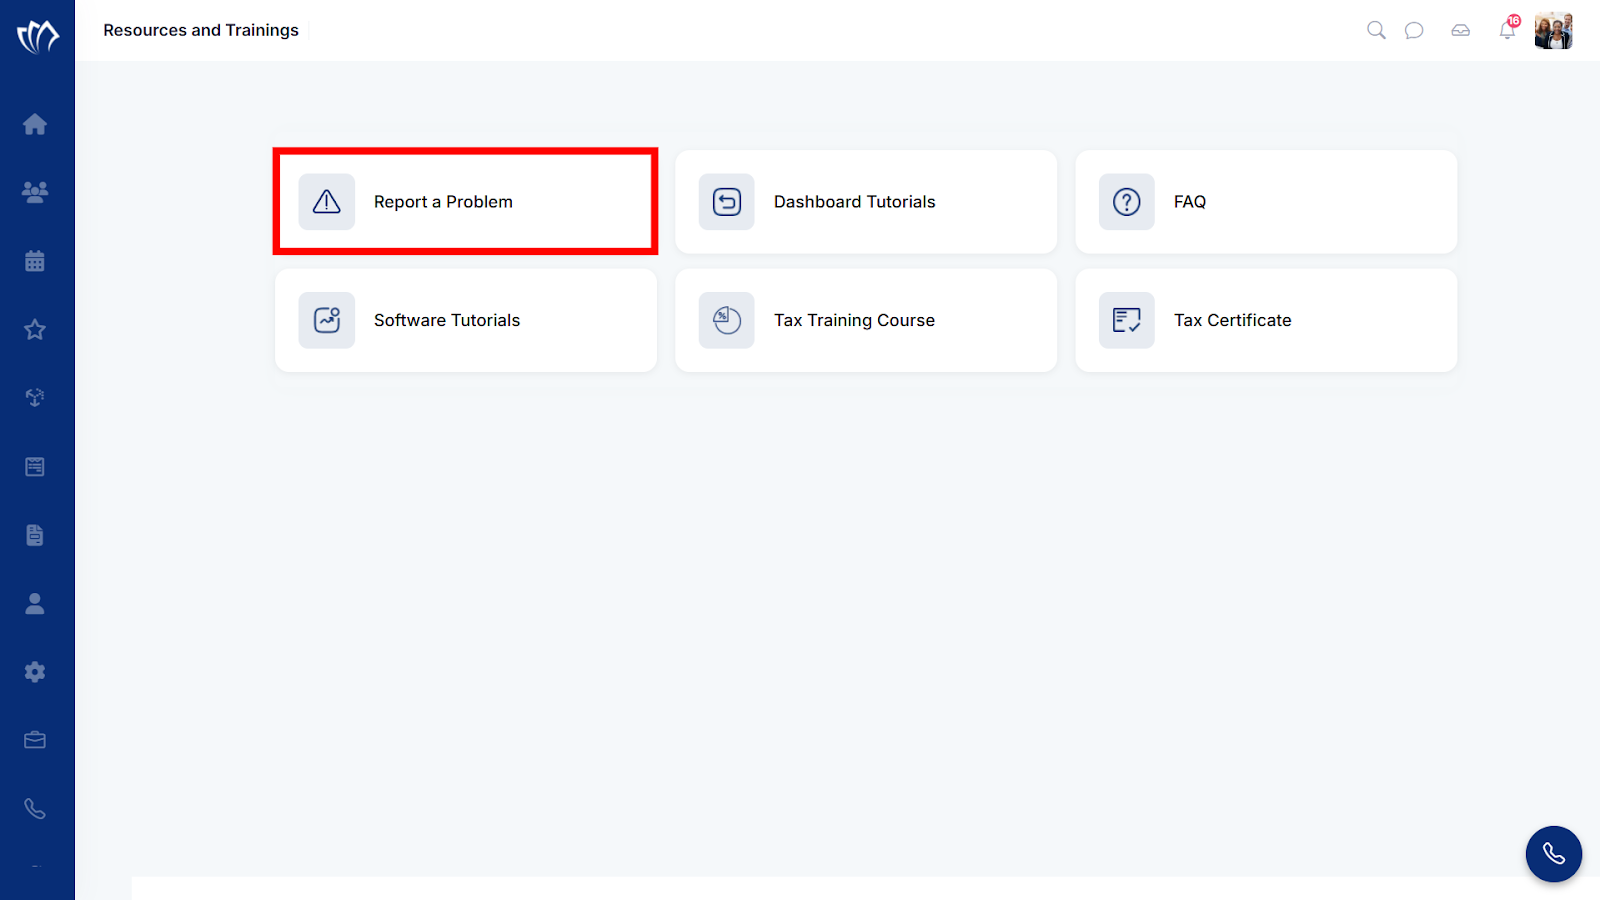
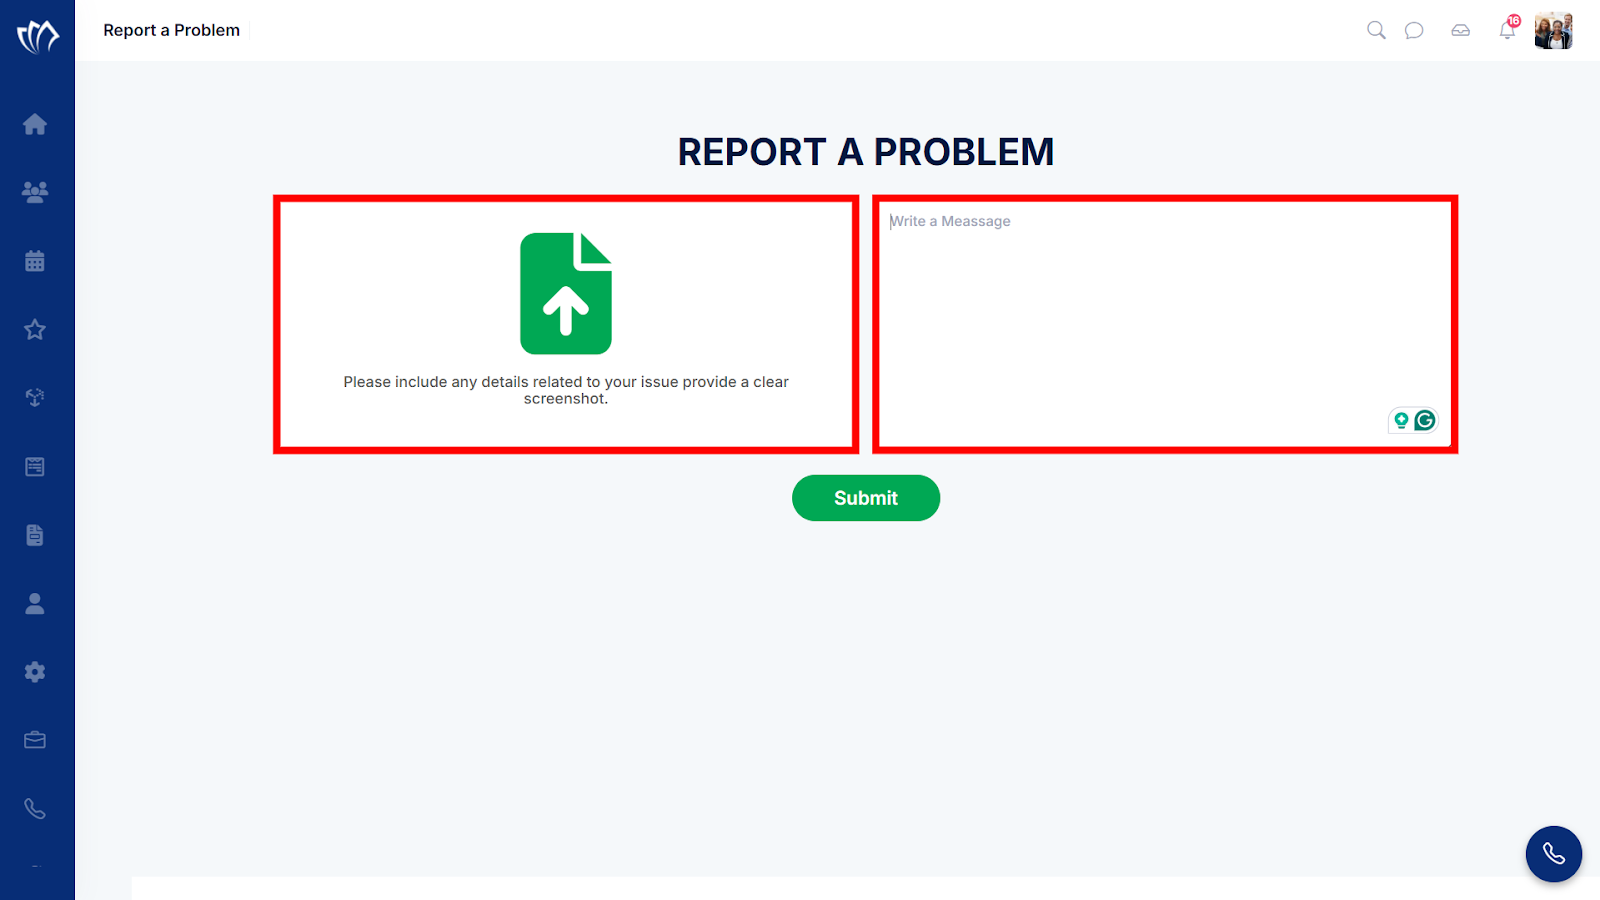
Step 1: Click on the “Report a Problem” button to start reporting a problem you are facing.
Step 2: Describe your problem in the message box on the right side, and add a screenshot in the left side box to help the support team understand the problem more clearly.
Note: Uploading an image is optional.
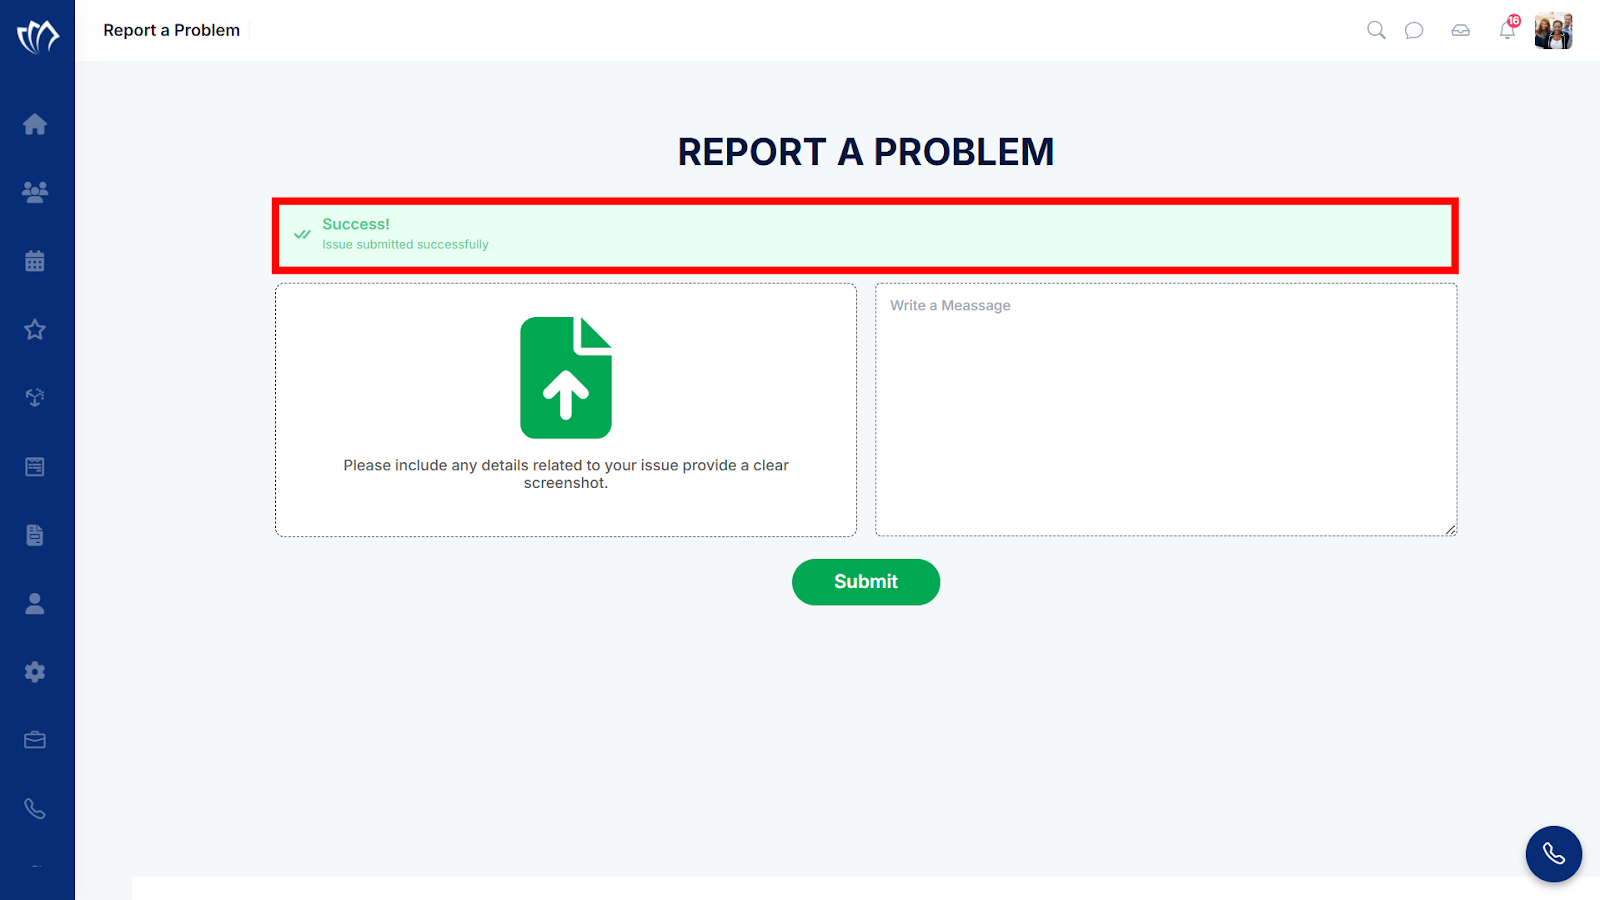
Step 3: After describing and uploading an image, click on the “Submit” button. A success message will flash at the top of the screen.
View Dashboard Tutorials
Viewing dashboard tutorials helps users quickly understand how each part of the dashboard works. It saves time during onboarding and reduces mistakes by showing clear steps for using key features. These tutorials act as a built-in guide for new and returning users who need a refresher.
Step 1: Click on the “Dashboard Tutorials” button to view Dashboard Tutorials.
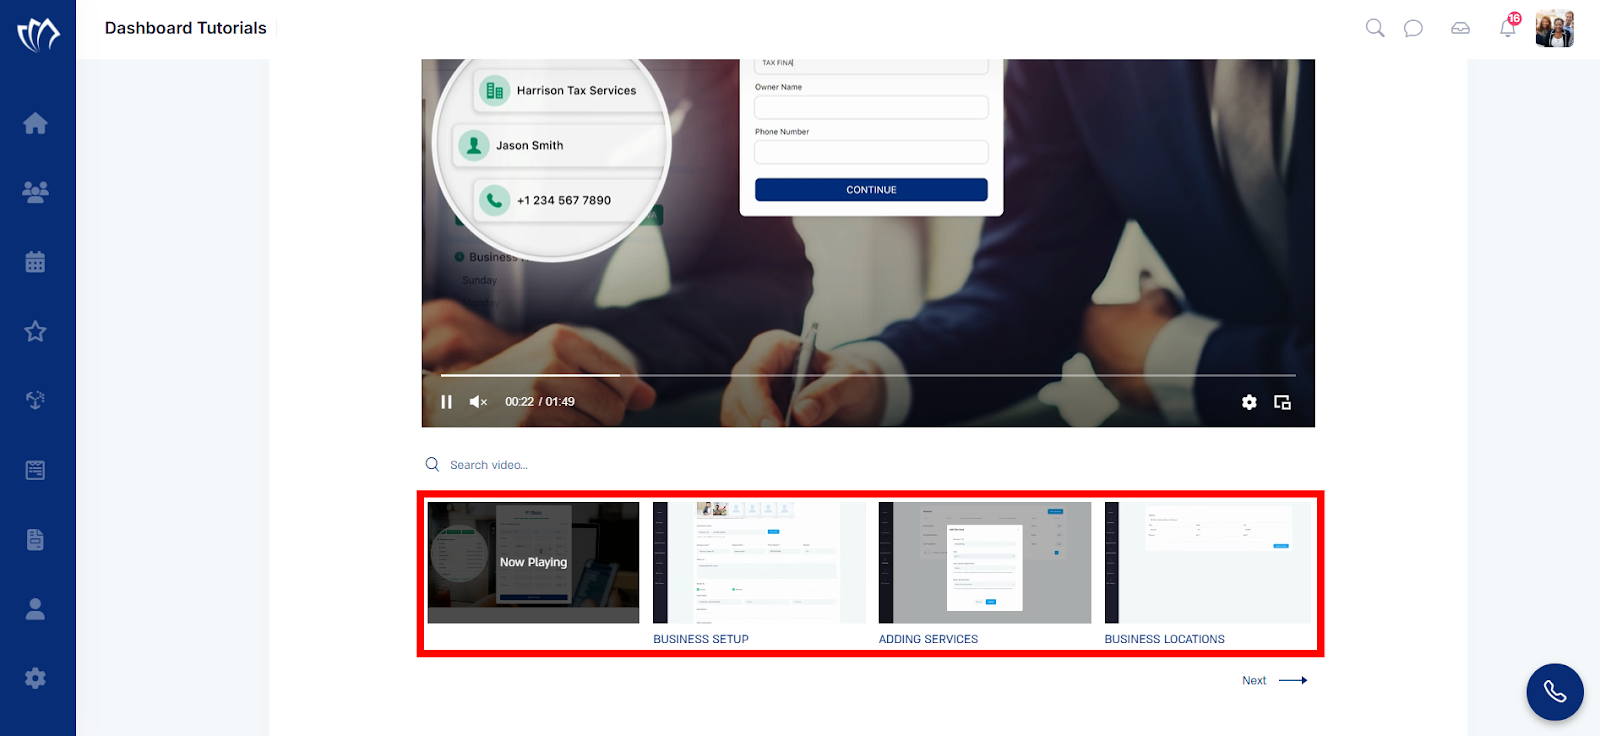
Step 2: A new screen will open with several Dashboard Tutorials.
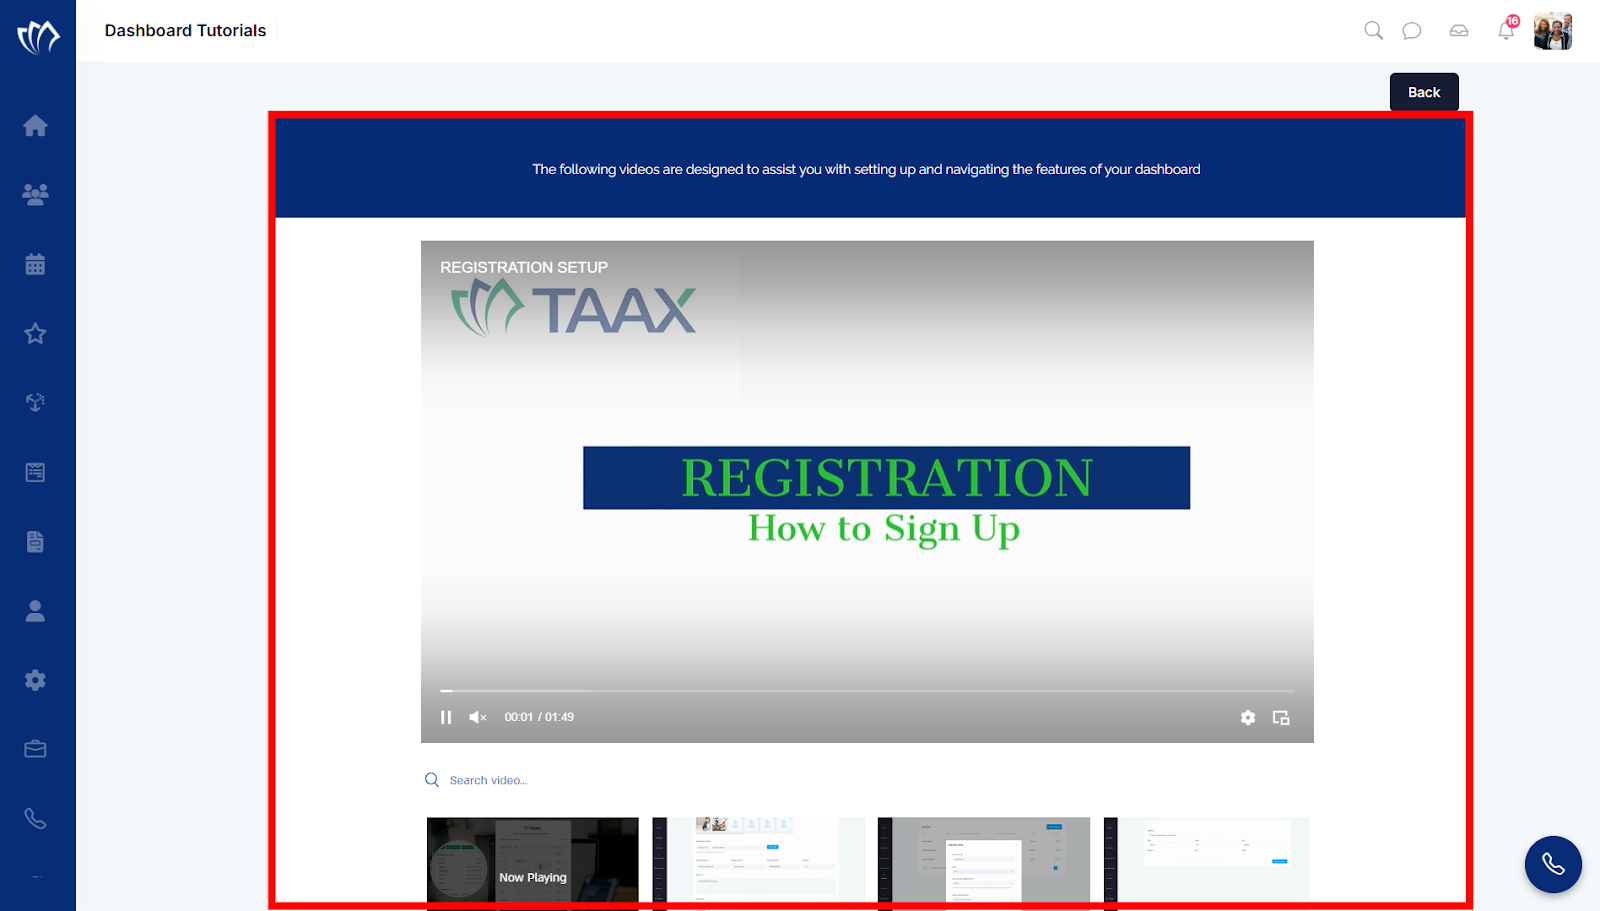
Step 3: You can view more Dashboard Tutorials by scrolling down, then clicking on a particular tutorial.
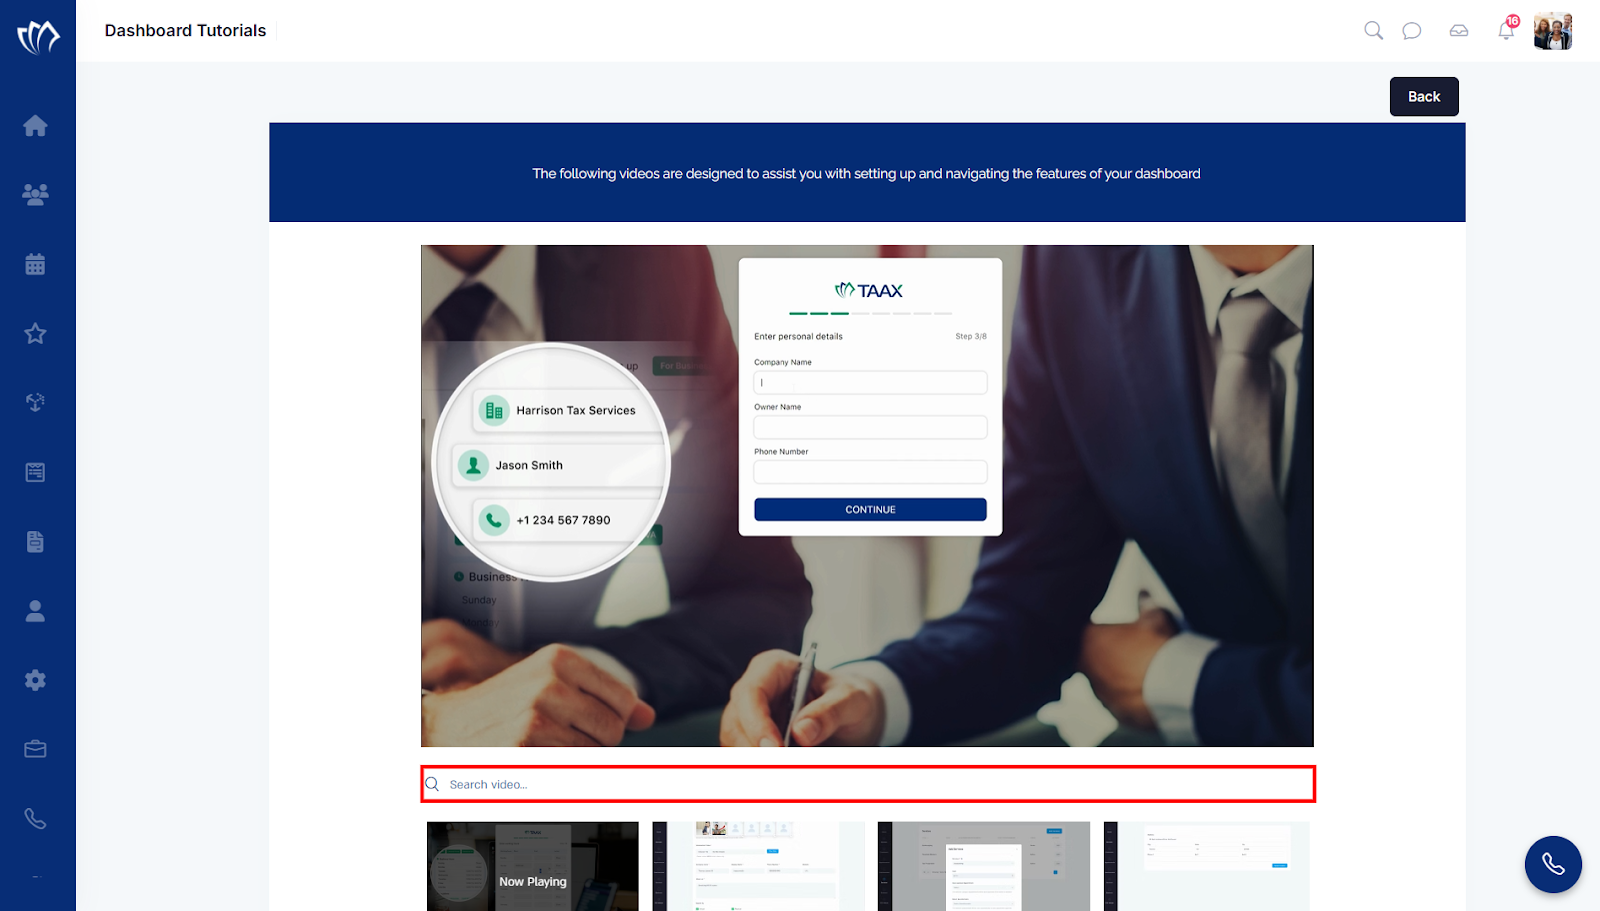
Step 4: You can search for a particular Dashboard Tutorial by clicking on the video search bar, then entering the tutorial name in it.
View FAQs
Viewing FAQs (Frequently Asked Questions) gives you answers to common questions without needing to contact support. It’s a time-saving way to resolve small issues, understand how features work, and move forward with tasks. Accessing FAQs reduces interruptions and smooths your workflow.
Step 1: Click on the “FAQs” button to view FAQs.

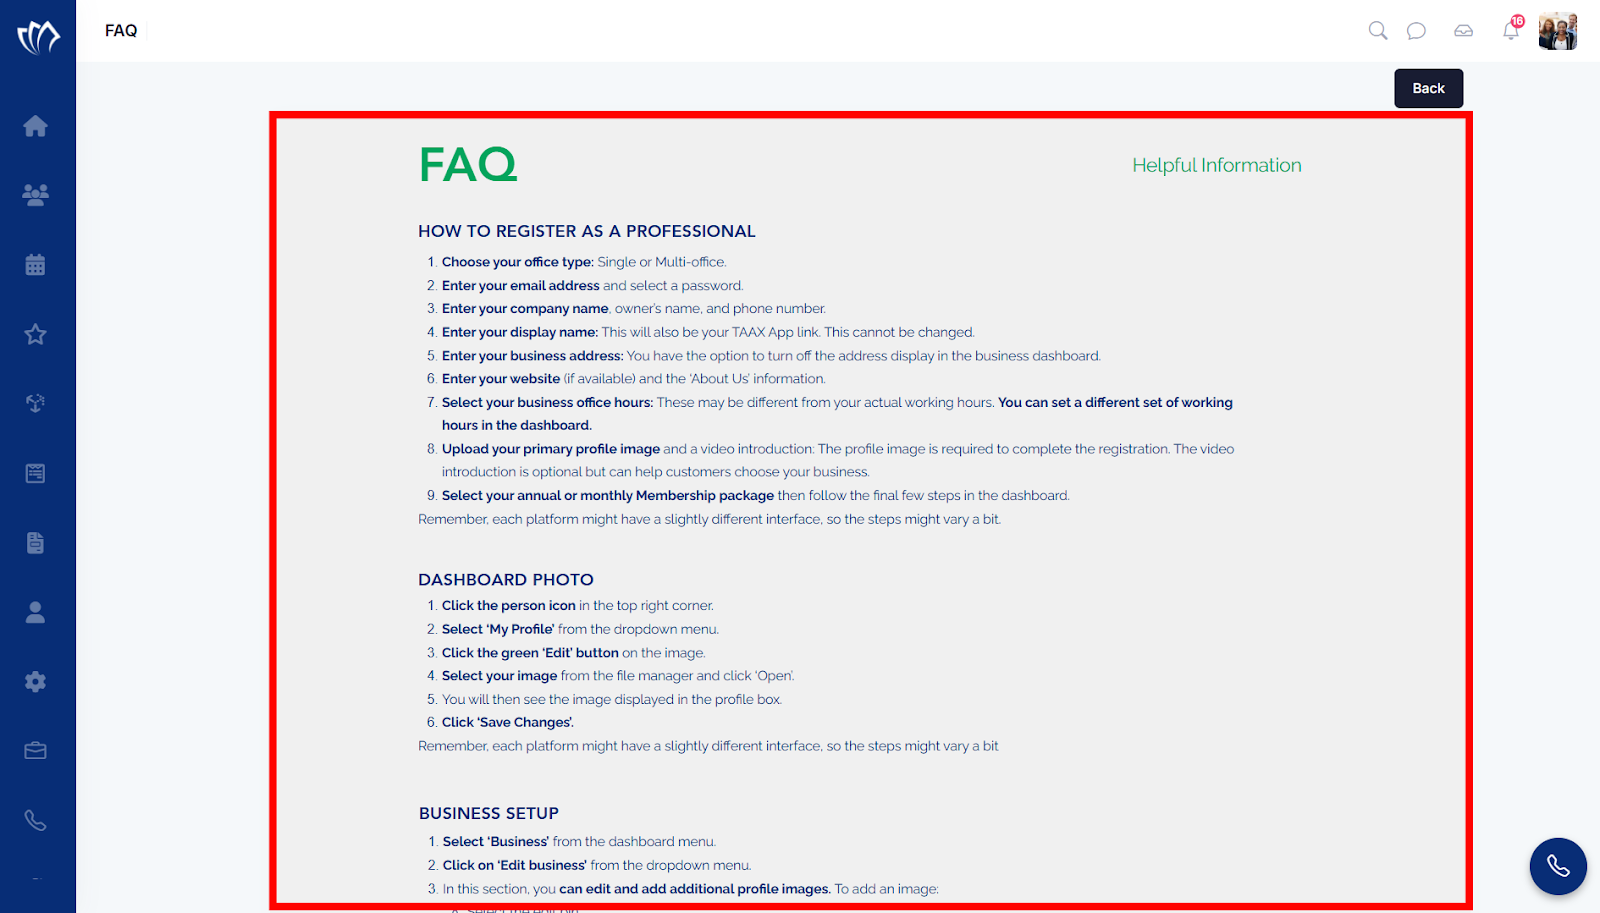
Step 2: When you open the FAQ screen in TAAX Pro, you’ll see a list of helpful topics designed to guide you through setup and daily operations. These include:
| Topics | Instructions |
| Registering as a Professional | Set up your office type, business details, display name, and membership |
| Dashboard Photo | Upload and update your profile picture |
| Business Setup | Edit company info like ‘About Us’, hours, and add profile images |
| Employees & Locations | Add team members and set up multiple office location |
| Adding Services | Create and manage service offerings with optional questionnaires |
| Customer Reviews & Appointments | Manage reviews, approve appointments, and send questionnaires or video invites |
| PDF Merge Tool | Combine documents into a single PDF |
| Questionnaires & Messaging | Create custom forms and message customers directly |
| Video Calling | Schedule and join meetings through the platform |
Each section includes simple, step-by-step instructions. Keep in mind, the interface may vary slightly across different platforms.
View Software Tutorials
Viewing software tutorials helps you understand how to use features with clarity and confidence. These tutorials walk you through practical actions to apply the platform to your daily work. It’s useful when starting or when learning a new tool within the system.
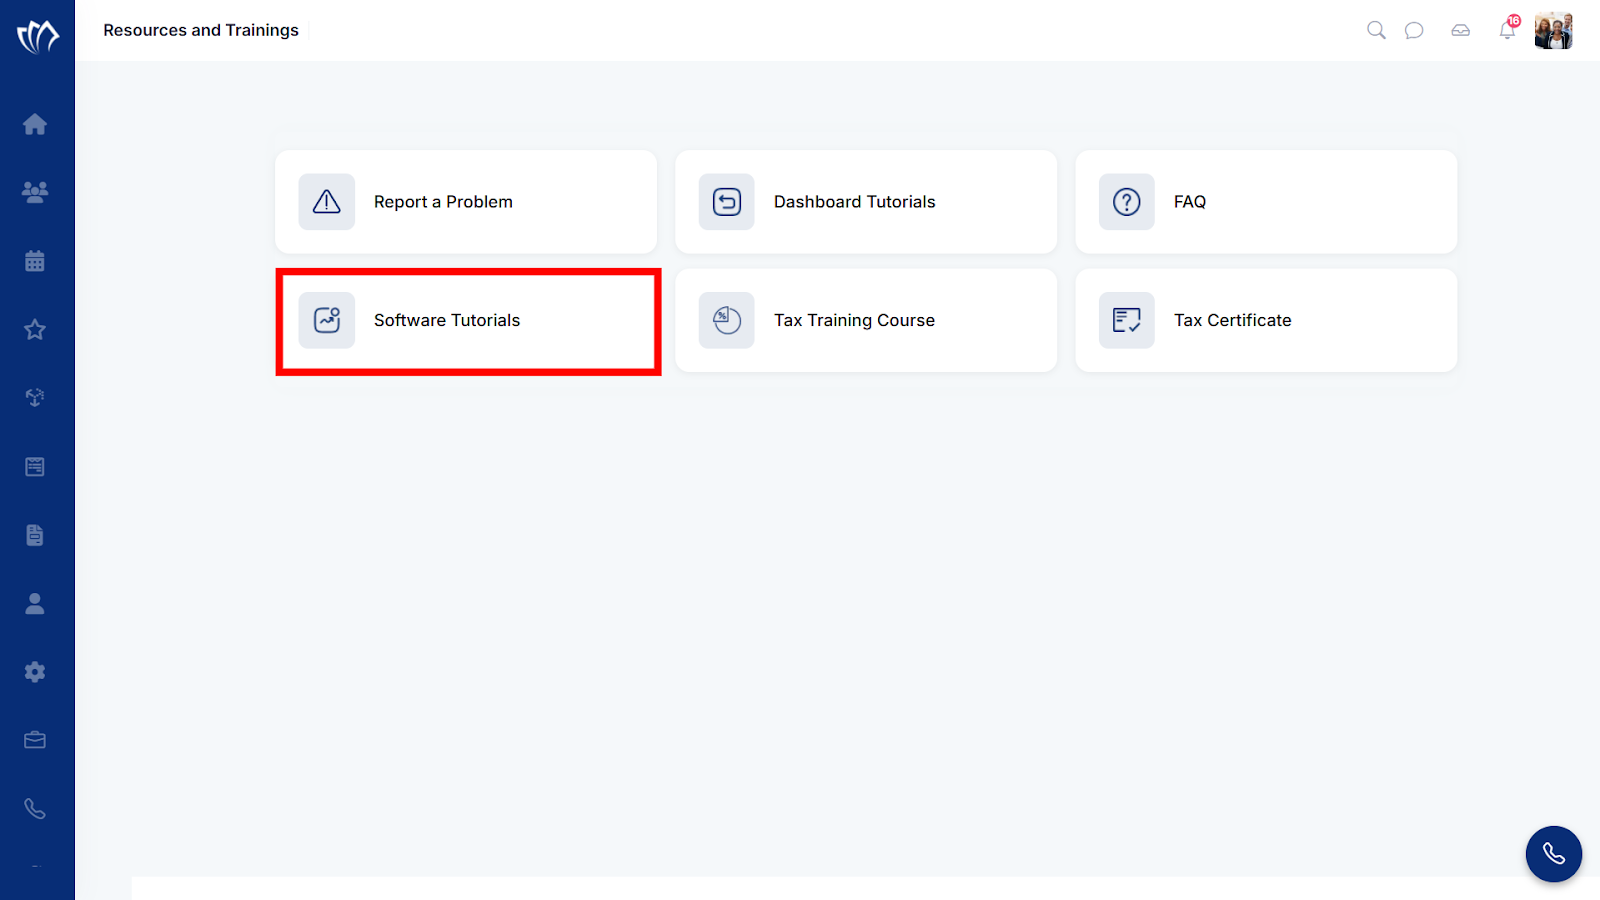
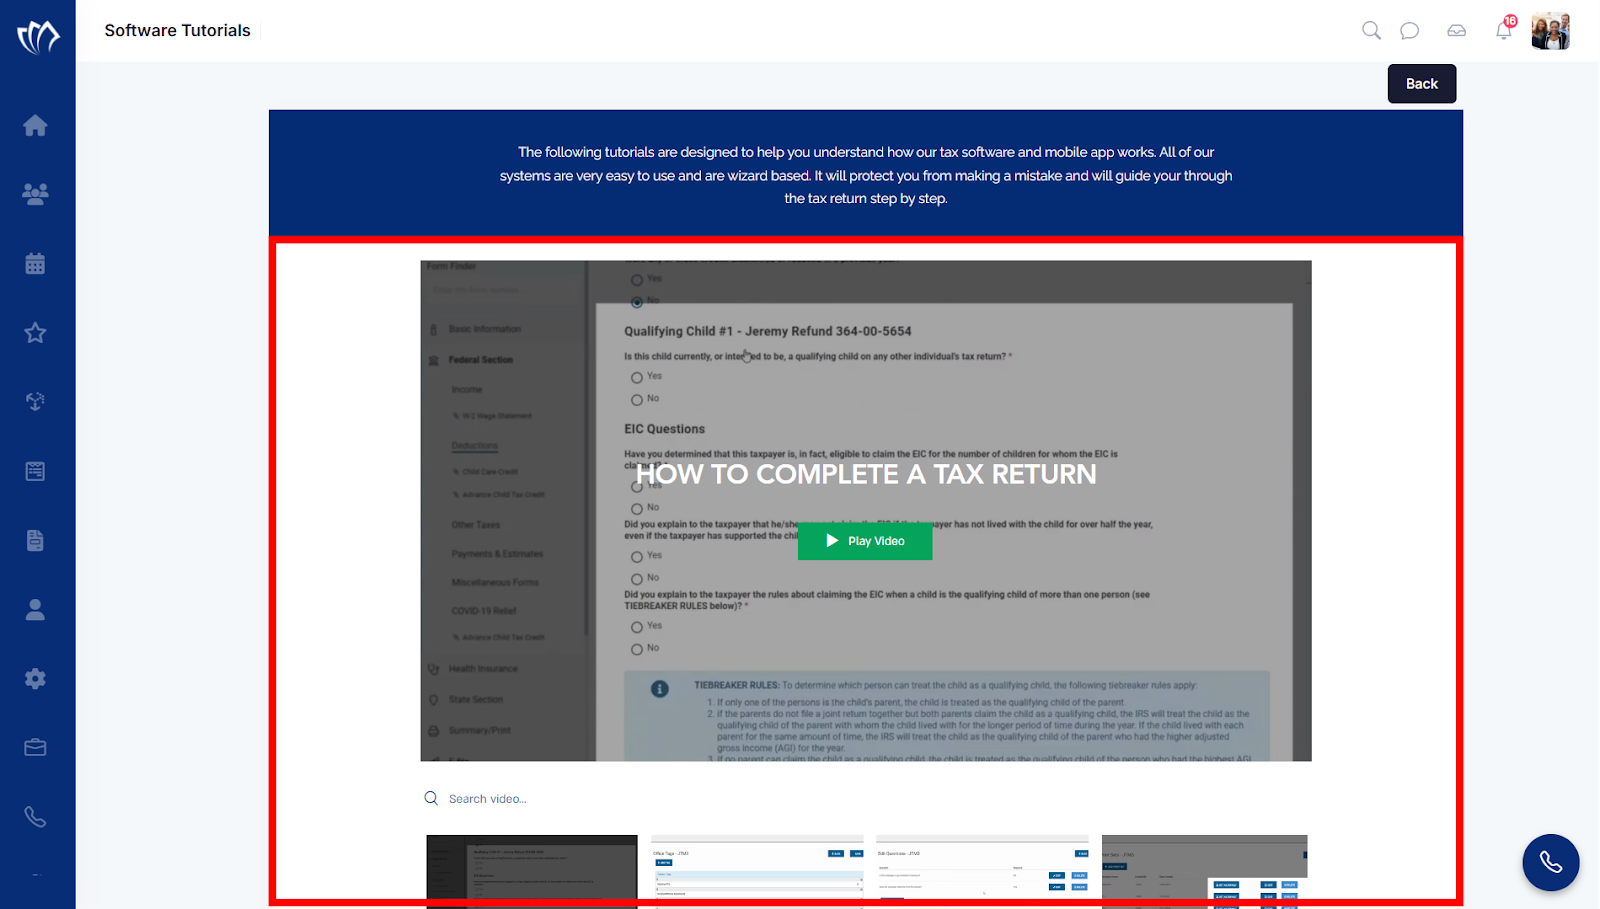
Step 1: Click on the “Software Tutorials” button to view Software-related Tutorials.
Step 2: A new screen will open with several Software Tutorials.
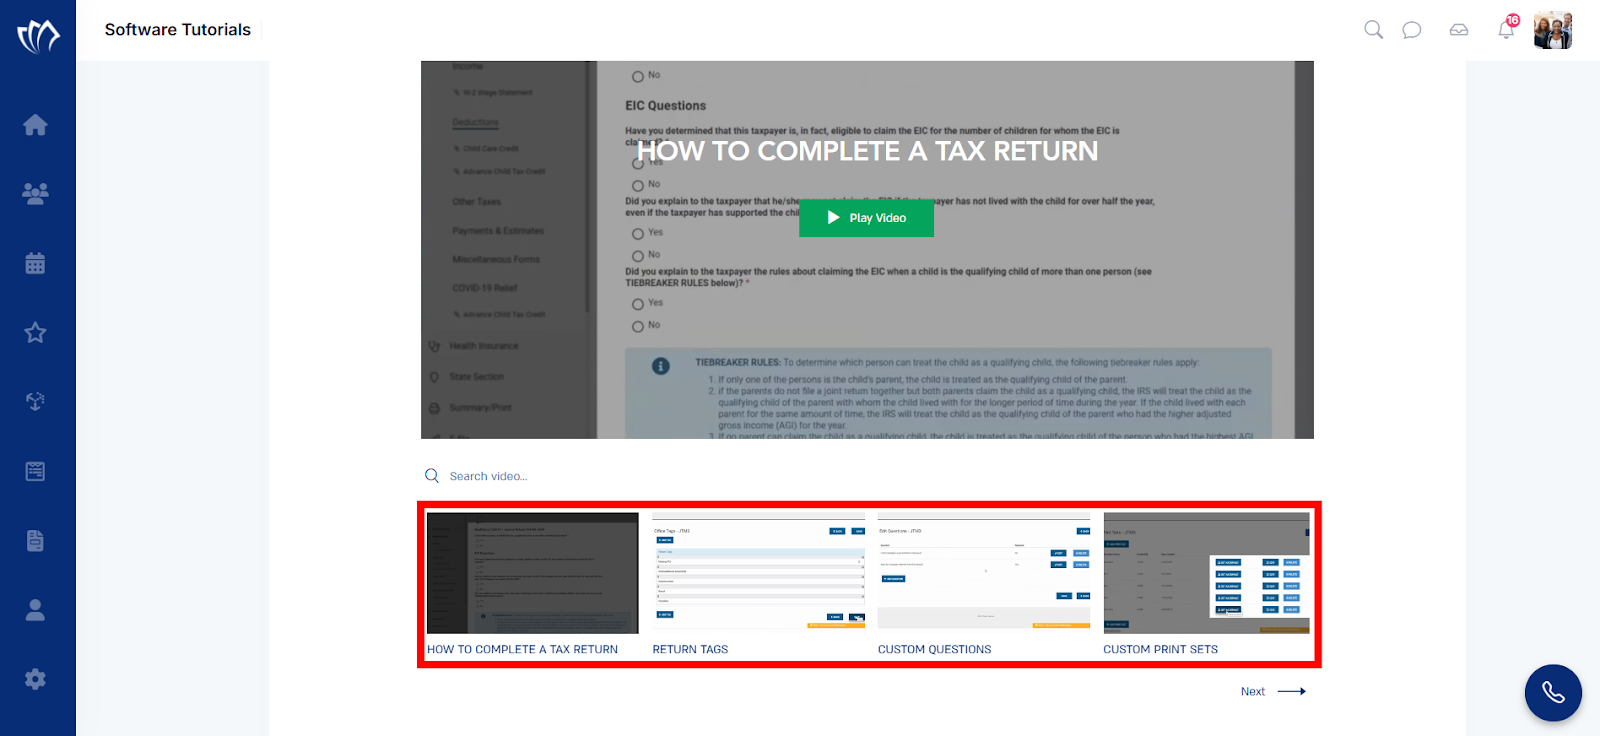
Step 3: You can view more Software Tutorials by scrolling down, then clicking on a particular tutorial.
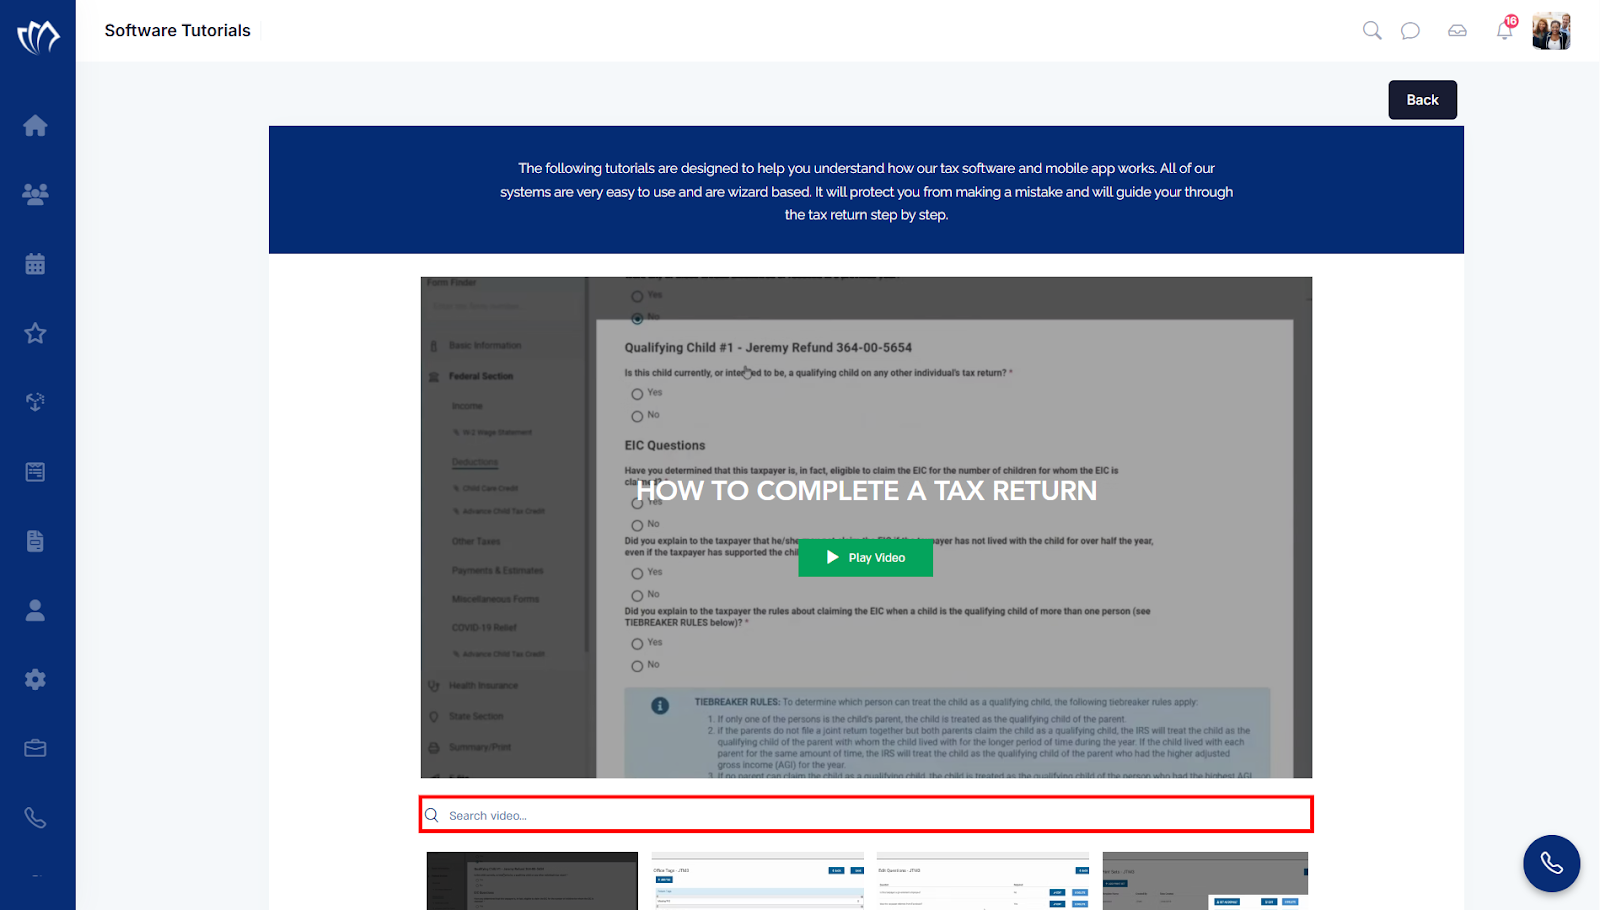
Step 4: You can search for a particular Software Tutorial by clicking on the video search bar, then entering the tutorial name in it.
View Tax Training Course
Viewing the Tax Training Course keeps you updated on tax processes, tools, and best practices in the platform. It’s useful for new and experienced users who want to handle tax-related tasks accurately. Accessing this training aligns you with system workflows & compliant methods.
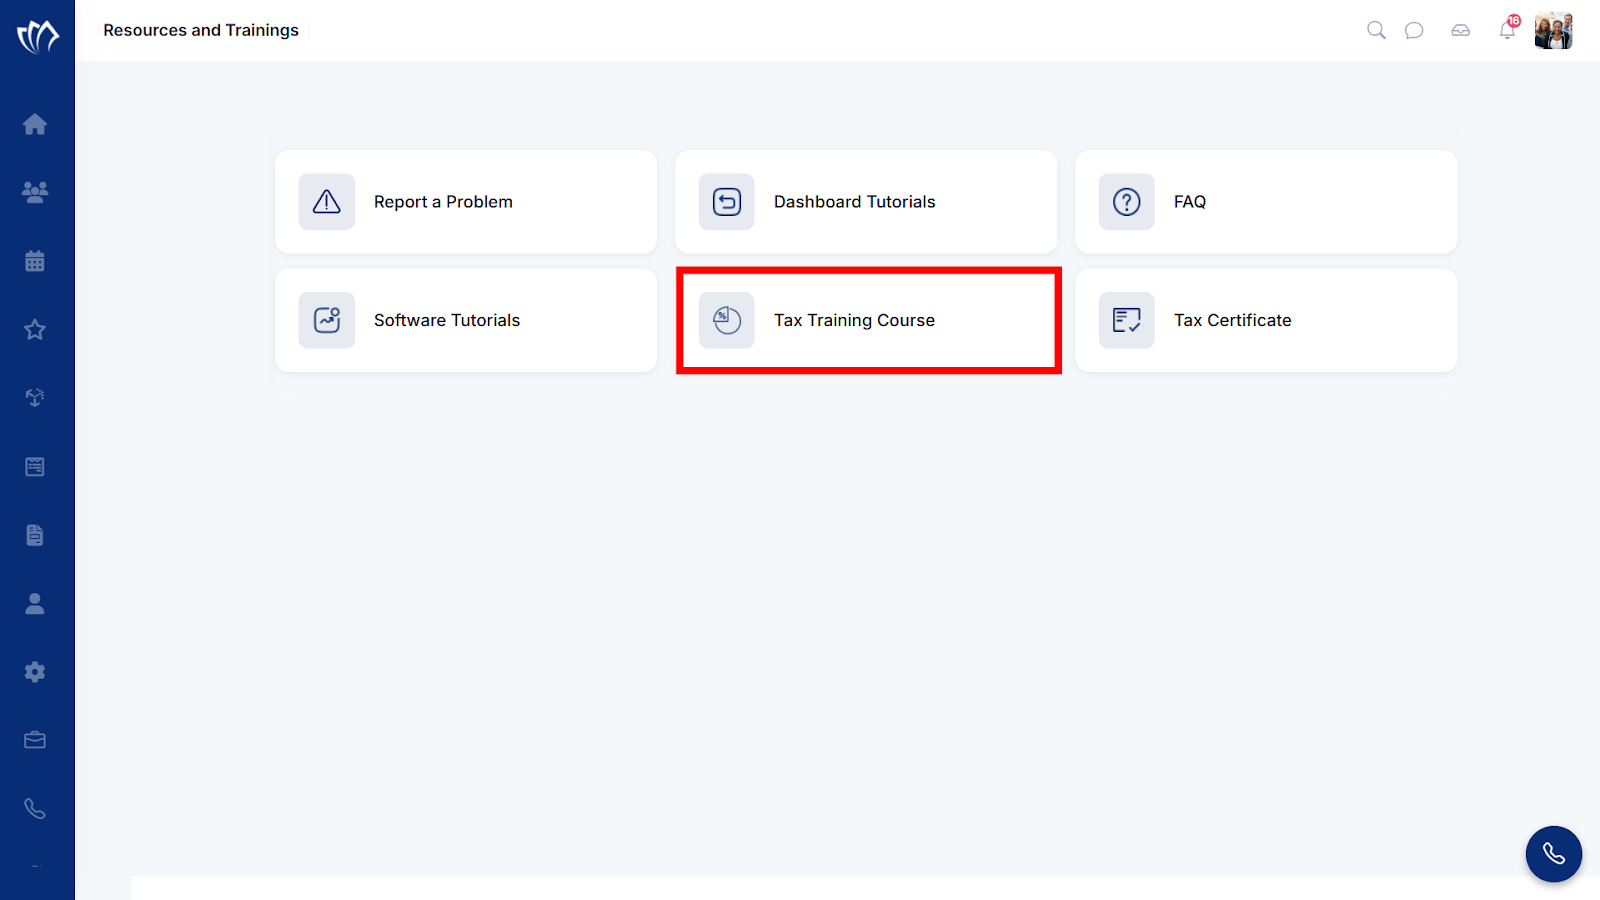
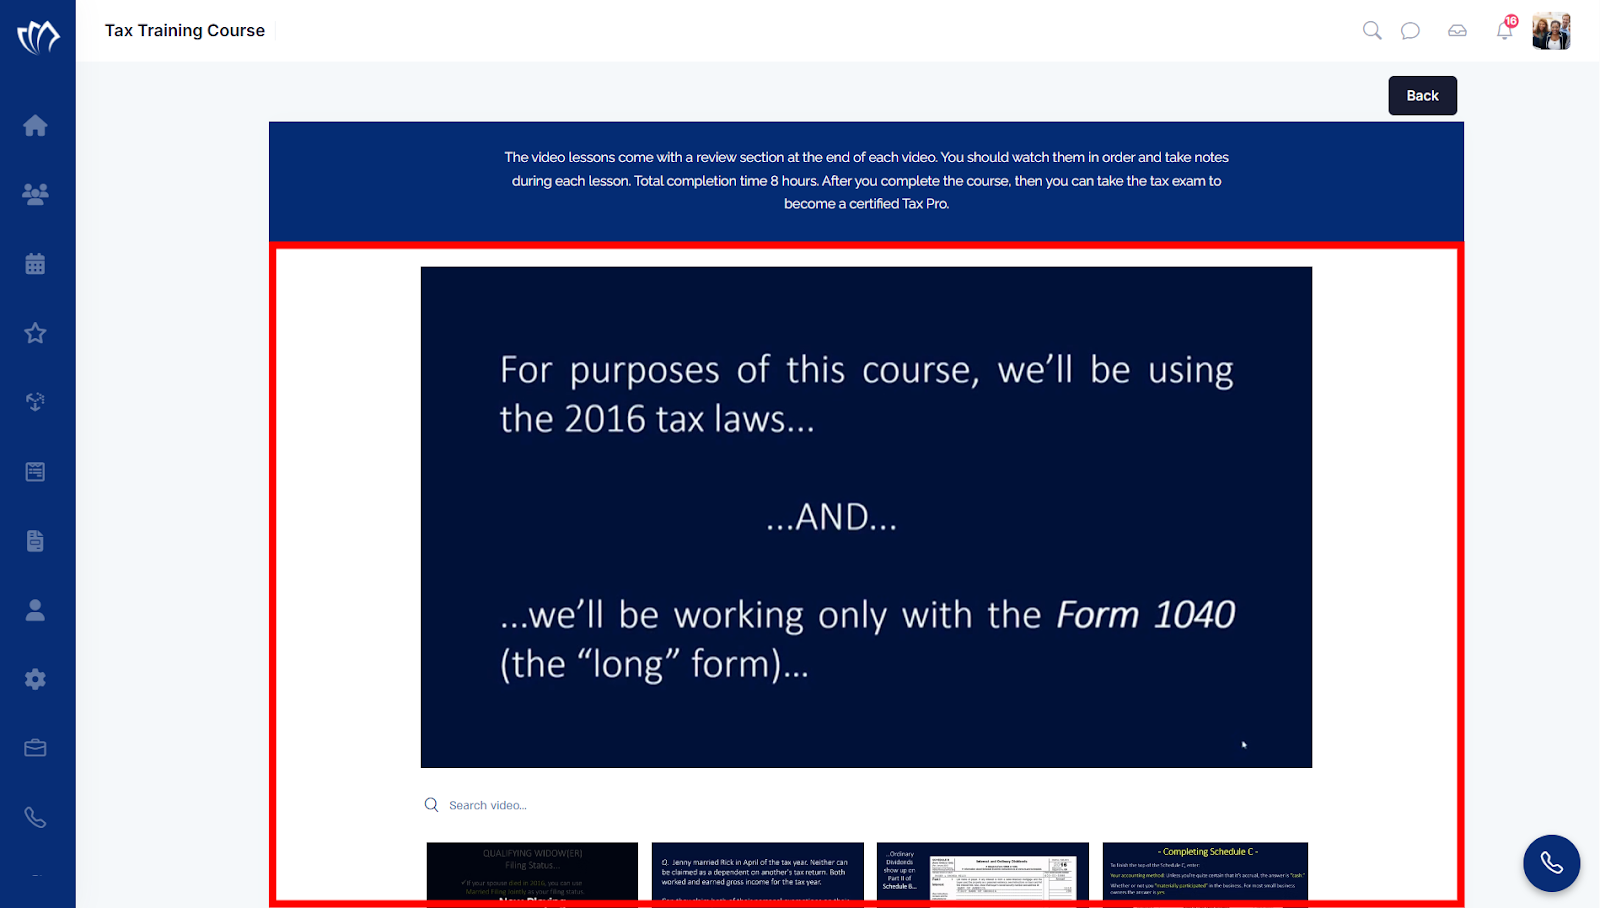
Step 1: Click on the “Tax Training Course” button to view the Tax-rated Training Courses.
Step 2: A new screen will open with several Tax Training Courses. For example, Filing Status, Gross Income, Exemptions & Dependents
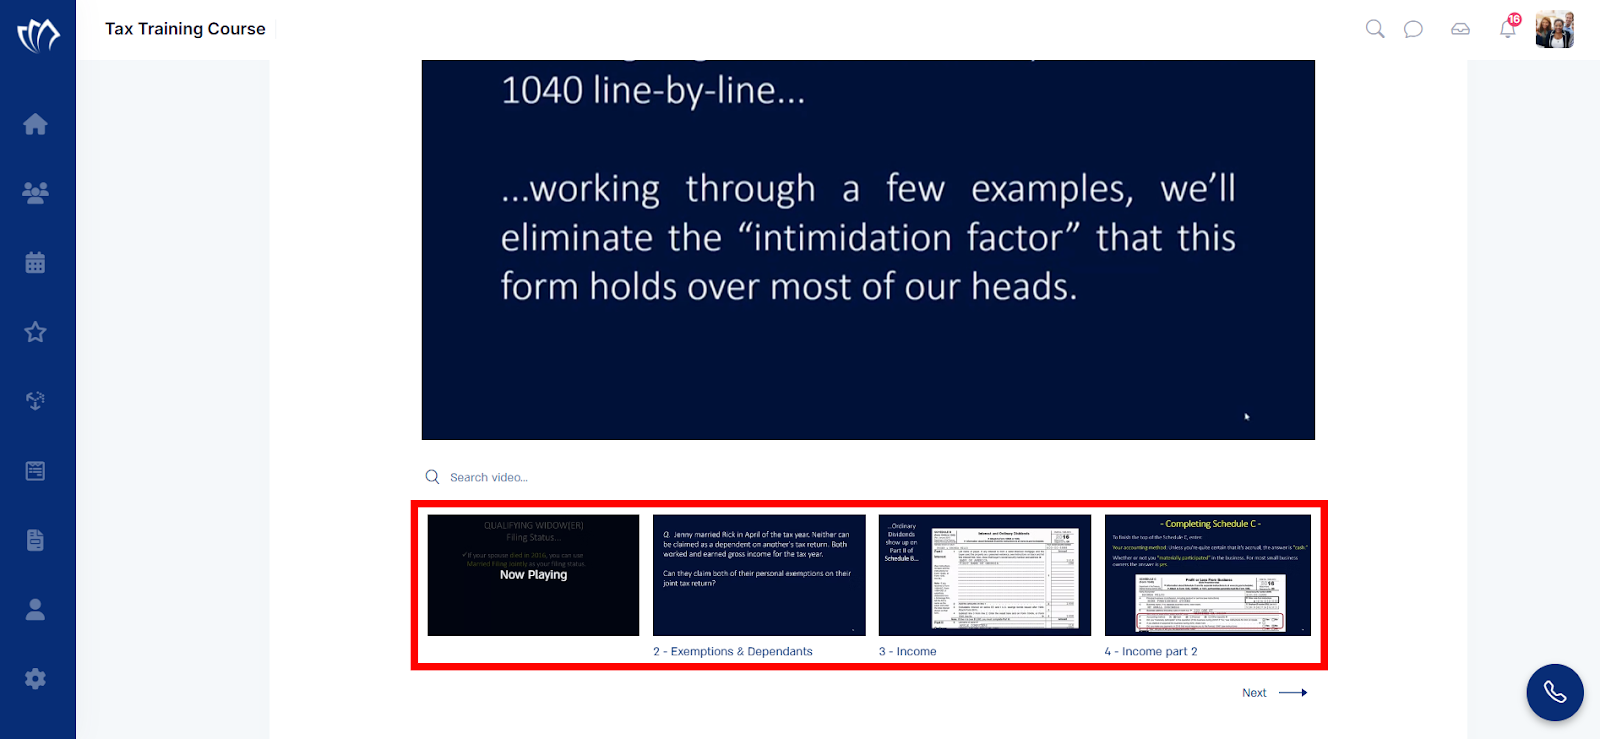
Step 3: You can view more Tax Training Courses by scrolling down, then clicking on a particular course of your interest.
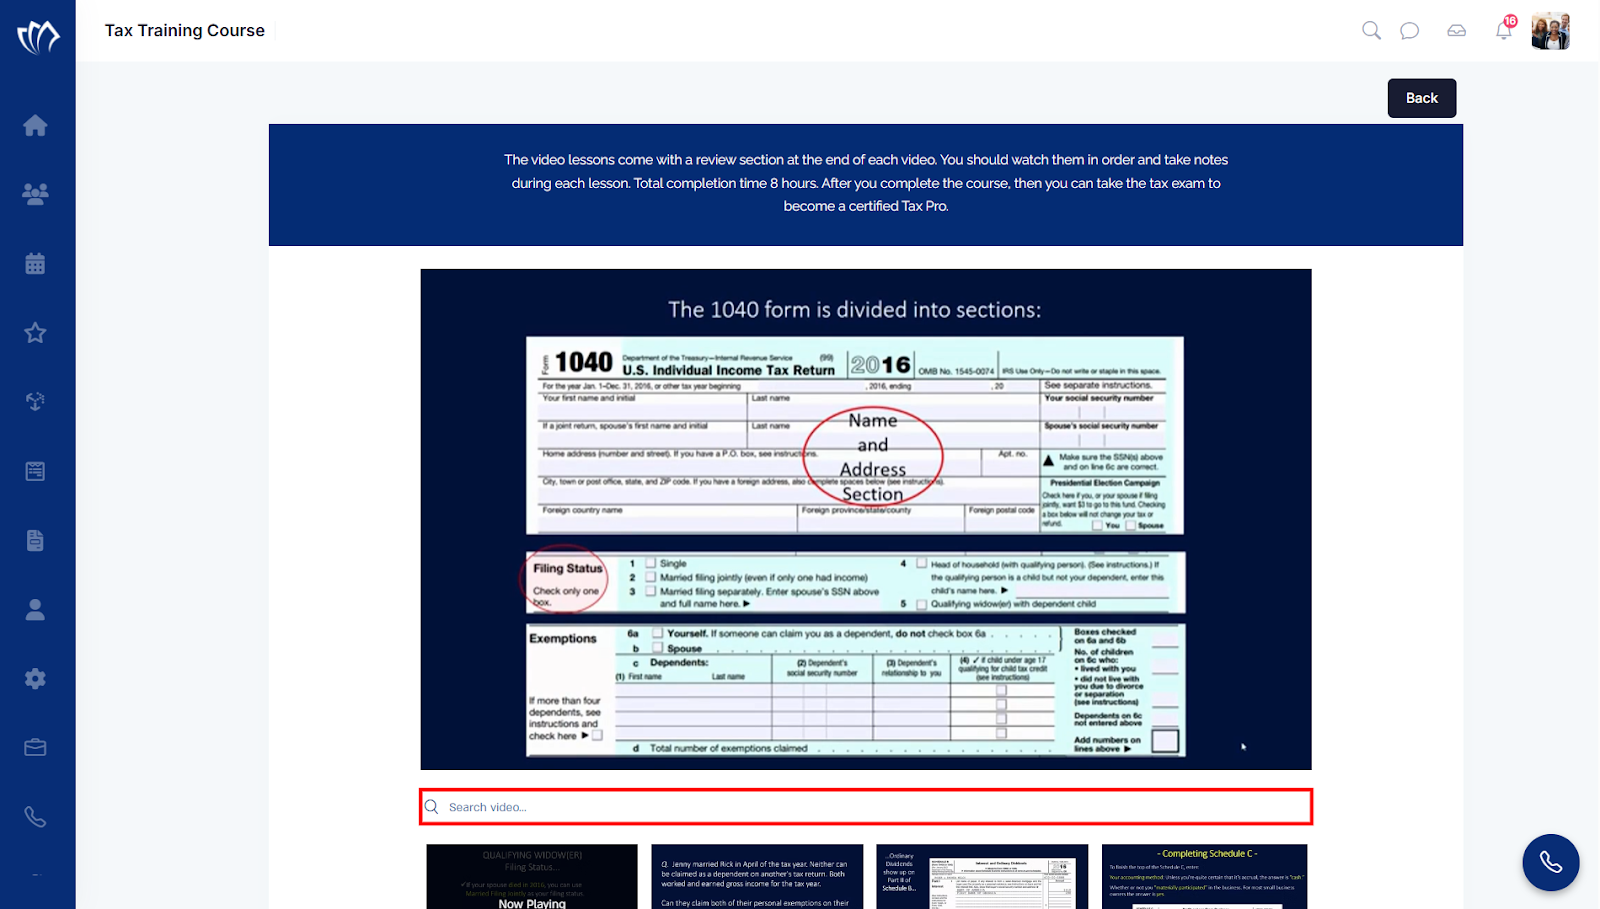
Step 4: You can search for a particular Tax Training Course by clicking on the video search bar, then entering the course name in it.
View Tax Certificate
Viewing the Tax Certificate allows you to verify completed tax-related training or participation. It serves as a record you may need for compliance, professional validation, or sharing with clients. Accessing this certificate ensures transparency and maintains credibility in your workflow.
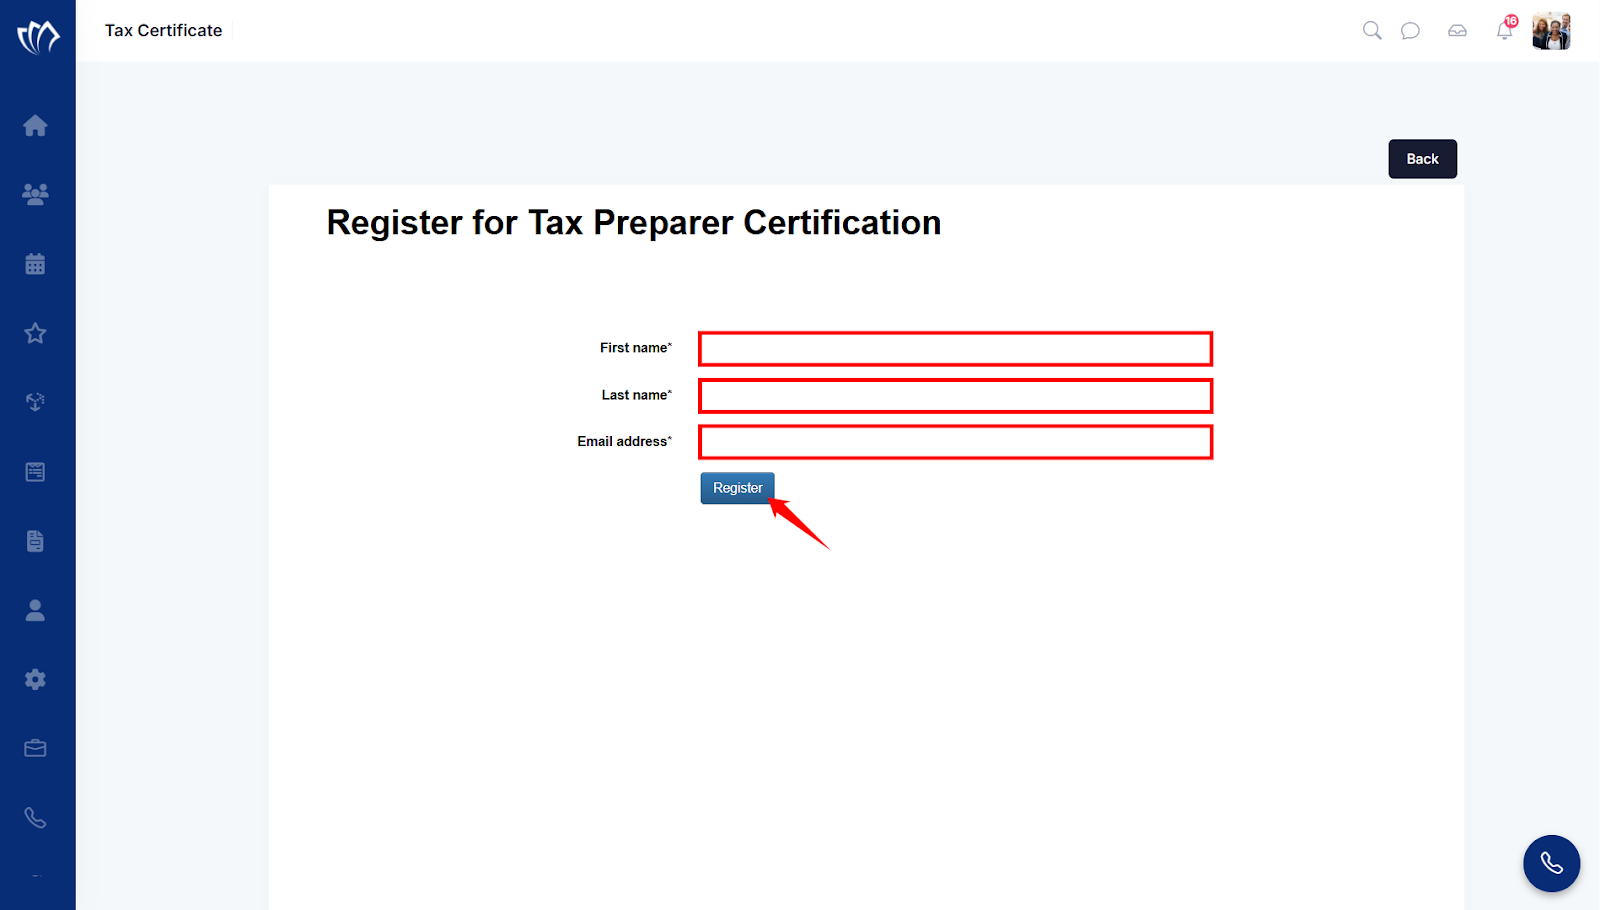
Step 1: Click on the “Tax Certificate” button to view the Tax Certificate.

Step 2: A new screen will appear. Enter all the necessary fields, then click on the “Register” button.
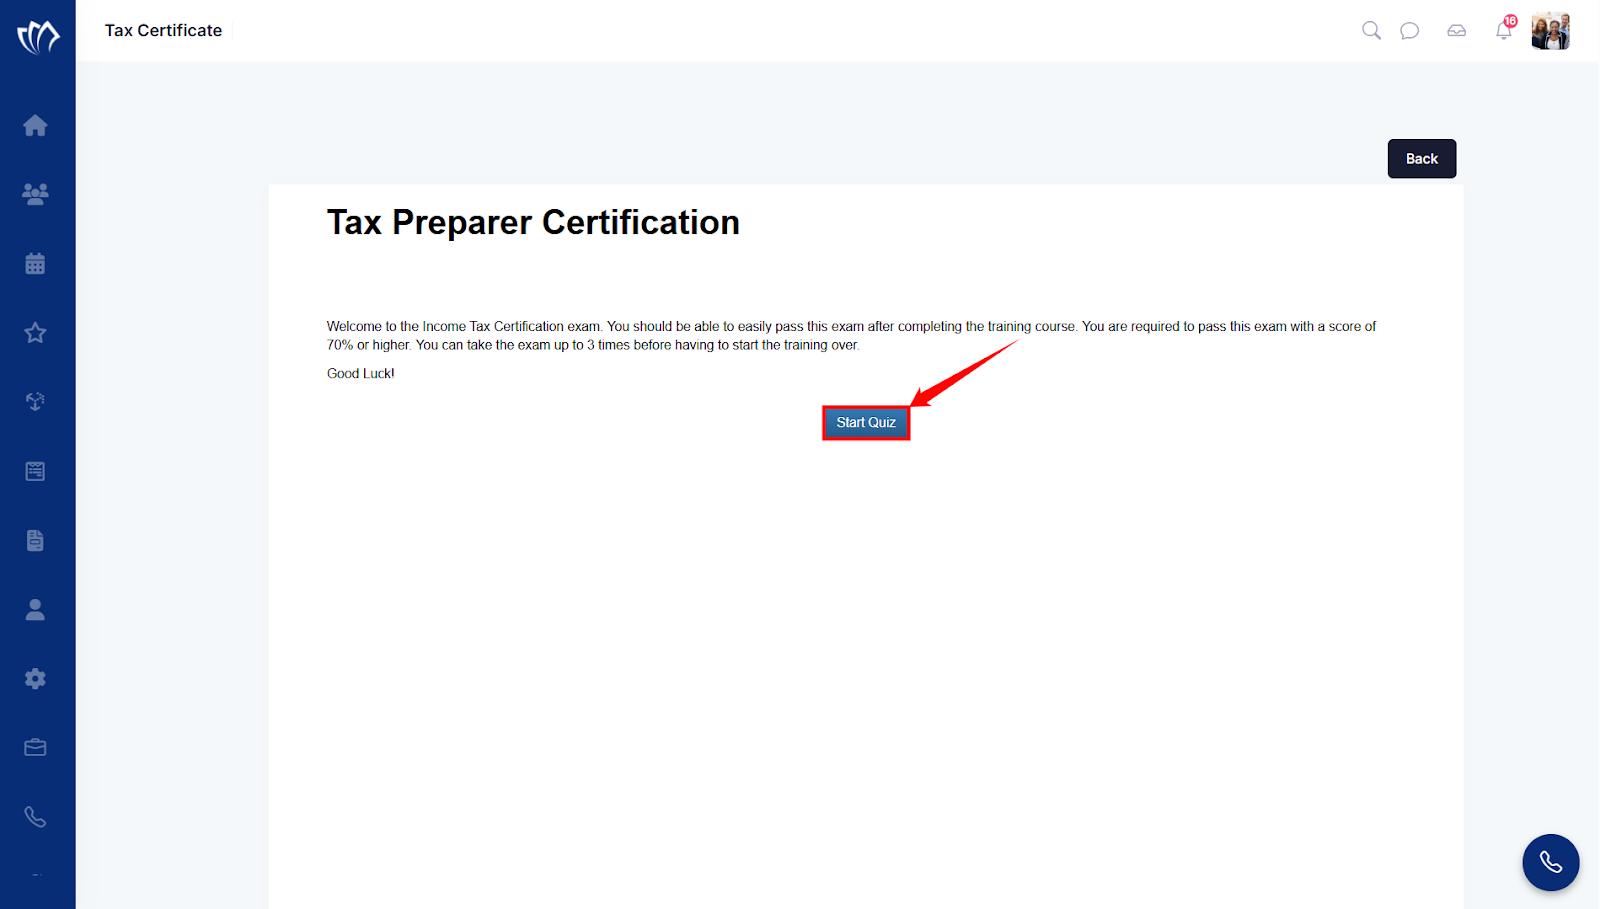
Step 3: A new screen will appear that welcomes you to the Tax Preparer Certification. Click on the “Start Quiz” button to continue.
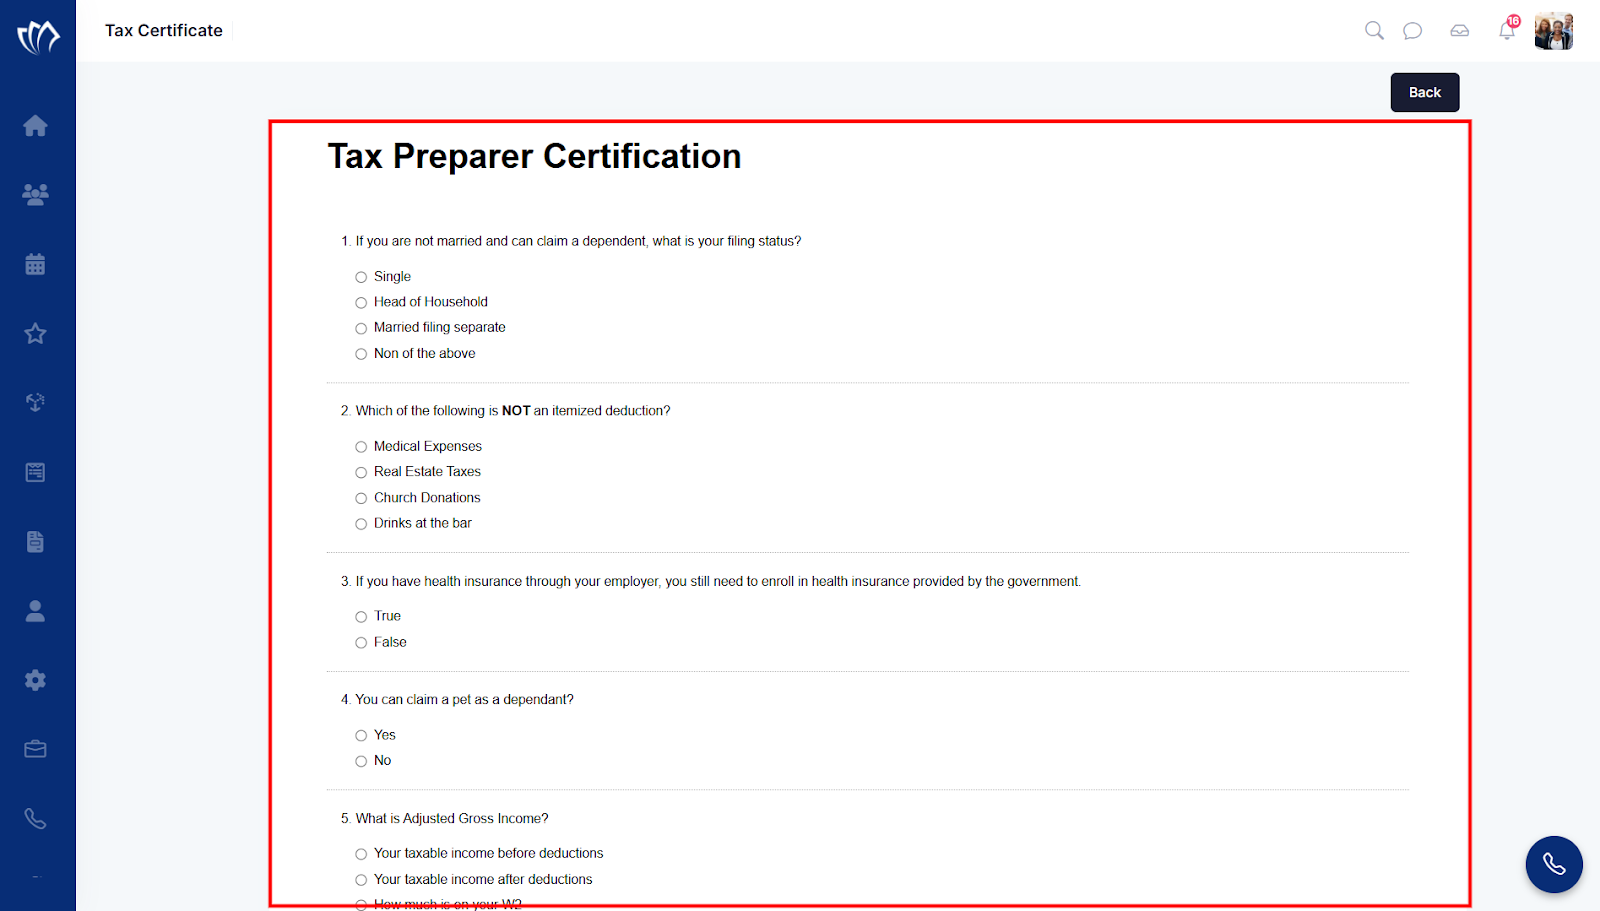
Step 4: A new “Tax Preparer Certification” screen will open with a list of tax-related questions.
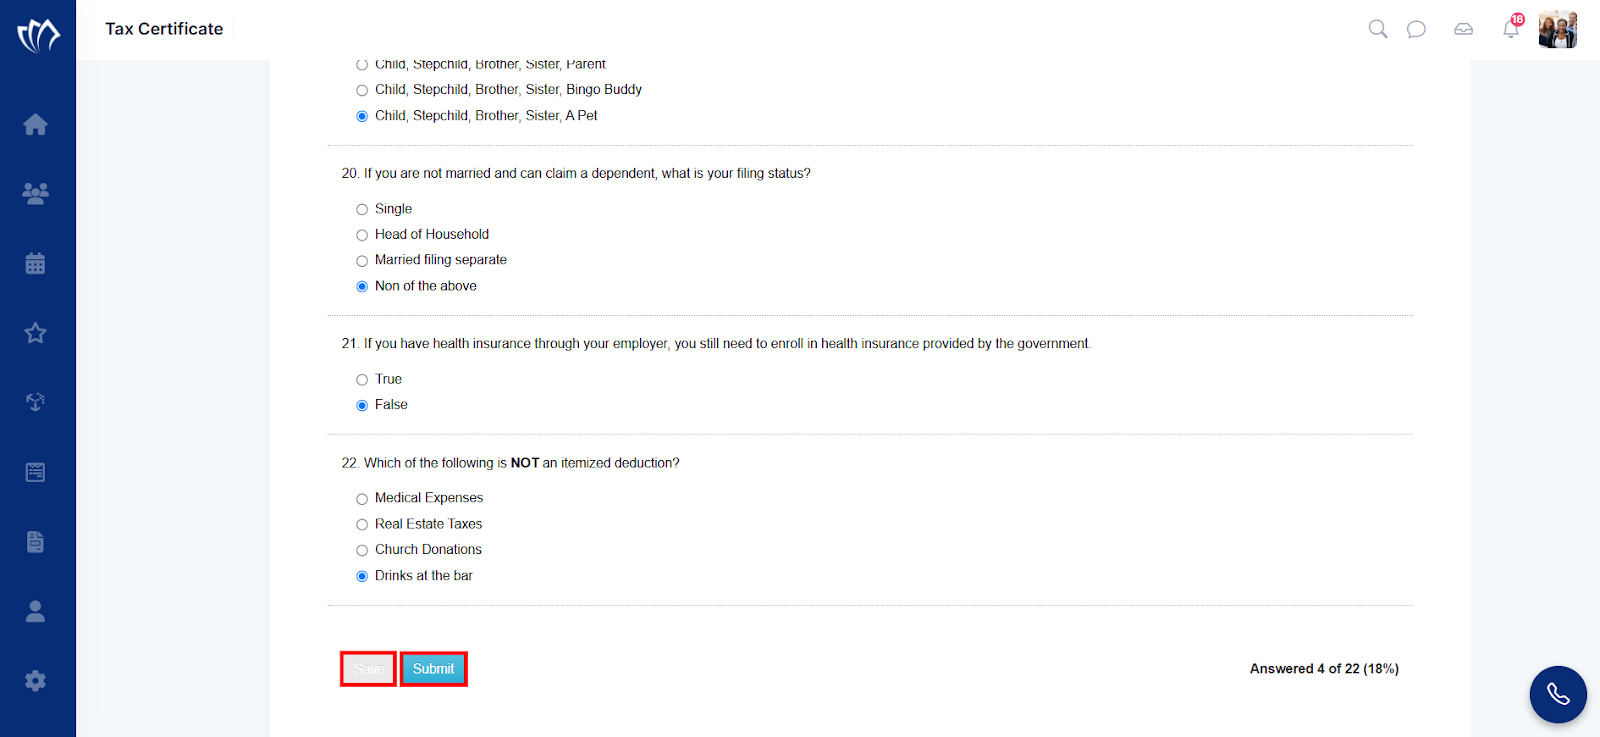
Step 5: Answer all the questions, click on the “Save” button at the end of the page, then click on the “Submit” button.
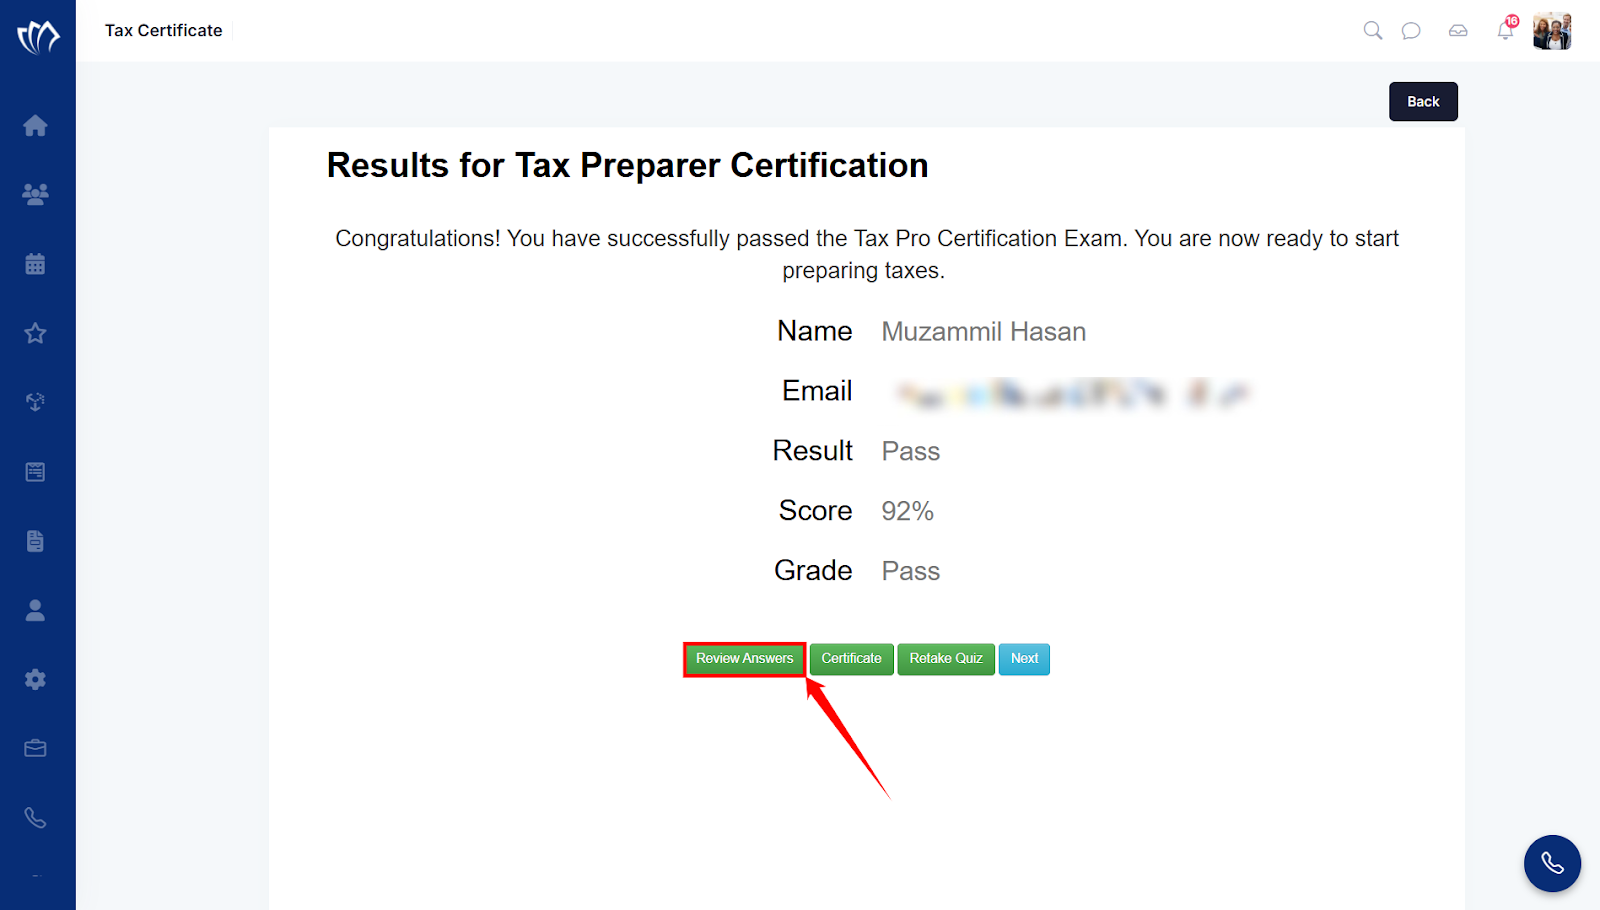
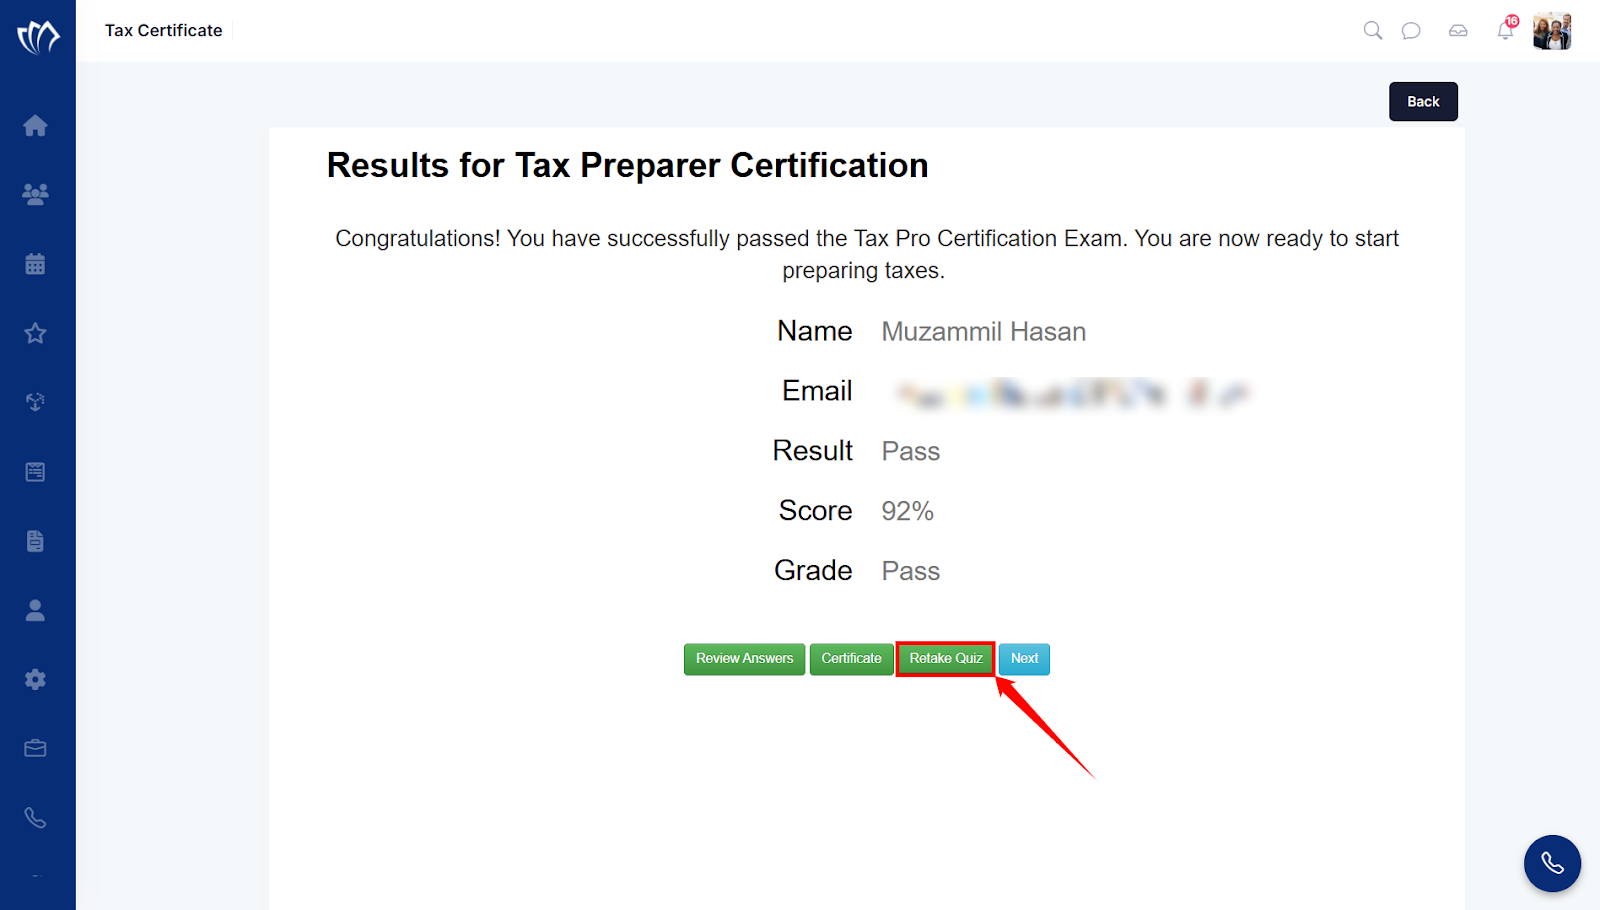
Step 5: After clicking on the “Submit” button, you will receive the results for the Tax Preparer Certification.
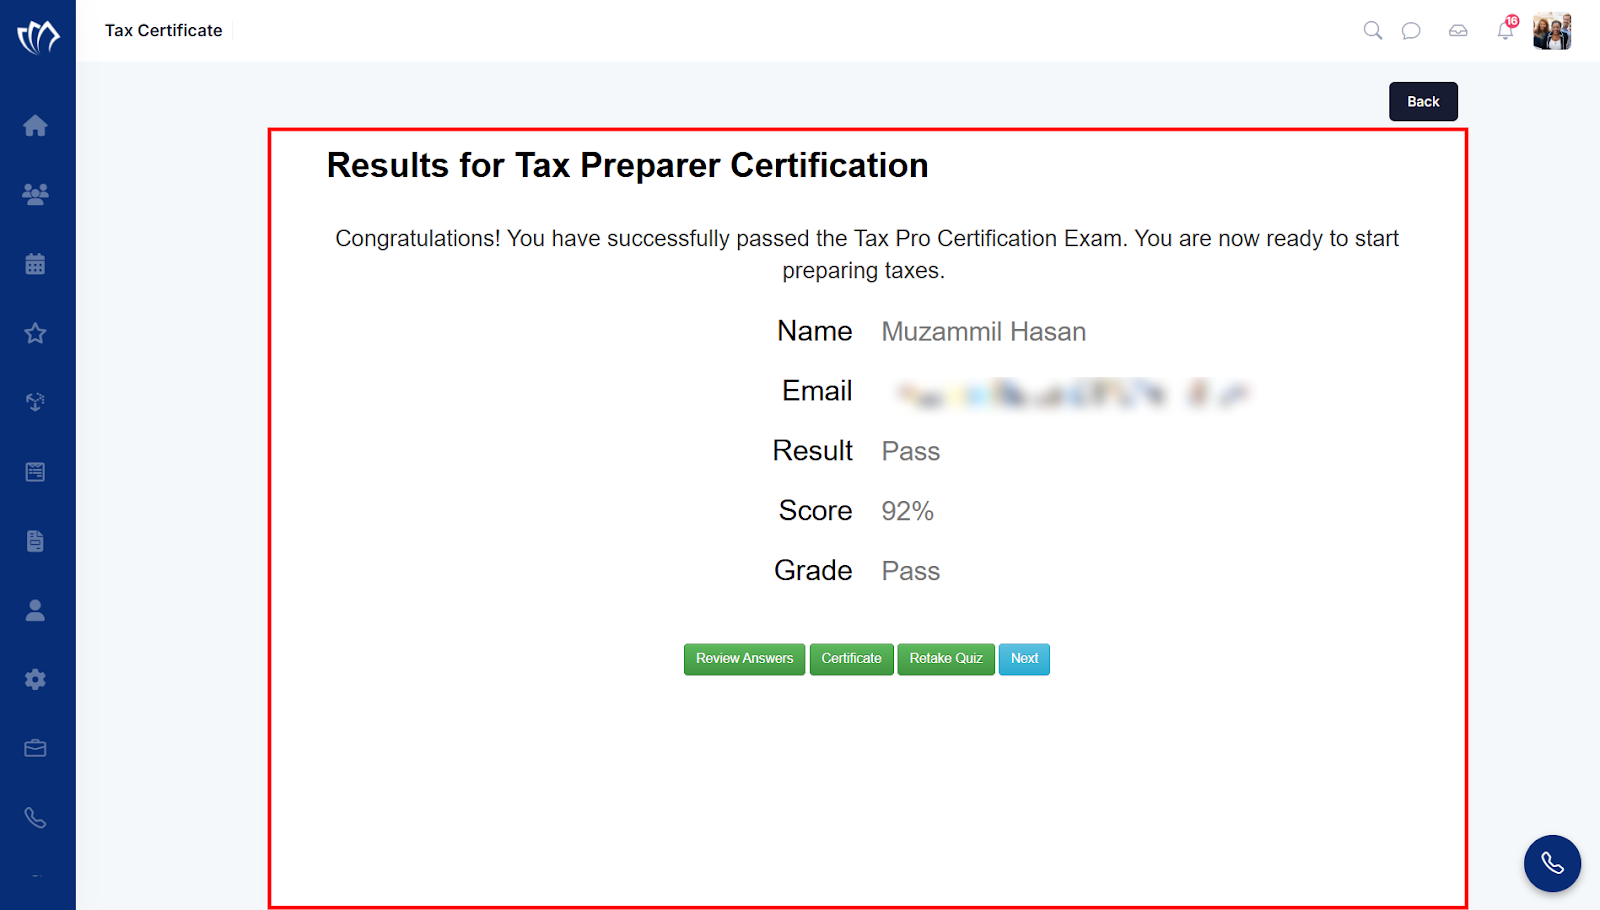
After receiving the results for the Tax Preparer Certification, you will have 4 buttons at the bottom of the results. Let’s understand them.
Review Answers
You can review the test and check the answers that you marked right and the answers that you marked wrong.
Step 1: Click on the “Review Answers” button below the results.
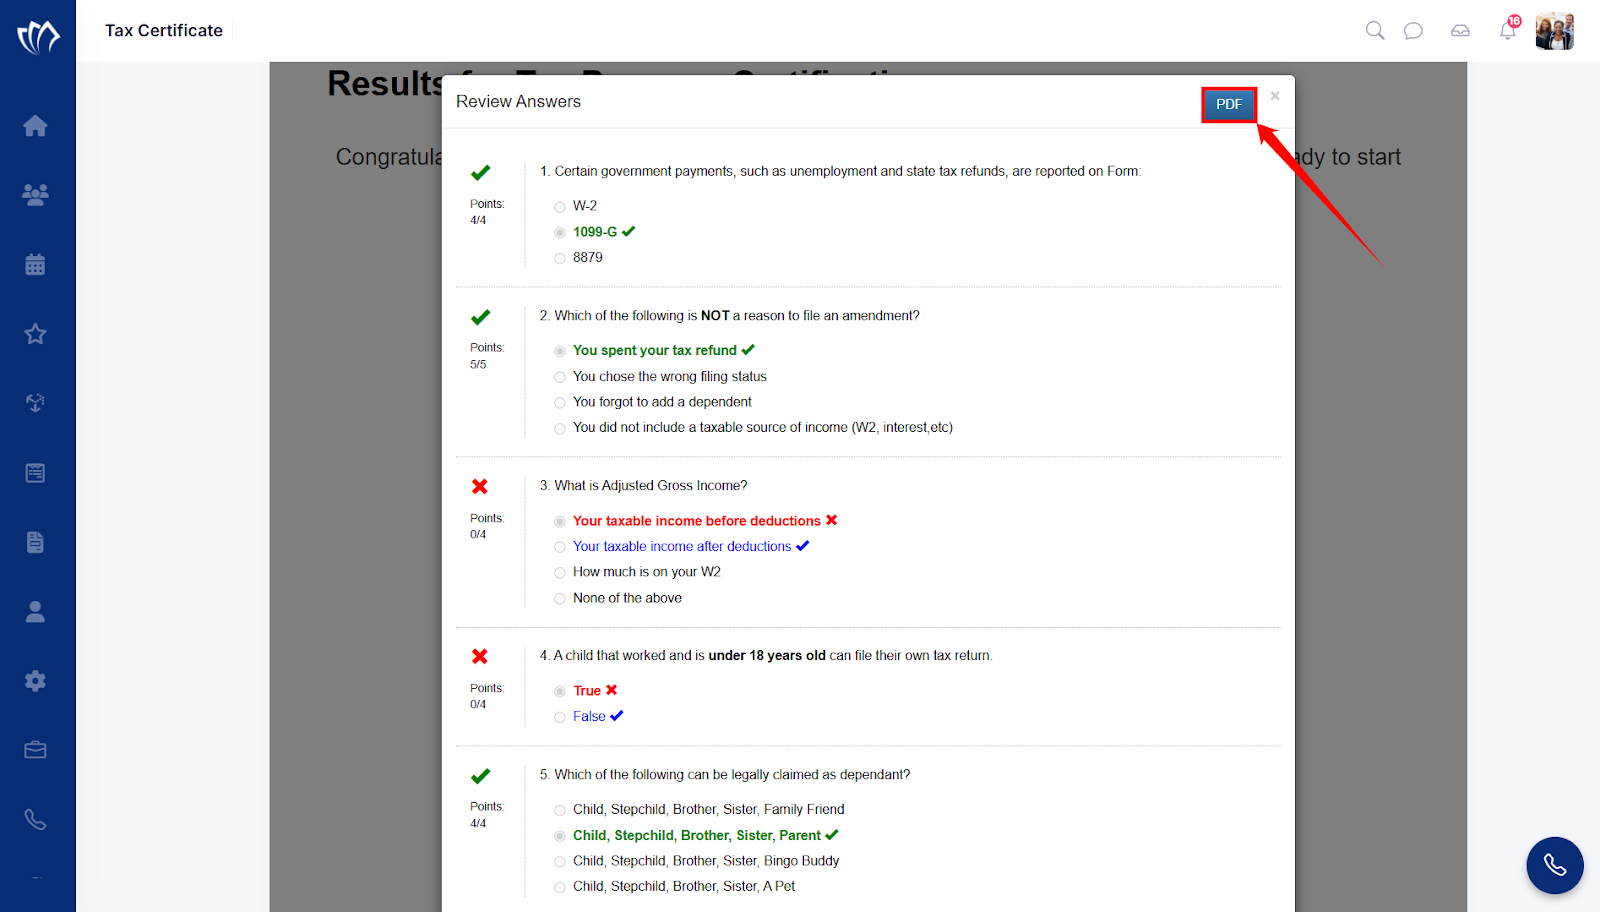
Step 2: A new window will open that shows the accuracy of all the answers.
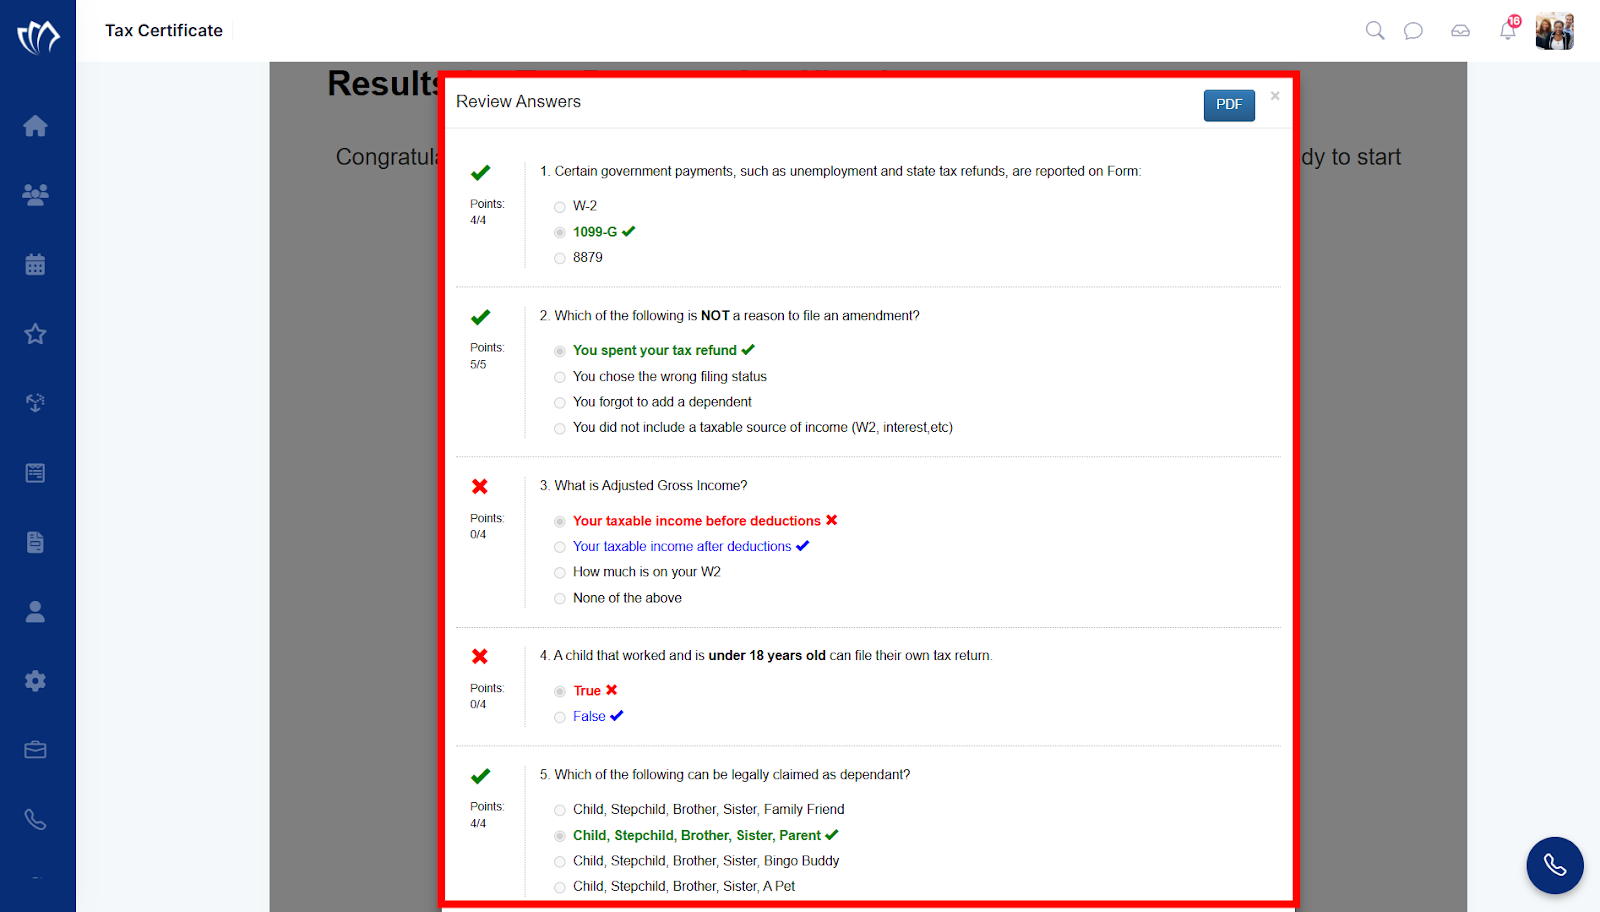
Step 3: You can download a PDF form of this window for future reference by clicking on the “PDF” button at the top-right corner.
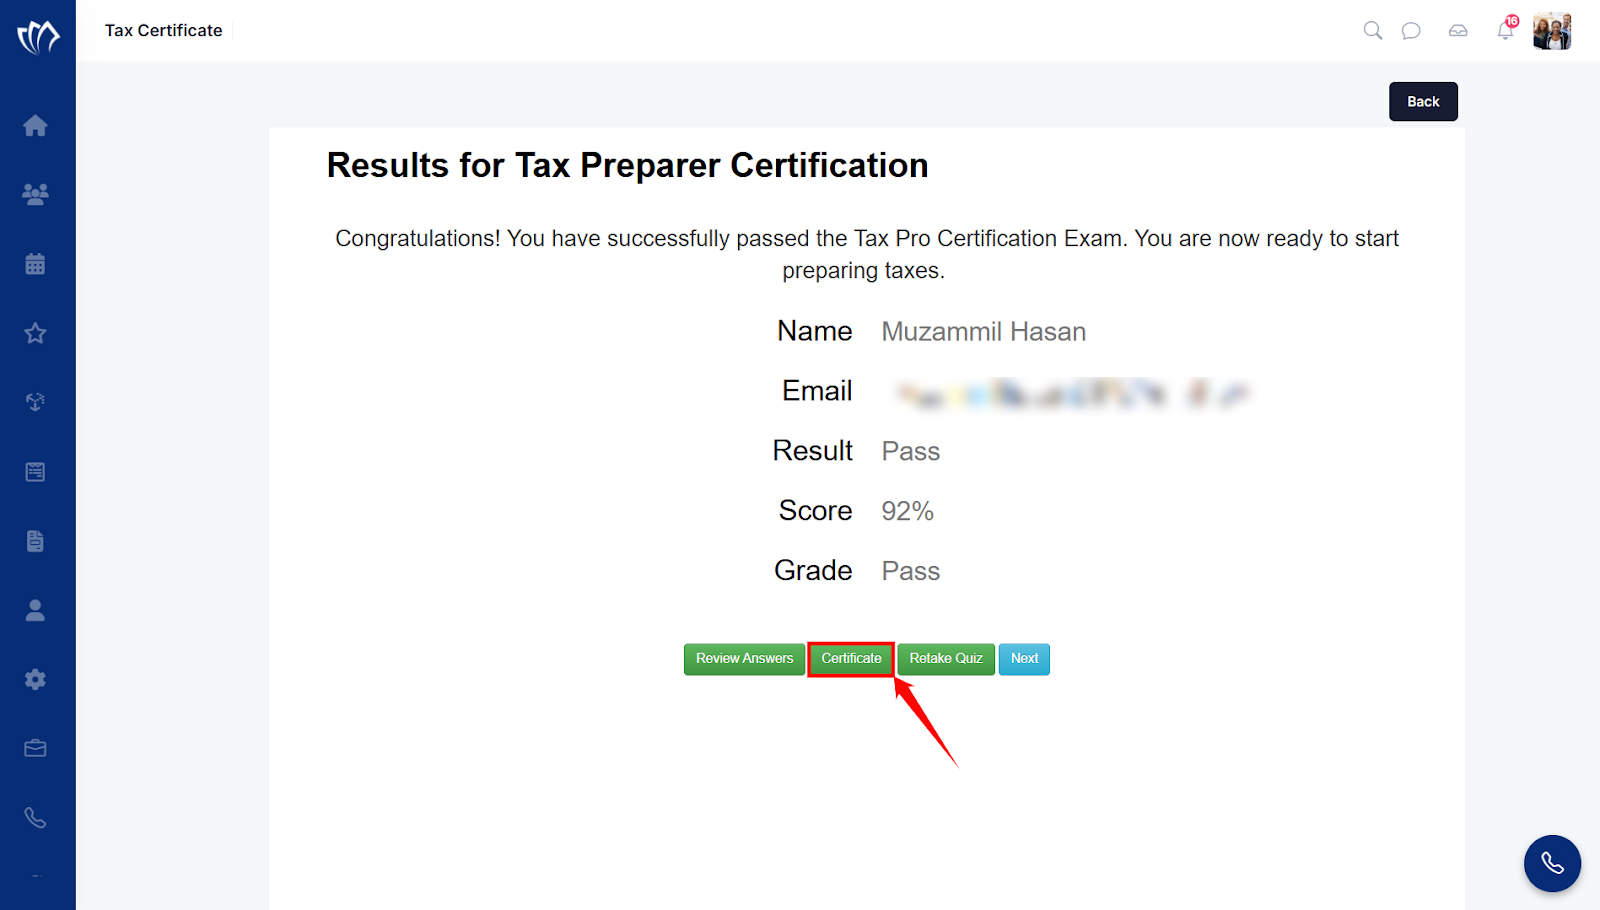
Get Certificate
You can also get a passing certificate once the result is marked as Pass. It helps individuals who want to pursue a career in tax preparation. This certification validates your understanding of tax laws and filing procedures, but also builds trust with clients and employers.
Click on the “Certificate” button to download the certificate of your passing result.
Retake Quiz
You can also retake the quiz if you are not satisfied with the result you have received.
Click on the “Retake Quiz” button to take the quiz again.
Next
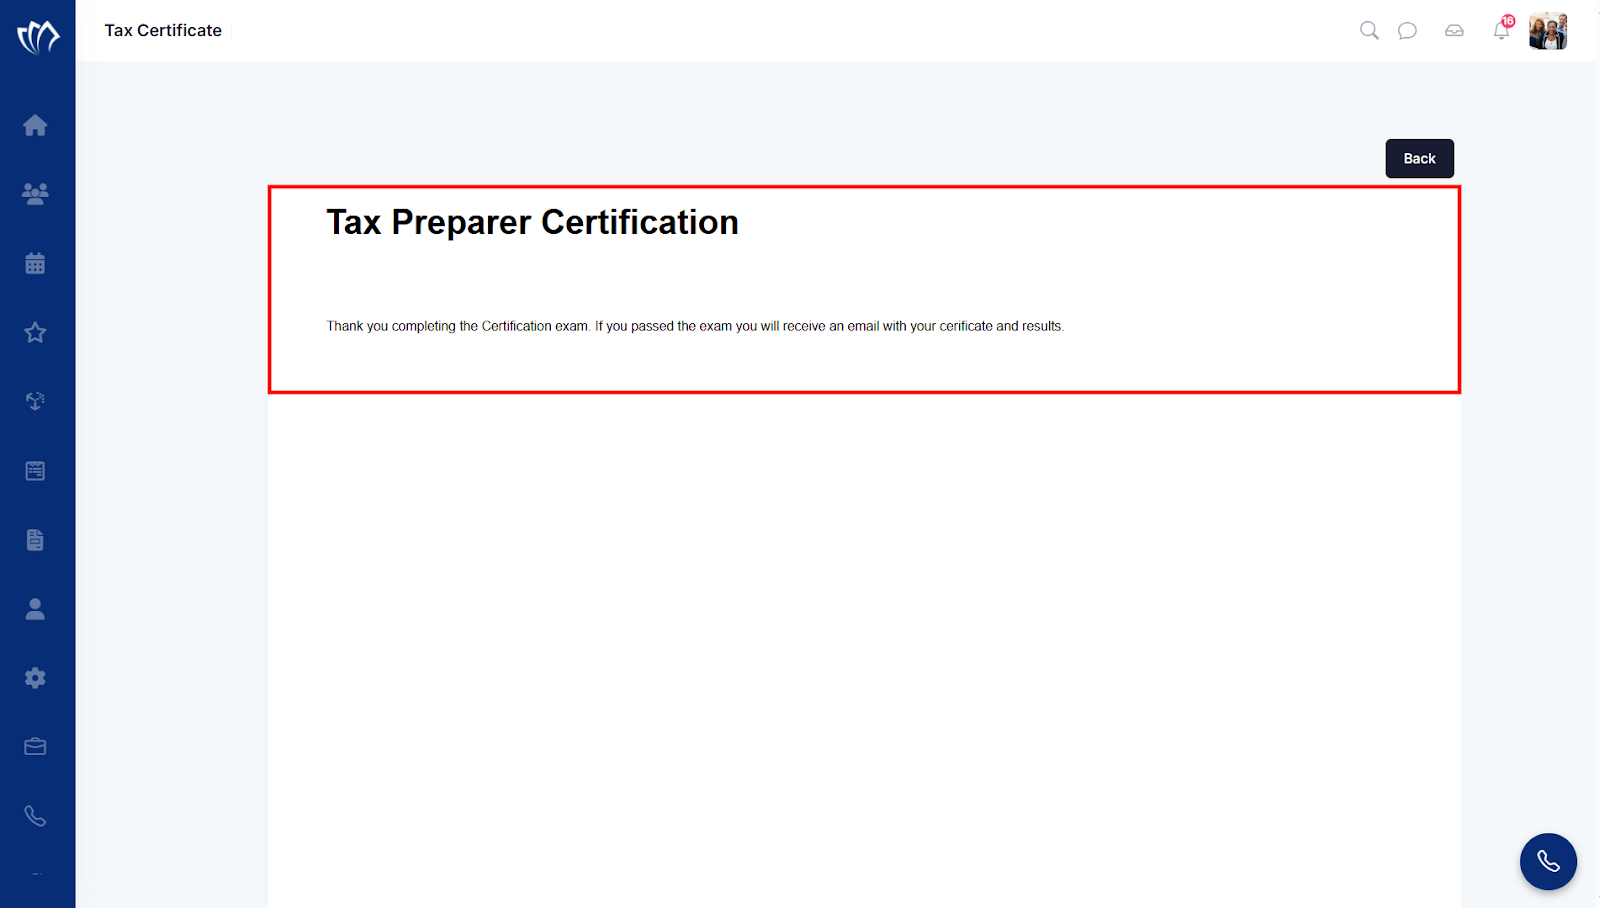
Click on the “Next” button, here you will be informed to receive your certification email.

A new page will open where you’ll be informed that after passing the exam, you will receive an email with your certificate and results.