Sending an appointment invite to your customers informs them about when and where the appointment will happen. It includes the date, time, and the video call link they need to join the session. This helps avoid confusion when appointments are scheduled ahead of time or involve remote communication.
The invite acts as a reference point for both you and the customer. It reduces the chances of missed appointments since everything is shared in one message. Sending it at the right time keeps everything organized and makes the session manageable.
Follow the step-by-step guide below to send the appointment invite on the TAAX Pro platform.
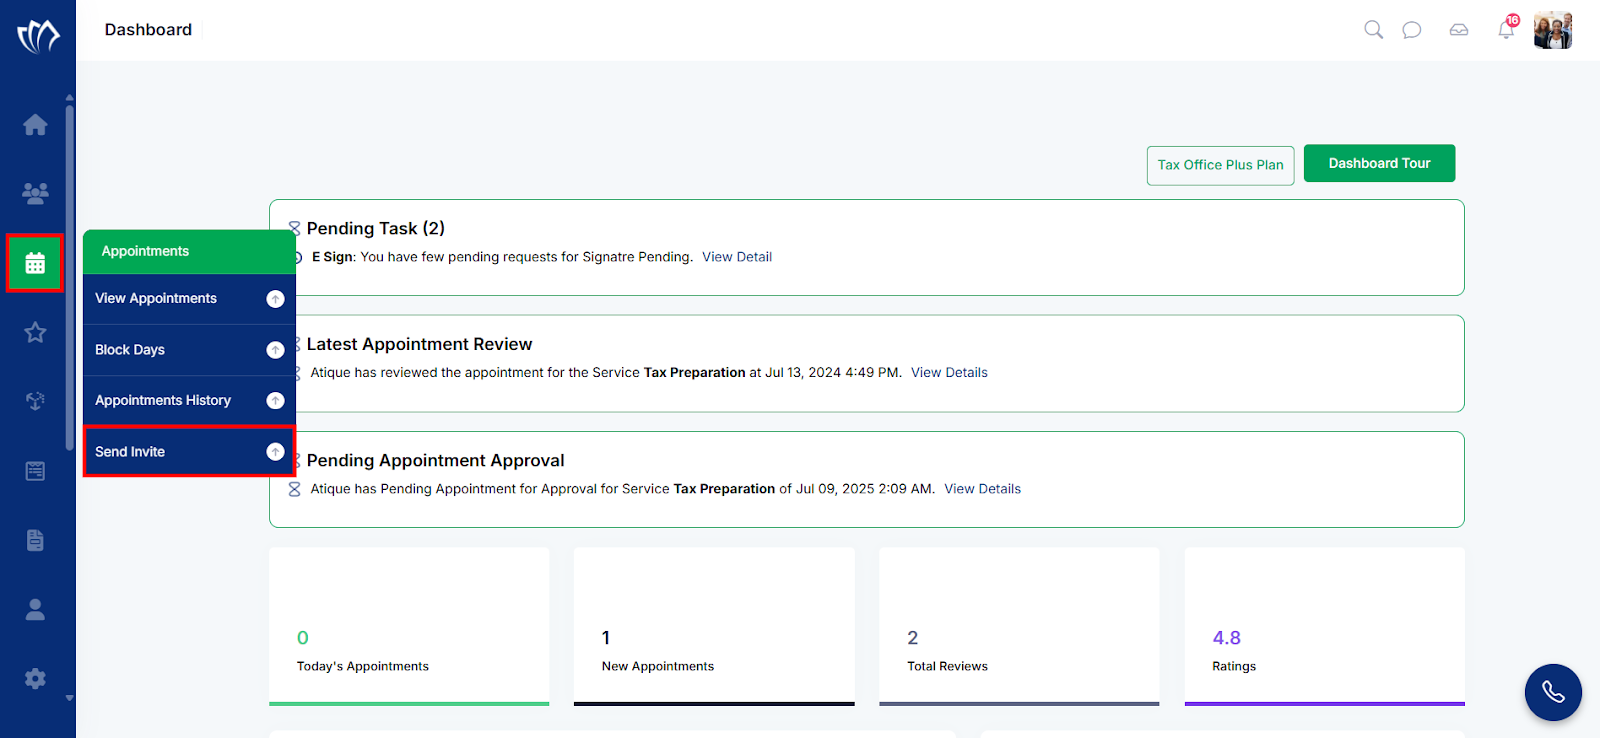
Step 1: Navigate to the left side panel, hover over the “Appointments” section, then click the “Send Invite” option.
Step 2: A new modal window will appear, providing you with the options to send the invite.
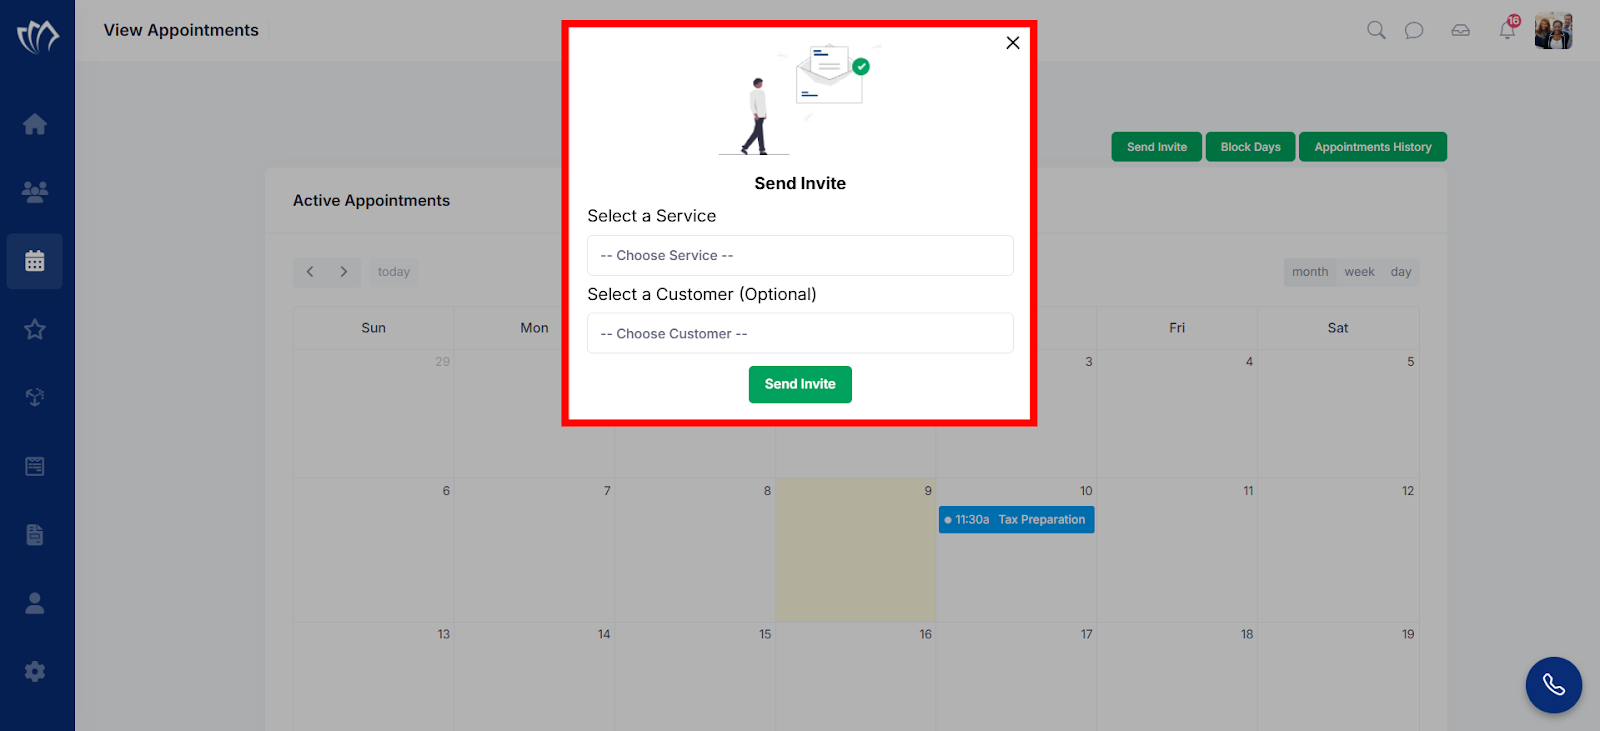
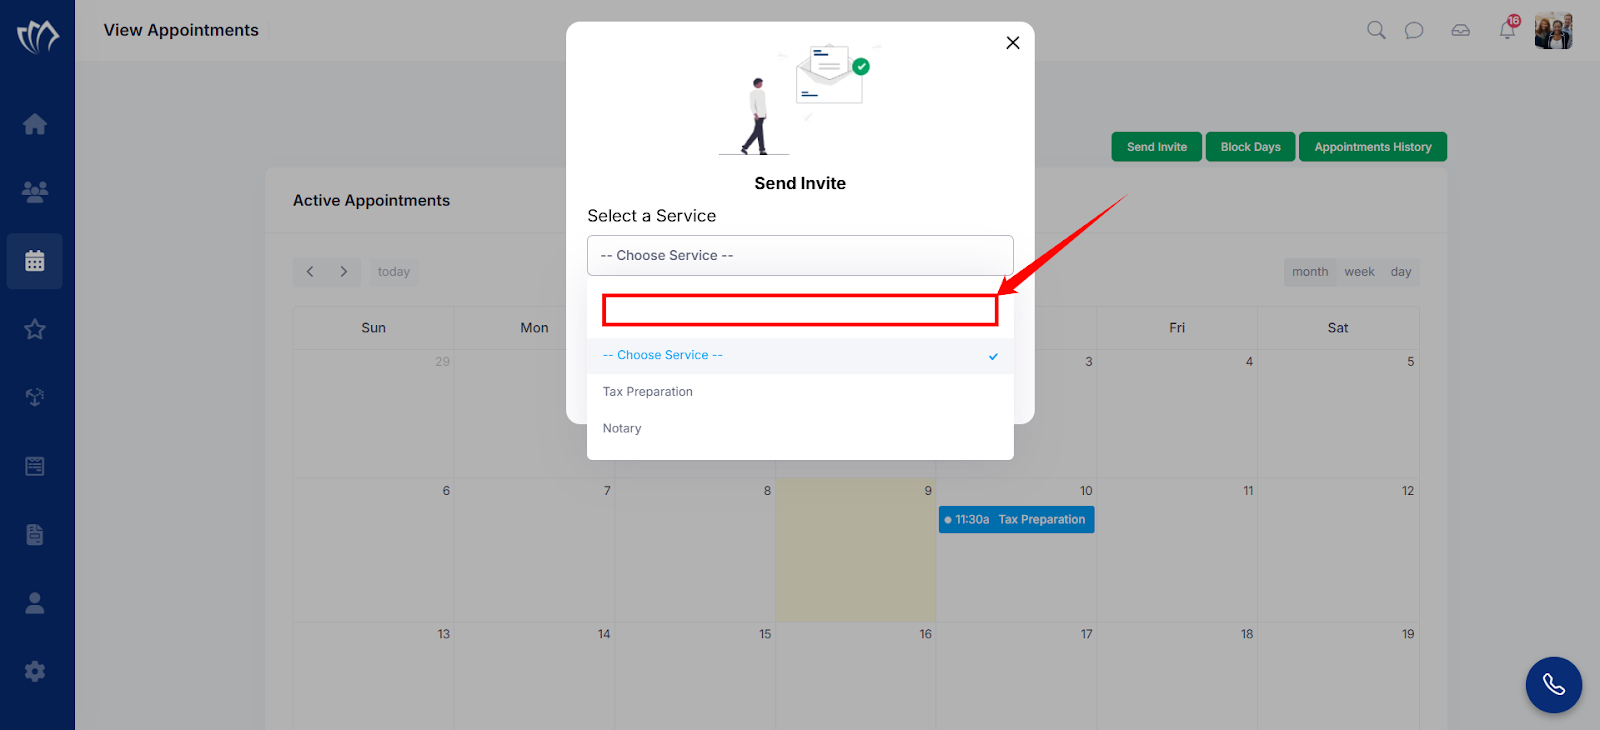
Step 3: Click on the “Select a Service” dropdown and click on an appropriate service for which you want to send the invite.
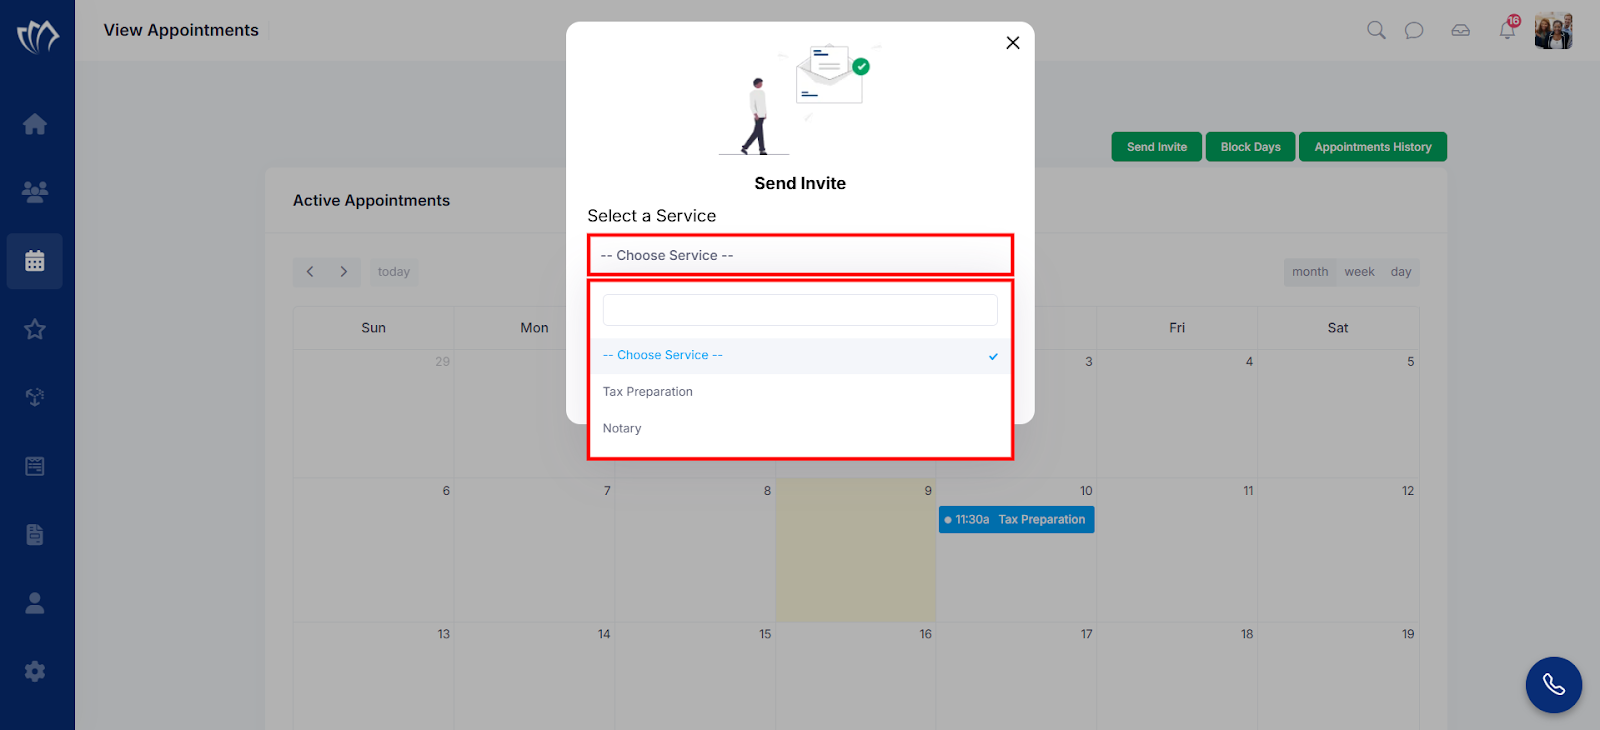
Note: You can also search for a service by clicking on the search bar and entering the service’s name in it.
Step 4: Click on the “Select a Customer” dropdown (an optional step) and click on an appropriate customer to whom you want to send the invite.
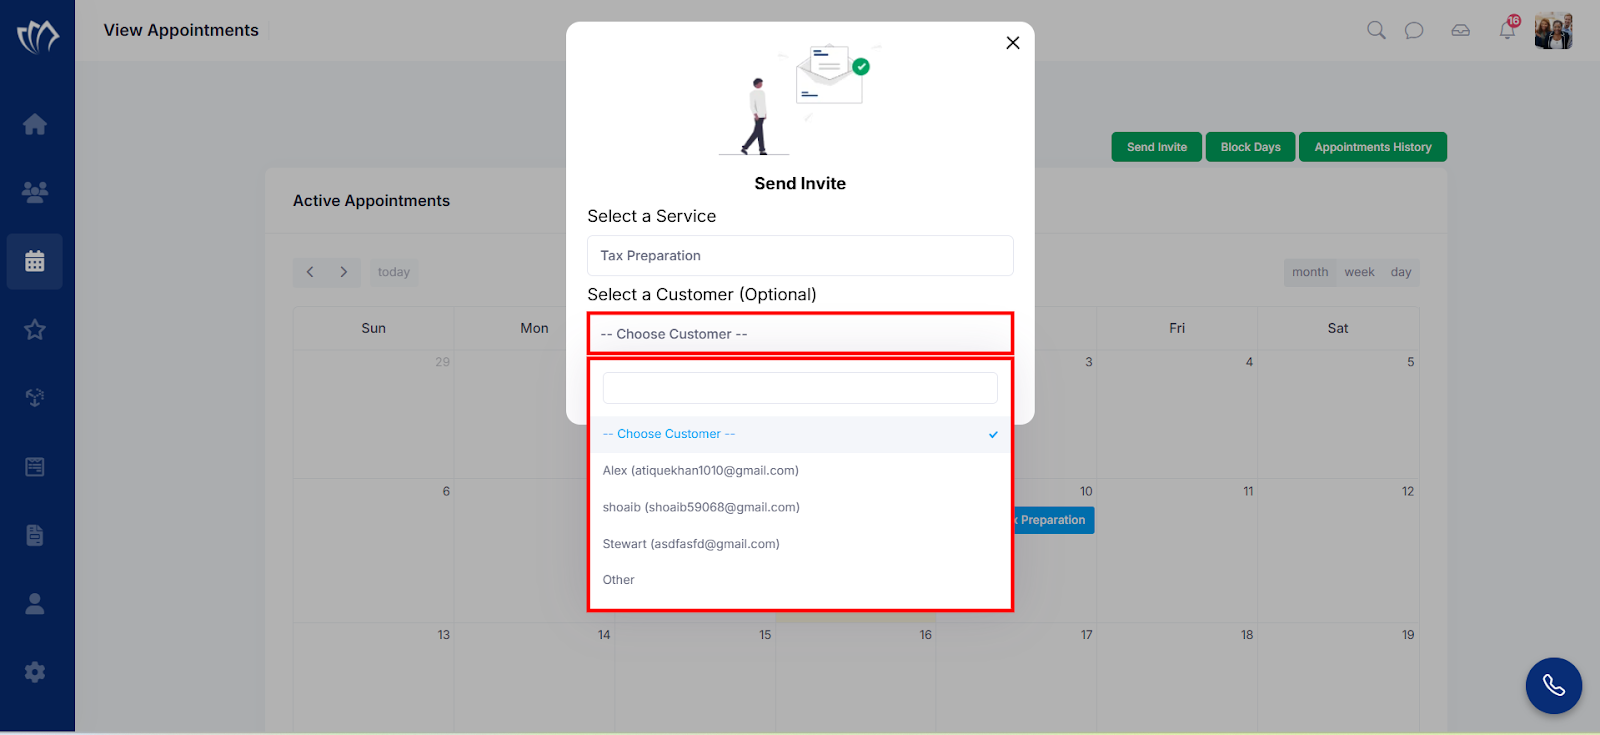
Note: You can also search for a customer by clicking on the search bar and entering the customer’s name in it.

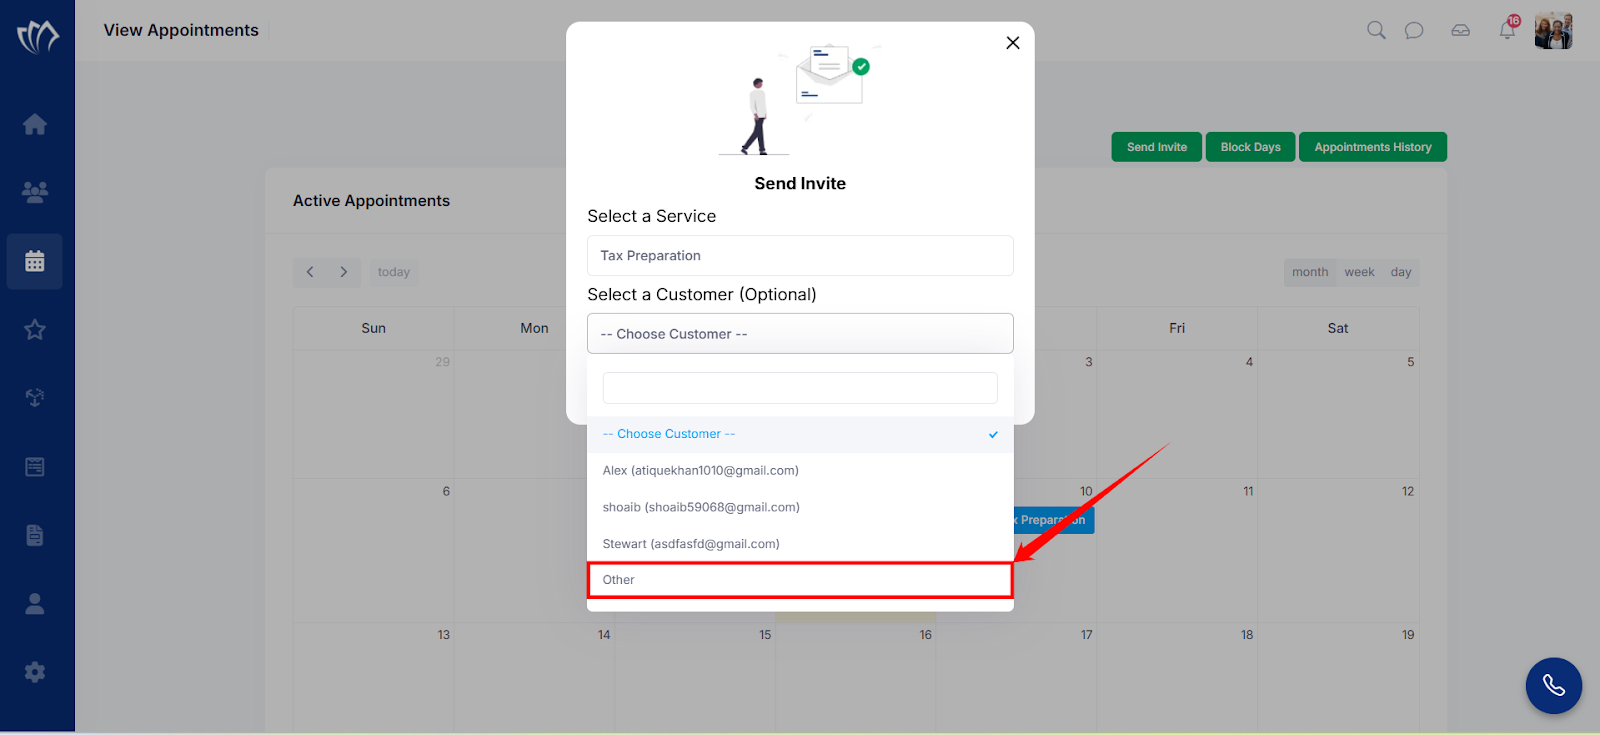
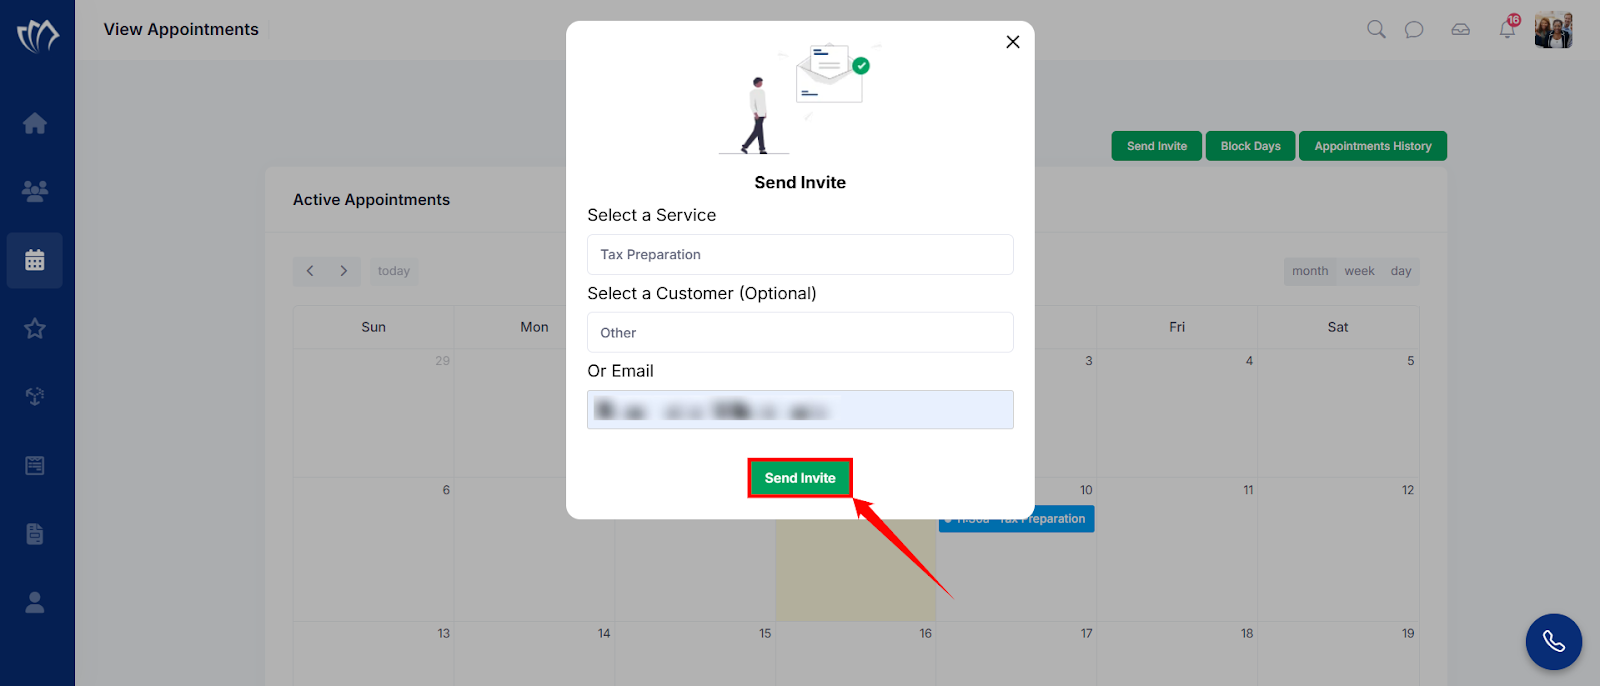
Step 5: If you cannot find the customer’s name in the list, click on the “Other” option at the end of the dropdown list.
Step 6: The Send Invite Modal will now expand, and the “Or Email” option will appear. Enter the email address of the customer if you cannot find it in the “Select a Customer” dropdown.
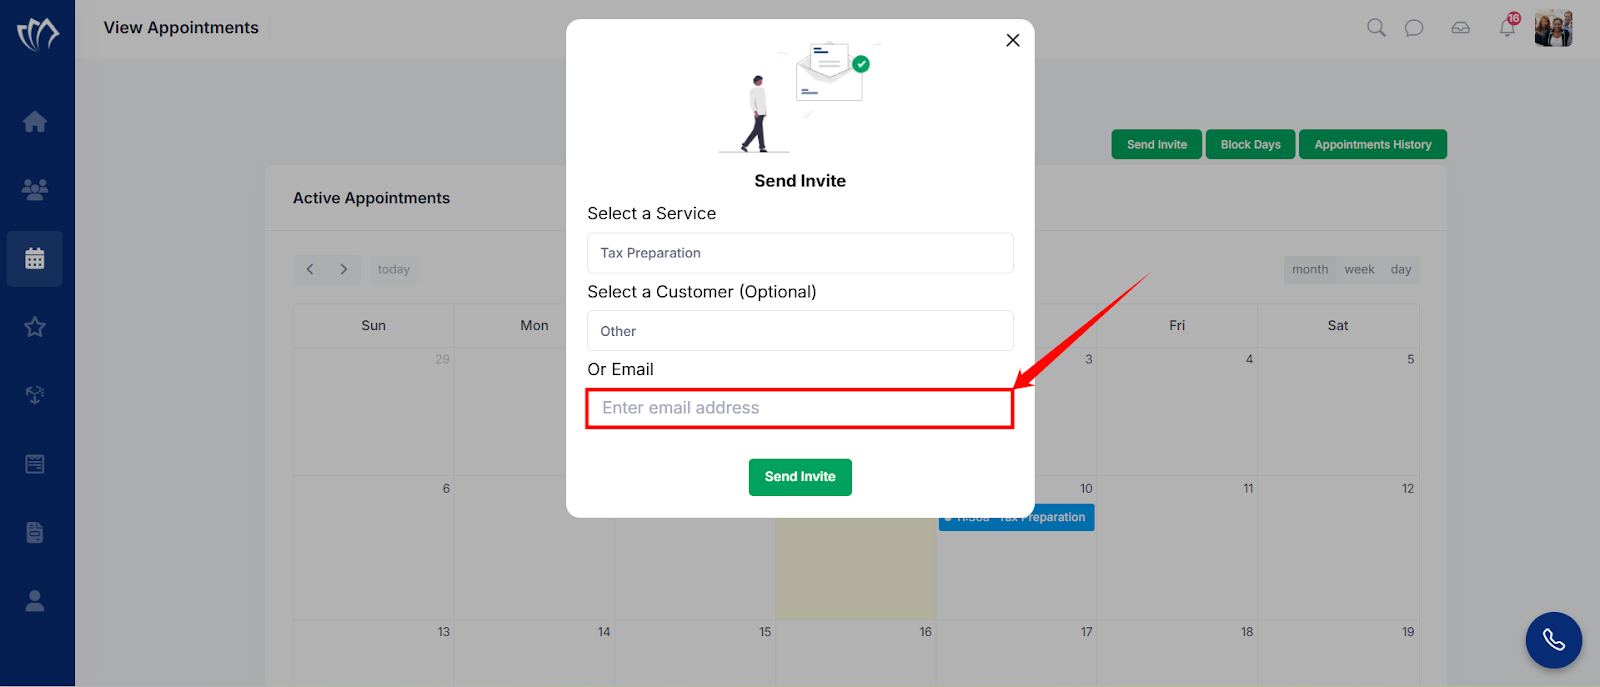
Step 7: After selecting a service or entering the email address, click on the “Send Invite” button.
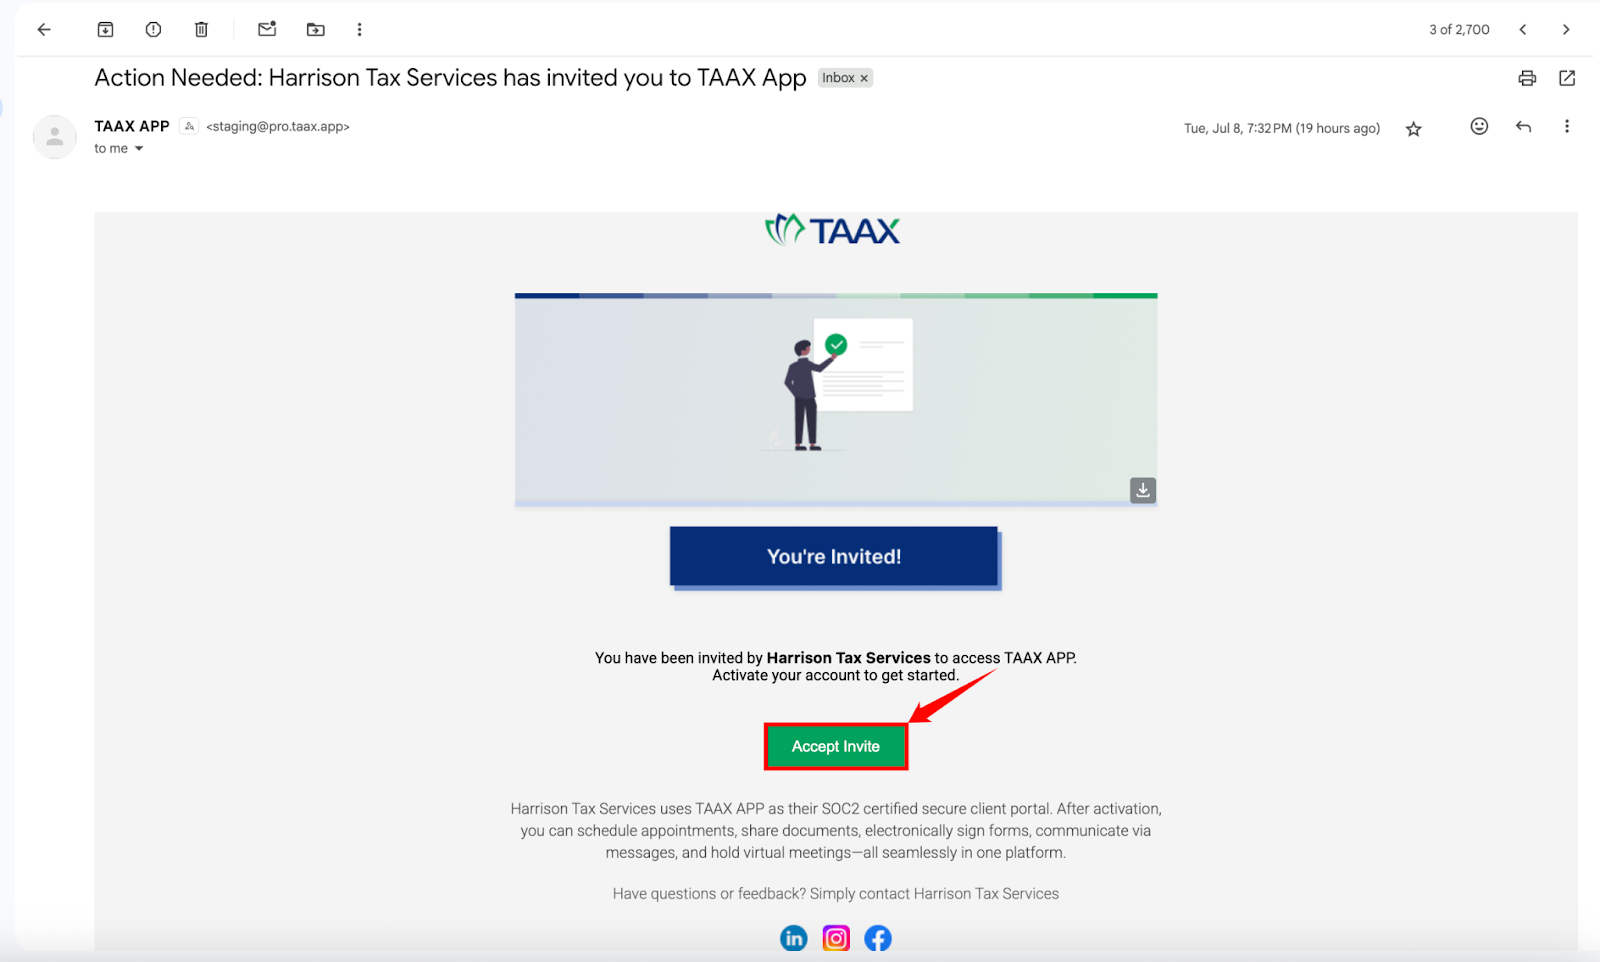
After clicking on the “Send Invite” button, the customer will receive an invitation email, as shown in the image below. The customer can accept the invite by clicking on the “Accept Invite” option.