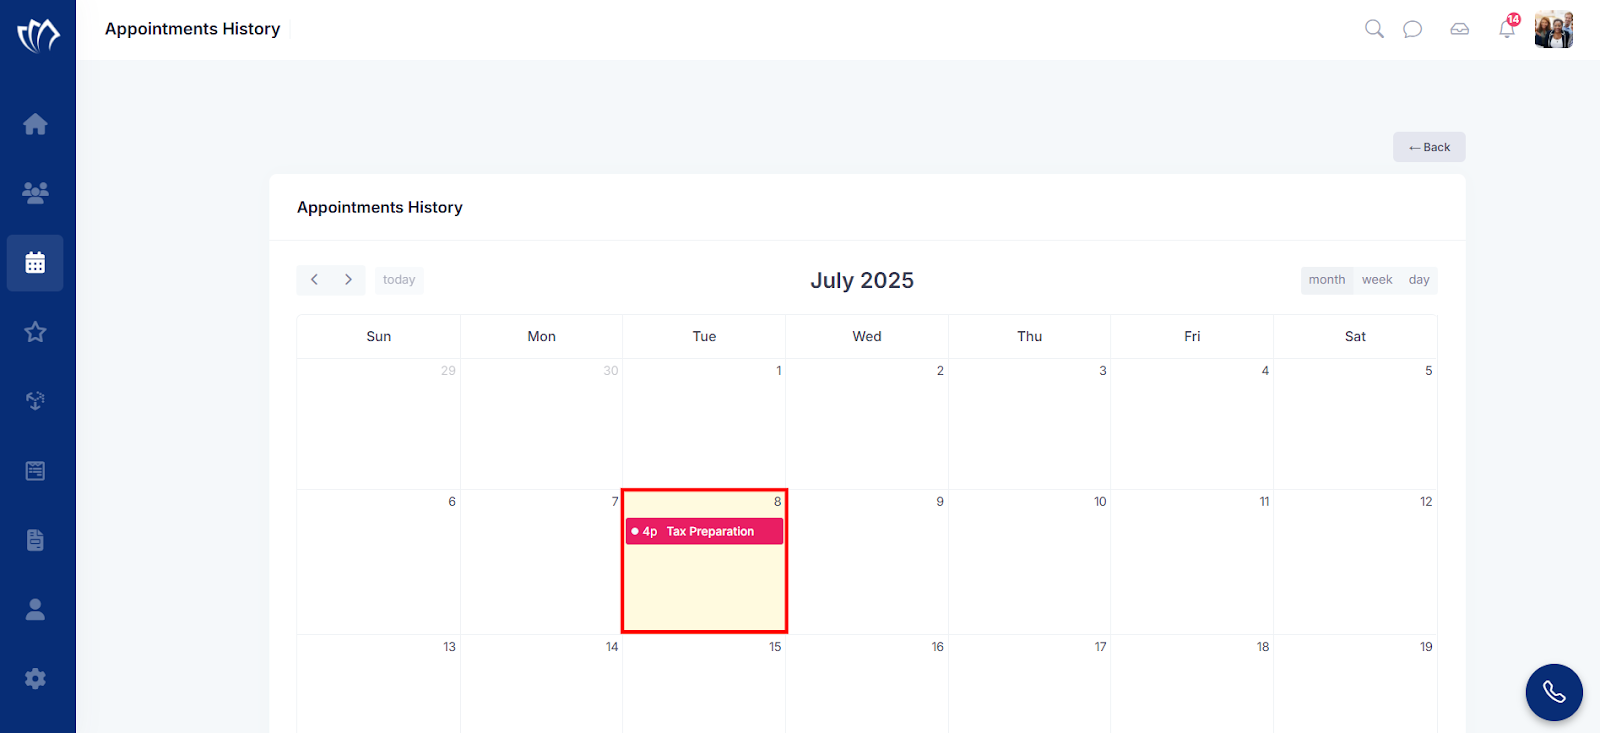
Appointment history shows a record of all the sessions that have already taken place. It includes past bookings, along with their dates, statuses, and basic details to track what’s been completed and when. This helps to verify previous meetings, follow up with a customer, or keep a log of work done. Having access to history avoids repeated questions and gives a clearer view of how appointments have been handled over time.
Follow the step-by-step guide below to view the appointment history in TAAX Pro.
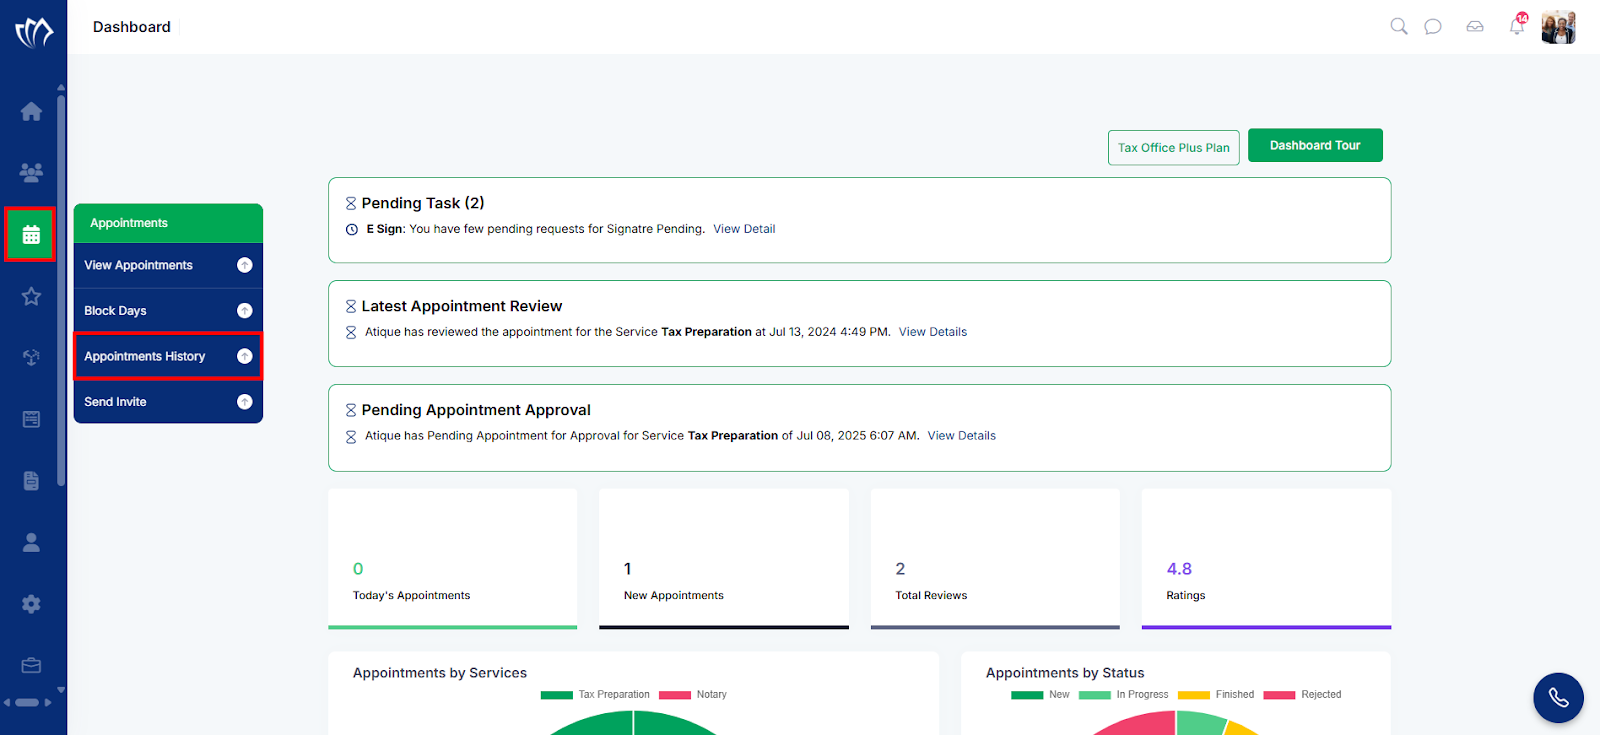
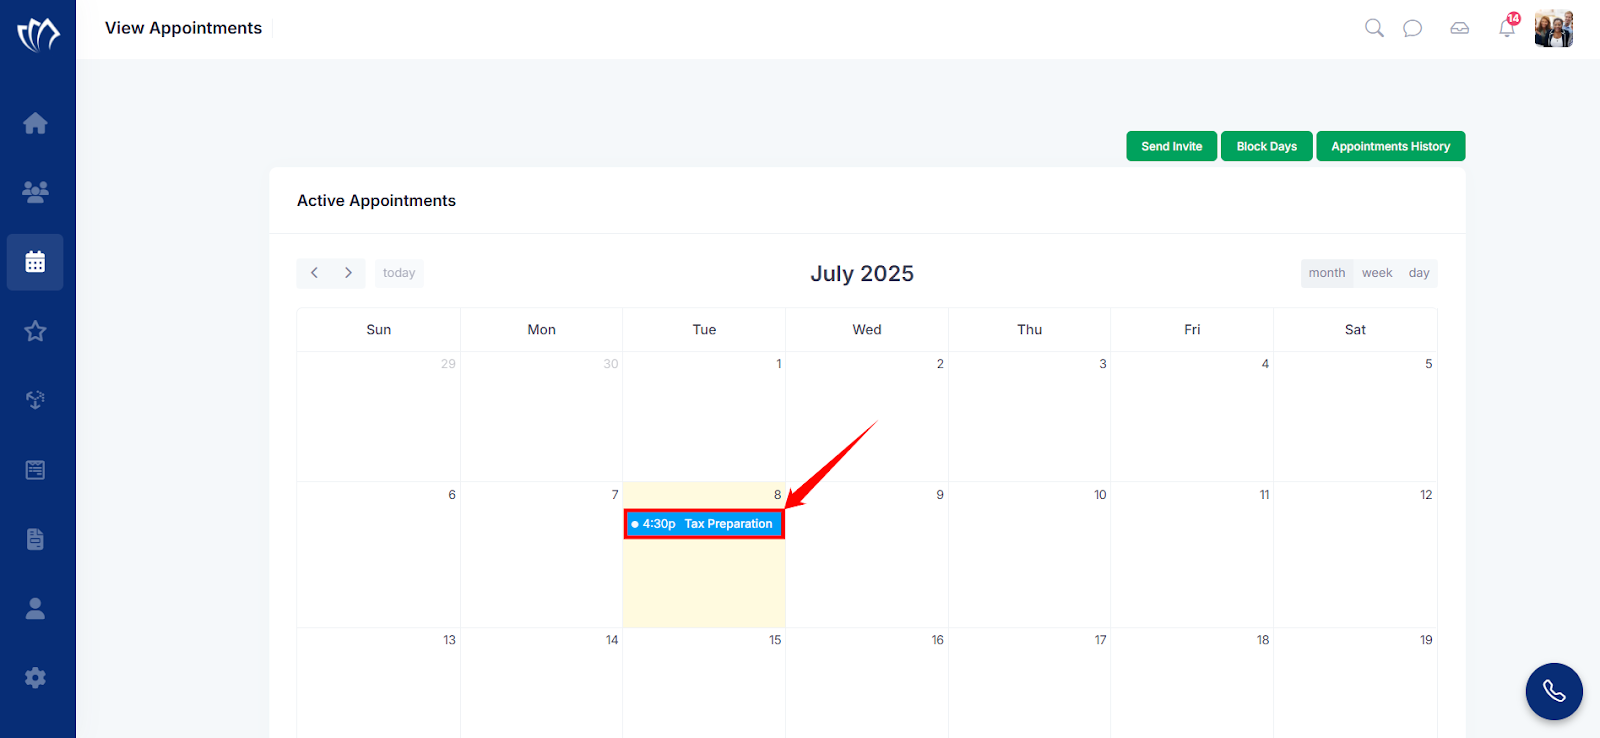
Step 1: Navigate to the left side panel, hover over the “Appointments” section, then click on the “Appointments History” option.
Step 2: A calendar will open with the last date when the appointment was set.
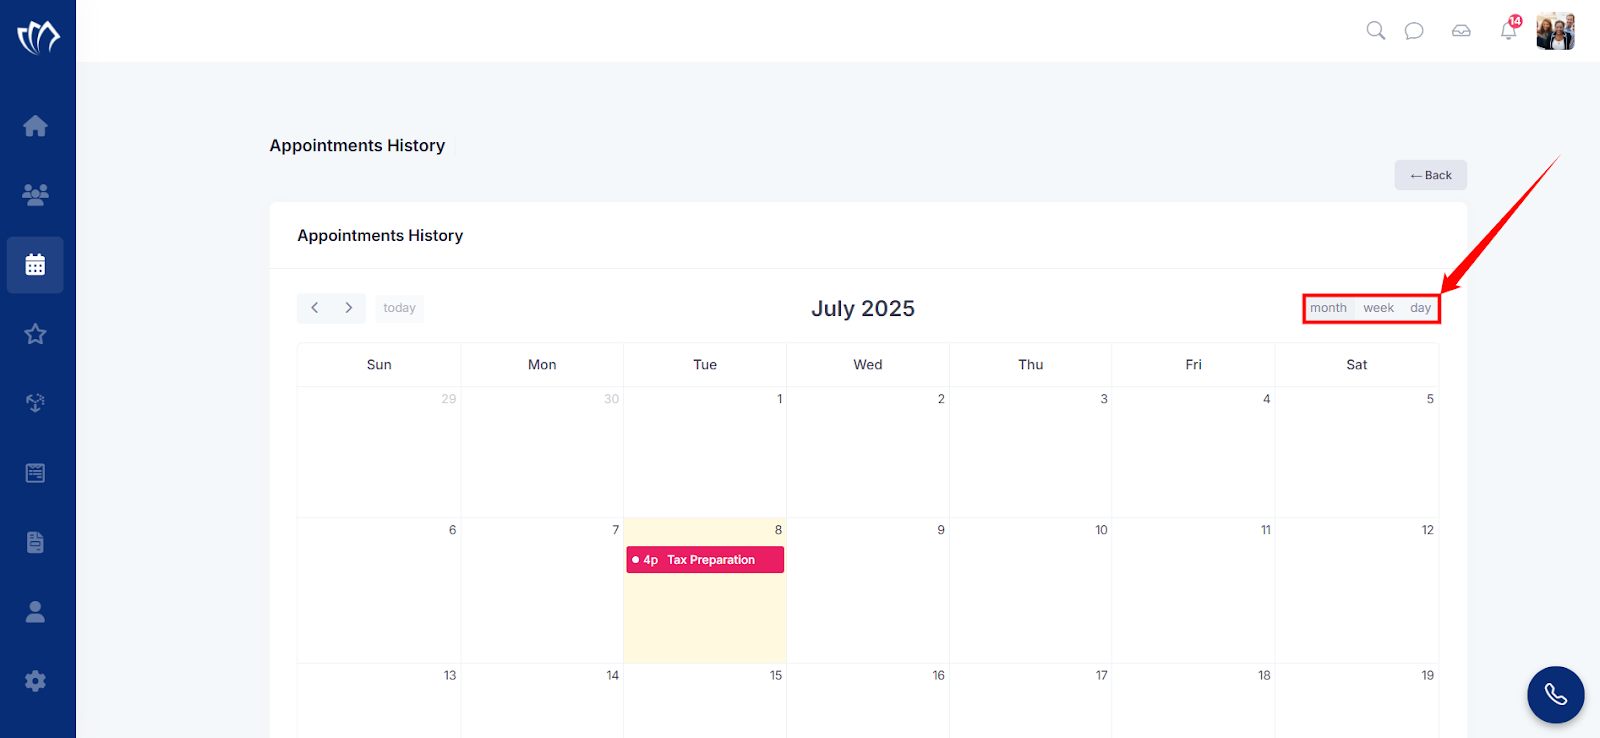
Note: You can switch the calendar to see your appointments by day, week, or month.
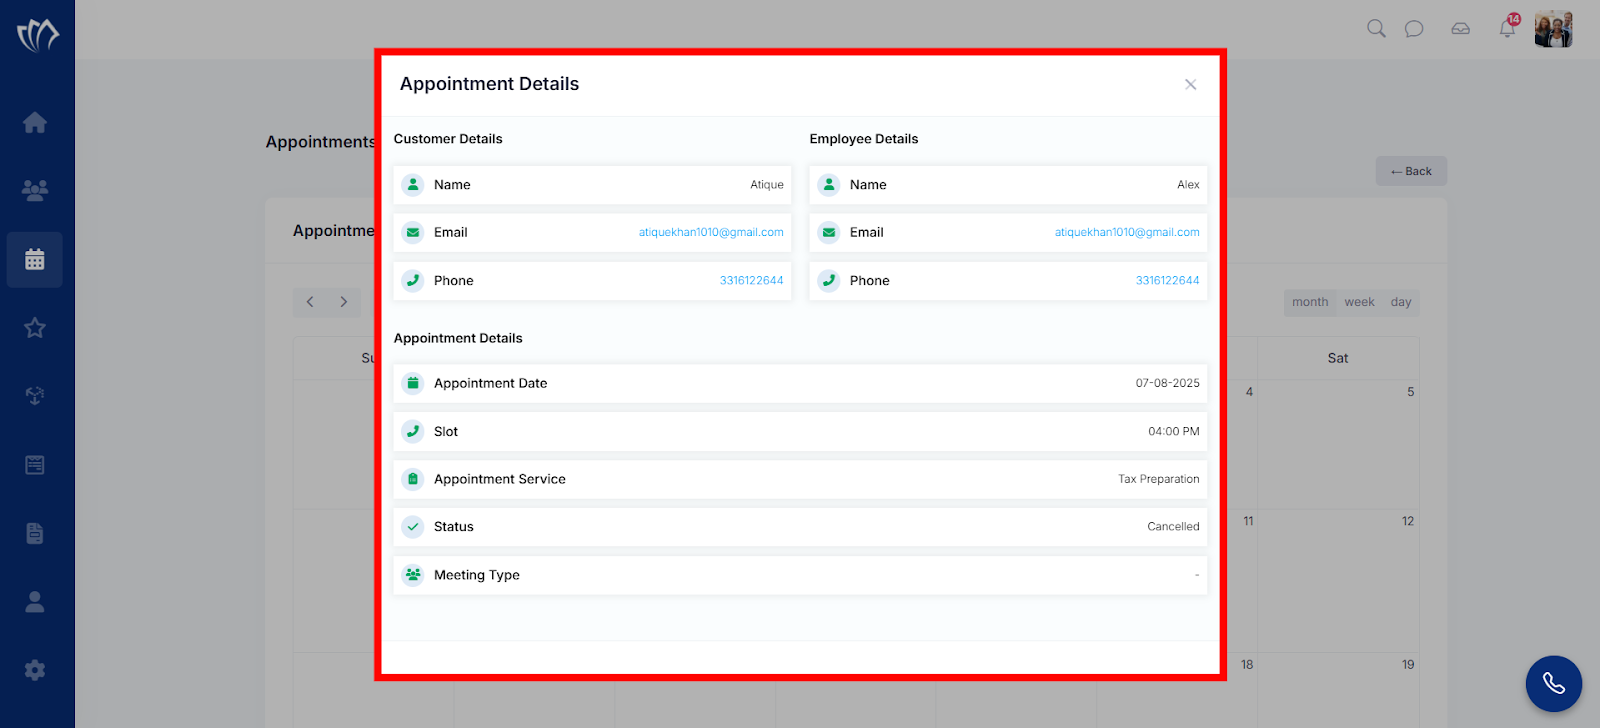
View Appointment Details
Viewing appointment details helps you understand what the session is about, who it’s with, and when it’s scheduled. It shows the customer’s name, email, and phone number. It also includes appointment date, slot, service, status, and type. This information is useful when preparing for a meeting or checking what was discussed earlier.
Step 1: Select an appointment by clicking on an appointment label in the calendar.
Step 2: A detailed view will appear, showing the Customer and Appointment Details. You can also select a Questionnaire and send a video invite.