A notary stamp represents your official seal used for authorizing documents digitally. Uploading a notary stamp ensures that your e-signed documents carry the required legal authentication and personal verification.
Once added, the stamp can be easily previewed and reused across your digital notarizations, helping maintain professionalism and compliance throughout your signing processes.
Follow the step-by-step guide below on how to add a notary stamp on the TAAX Pro platform.
Step 1: Navigate to the left side panel, hover over the “Esign” section, then click on the “Add Notary Stamp” option.

Step 2: The Add Notary Stamp screen will appear, allowing you to upload and view your notary stamp image. Select the stamp image by clicking on the “Choose File” option under the “Upload Stamp” section.

Step 3: After selecting the stamp image, click the “Upload” button to submit it.

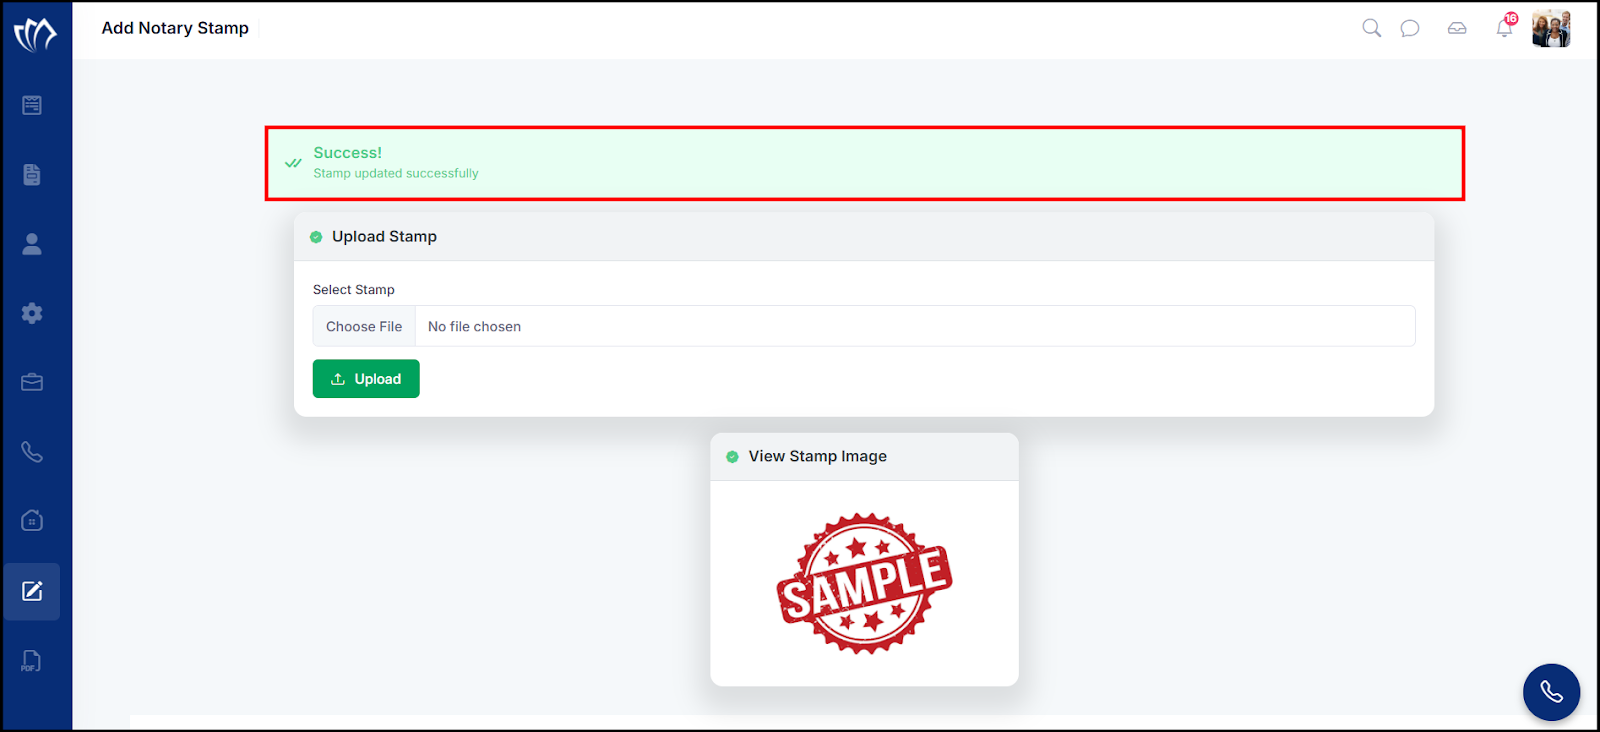
Step 4: After clicking on the “Upload” button, a success message will flash on the top of the screen.
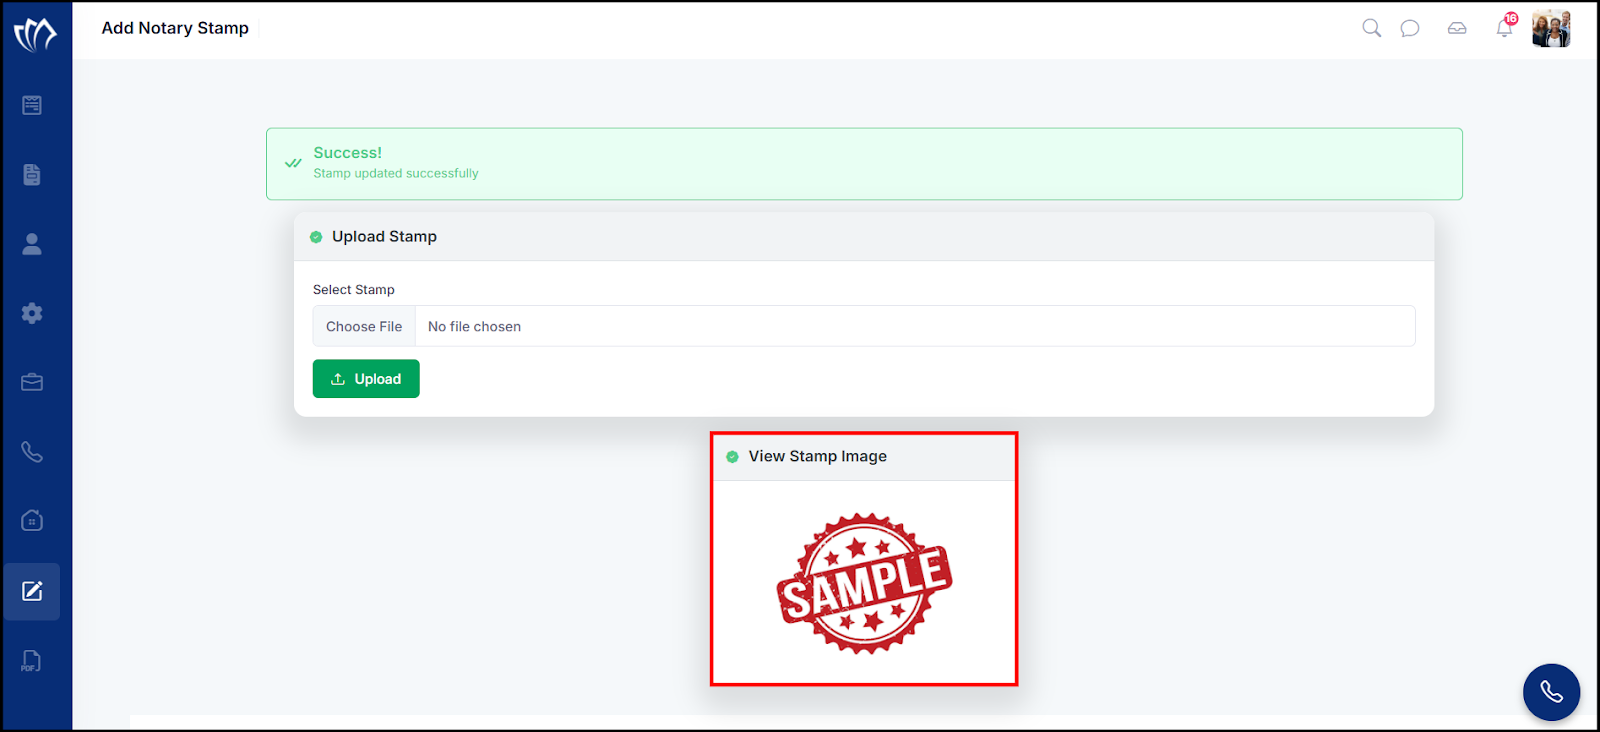
View Stamp Image
The uploaded stamp image is displayed under the View Stamp Image section for easy preview and reference.