Managing a draft invoice (whether editing, canceling, or publishing it) ensures the invoice is accurate and ready before it’s shared with the customer. Making changes at this stage avoids billing errors and lets you finalize when the details are correct. This keeps your invoicing process smooth and controlled.
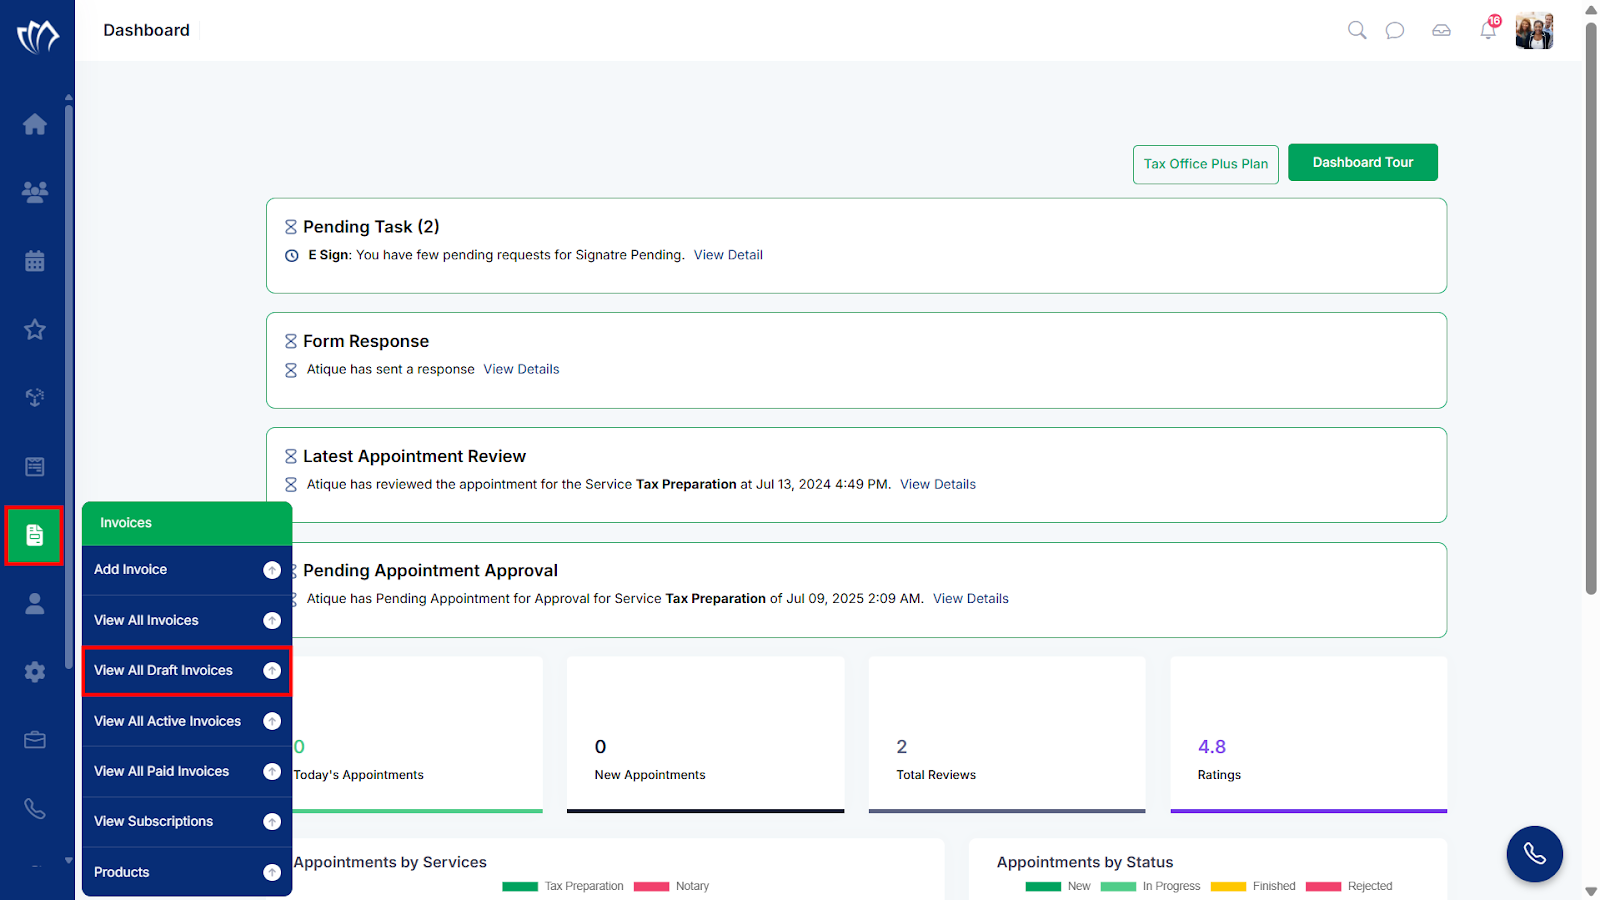
Step 1: Navigate to the left side panel, hover over the “Invoices” section, then click on the “View All Draft Invoices” option.
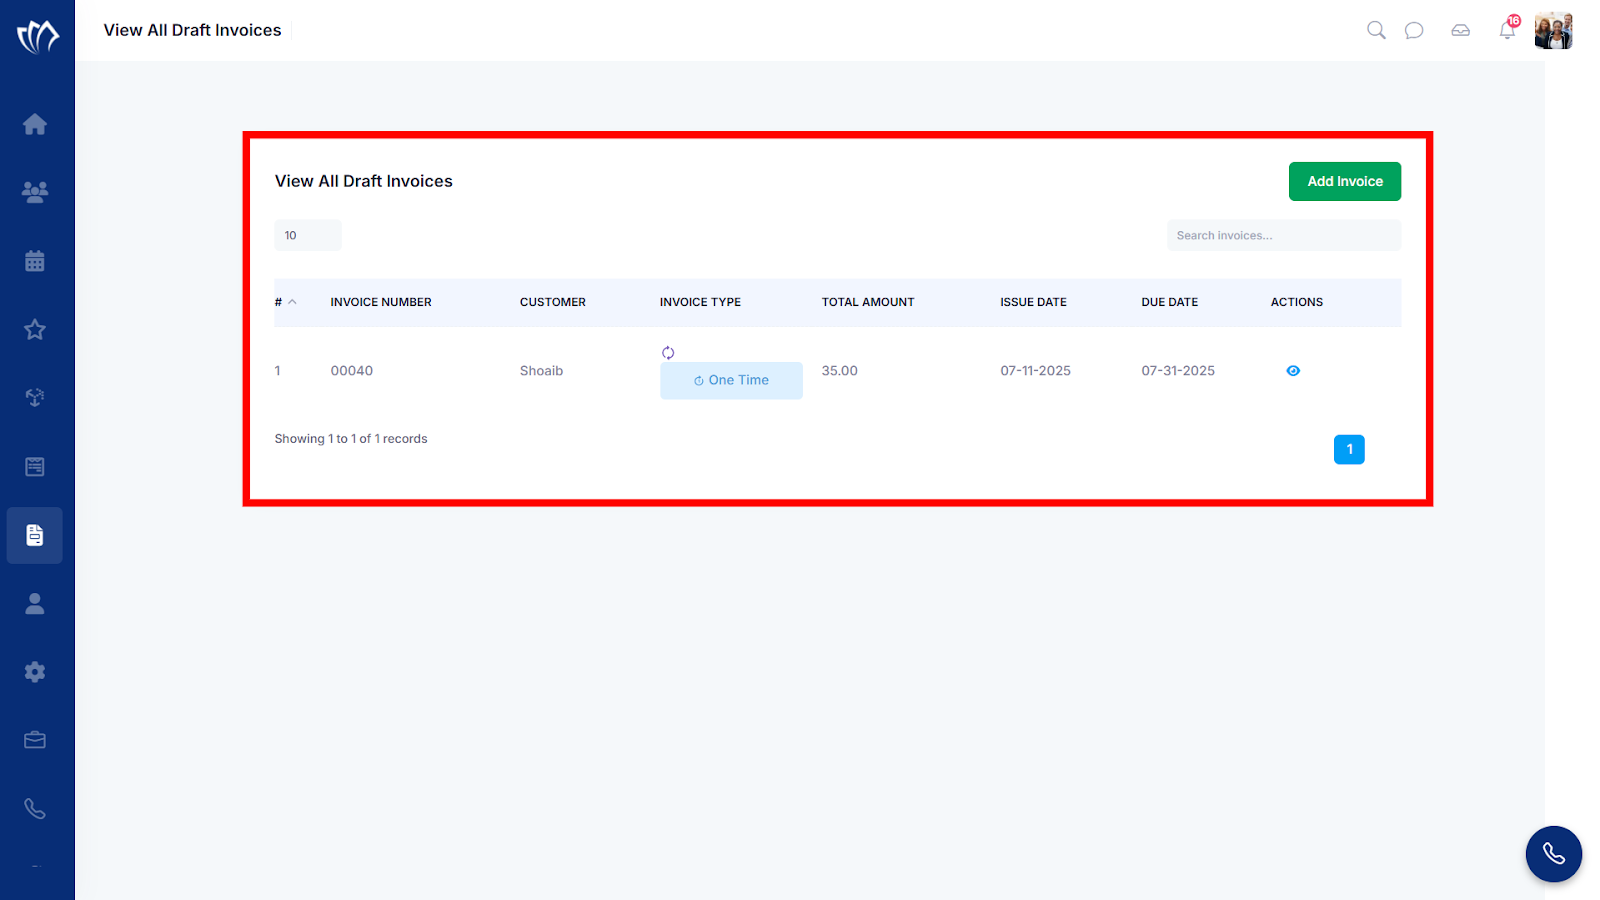
Step 2: After clicking on the “View All Draft Invoices” option, a new screen will open with the details of all previous invoices, where you can also add a new invoice.
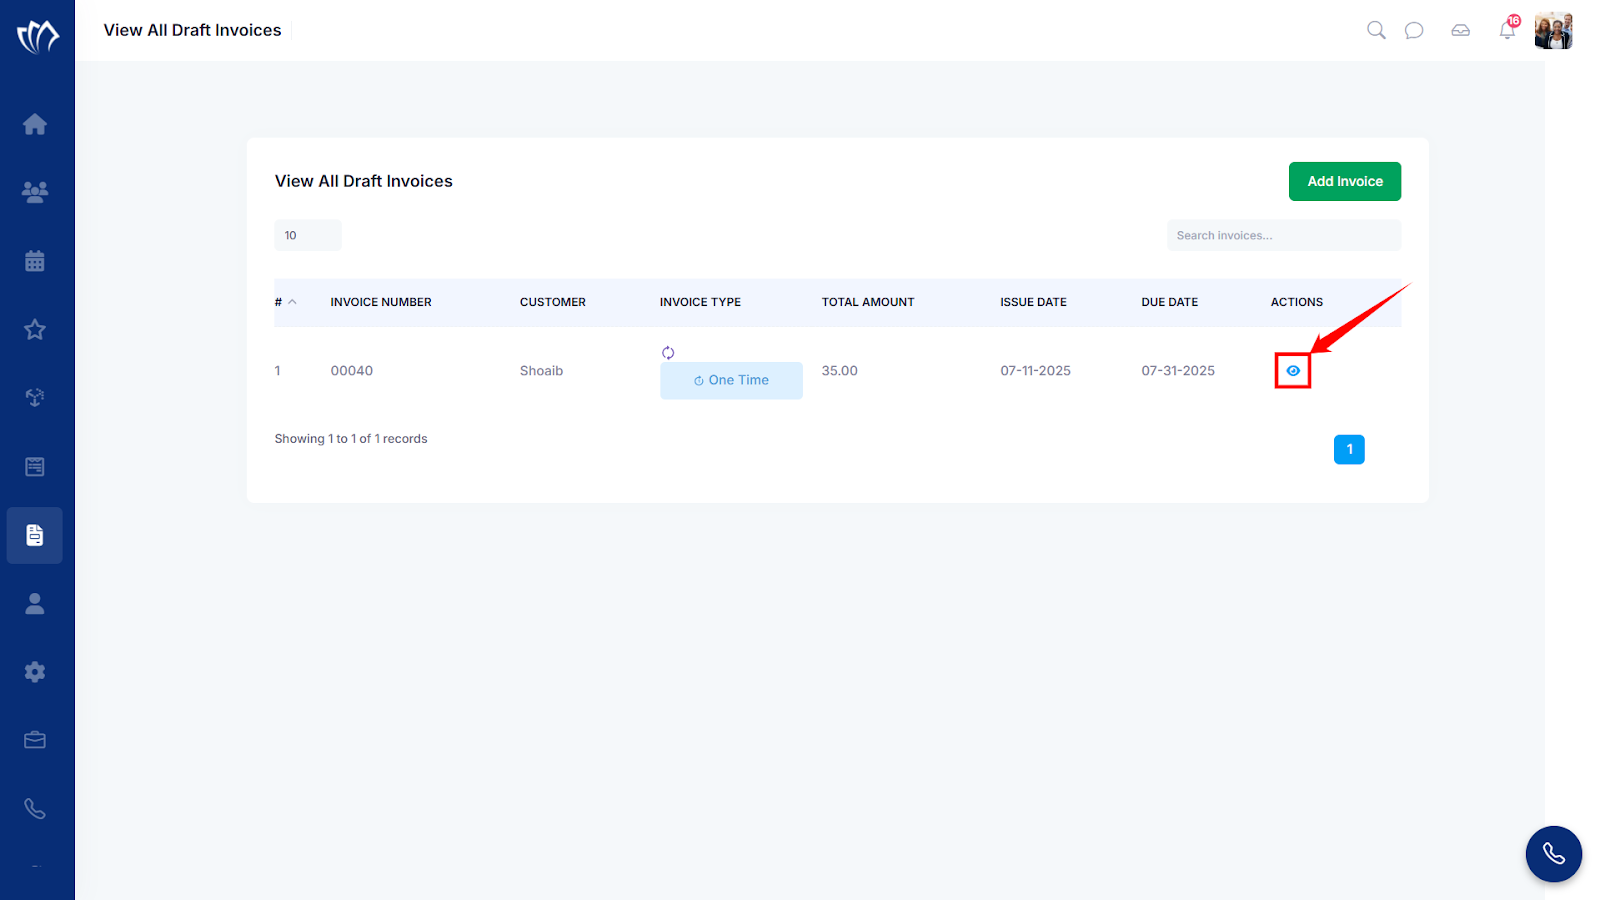
Step 3: Click on the eye icon next to any of the draft invoices you want to open.
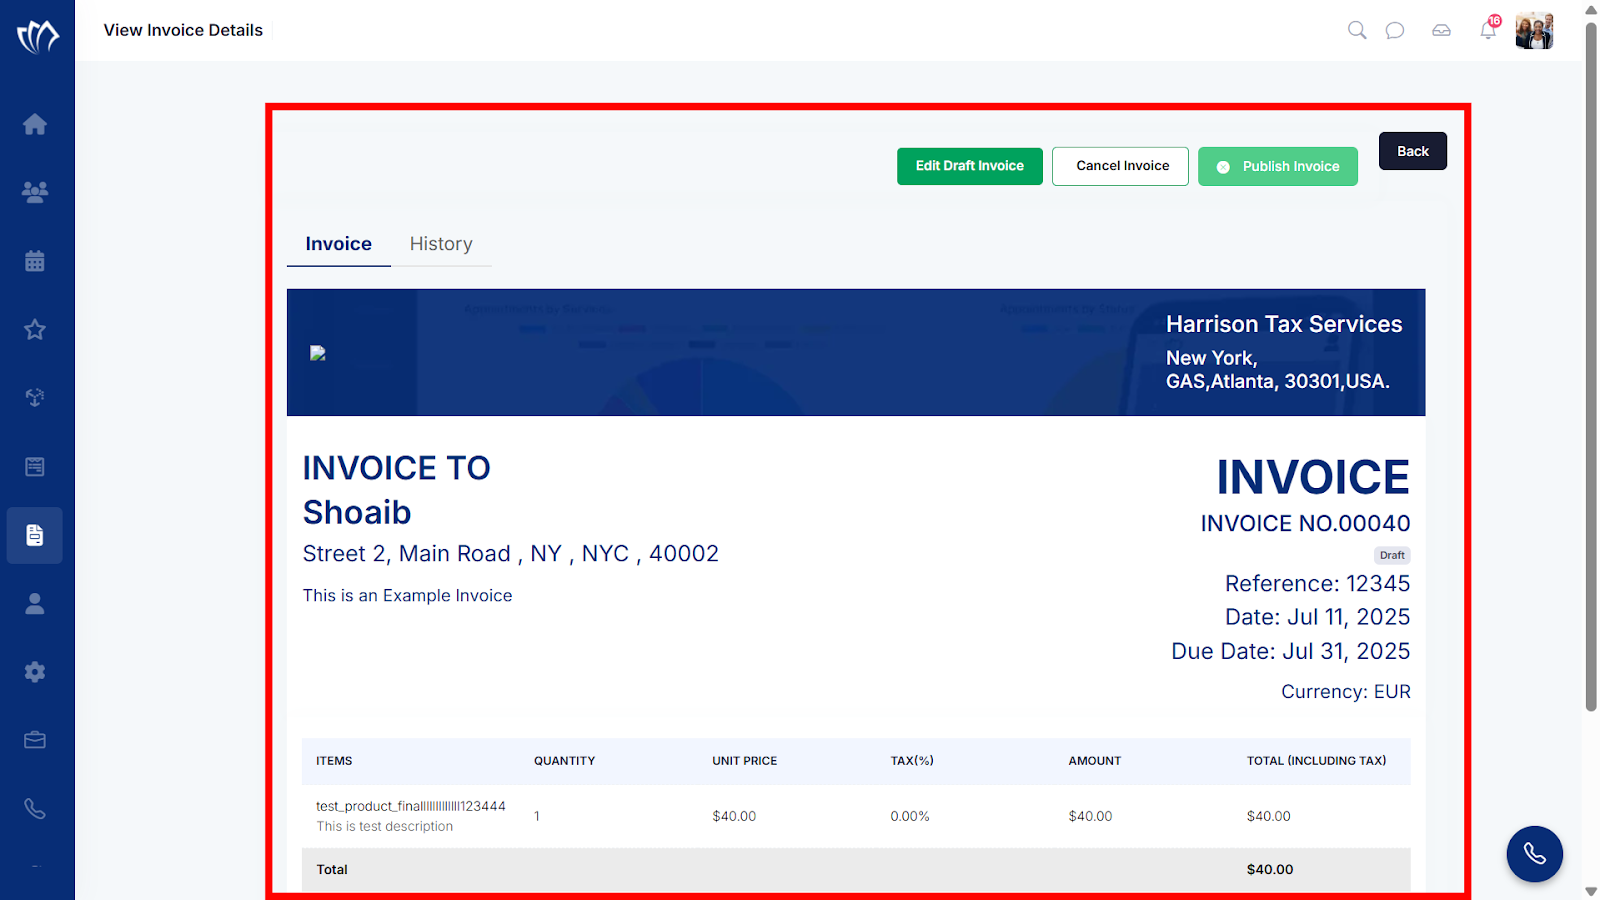
Step 4: A new screen will appear with the Invoice details.
Edit Draft Invoice
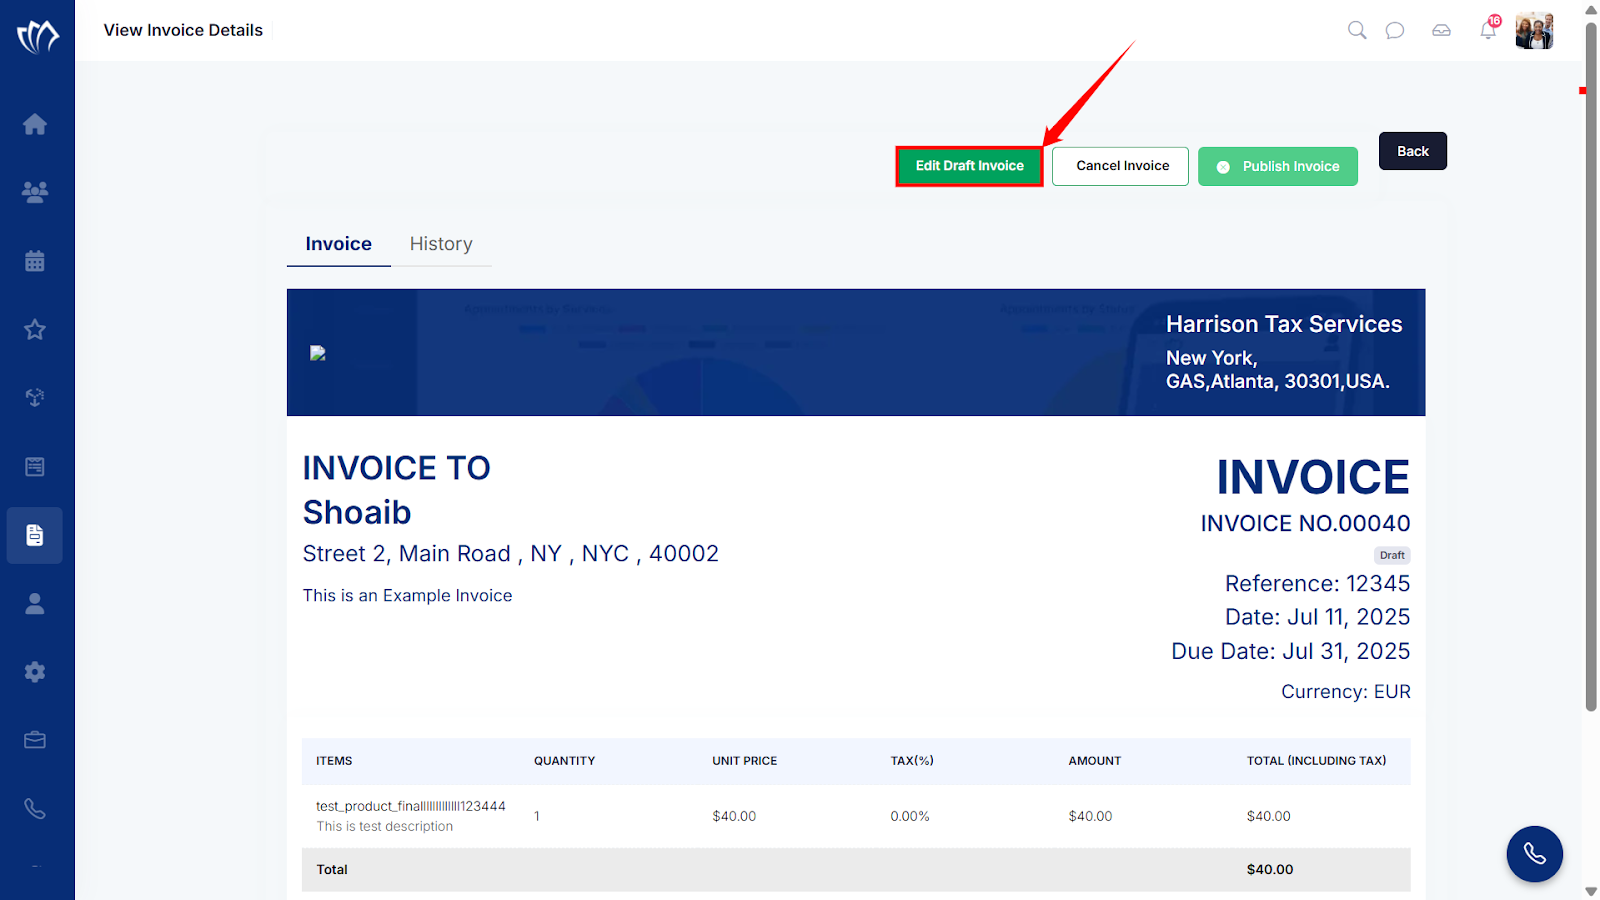
The Edit Draft Invoice option allows you to modify invoice details before it’s published. You can update fields such as billing information, items, discounts, dates, and more.
Step 1: Click on the “Edit Draft Invoice” button at the top-right corner of the screen.
Step 2: The Edit Draft Invoice screen will appear, allowing you to review and confirm the invoice details. You can either keep the same values or edit any of the following information as per your new invoice requirement.
| Fields | Description |
|---|---|
| Invoice Reference | Enter a unique identifier or label for the invoice to help with internal tracking or linking to a specific job/order. |
| Business Location | Select the business location that is issuing the invoice, which may affect tax or compliance settings. |
| Address | Provide the billing or service address associated with the client receiving the invoice. |
| Issue Date | Set the date on which the invoice is generated or sent to the client. |
| Due Date | Specify the payment deadline based on the agreed terms with the client. |
| Invoice Type (One Time, Recurring) | Choose whether the invoice is a one-time charge or part of a recurring billing schedule. |
| Cancel After Cycles | Define how many billing cycles the recurring invoice should run before it automatically stops. |
| Create (add) New Product | Add a new product or service line item by entering the Title (name), Unit Price, Quantity, Tax (%), Amount, and Total (Including Tax). |
| Add Discount (Flat Amount, Percentage) | Apply a discount to the invoice as either a flat amount or a percentage of the subtotal. |
Step 3: After reviewing and updating the invoice details, click the Save & Publish button to proceed.

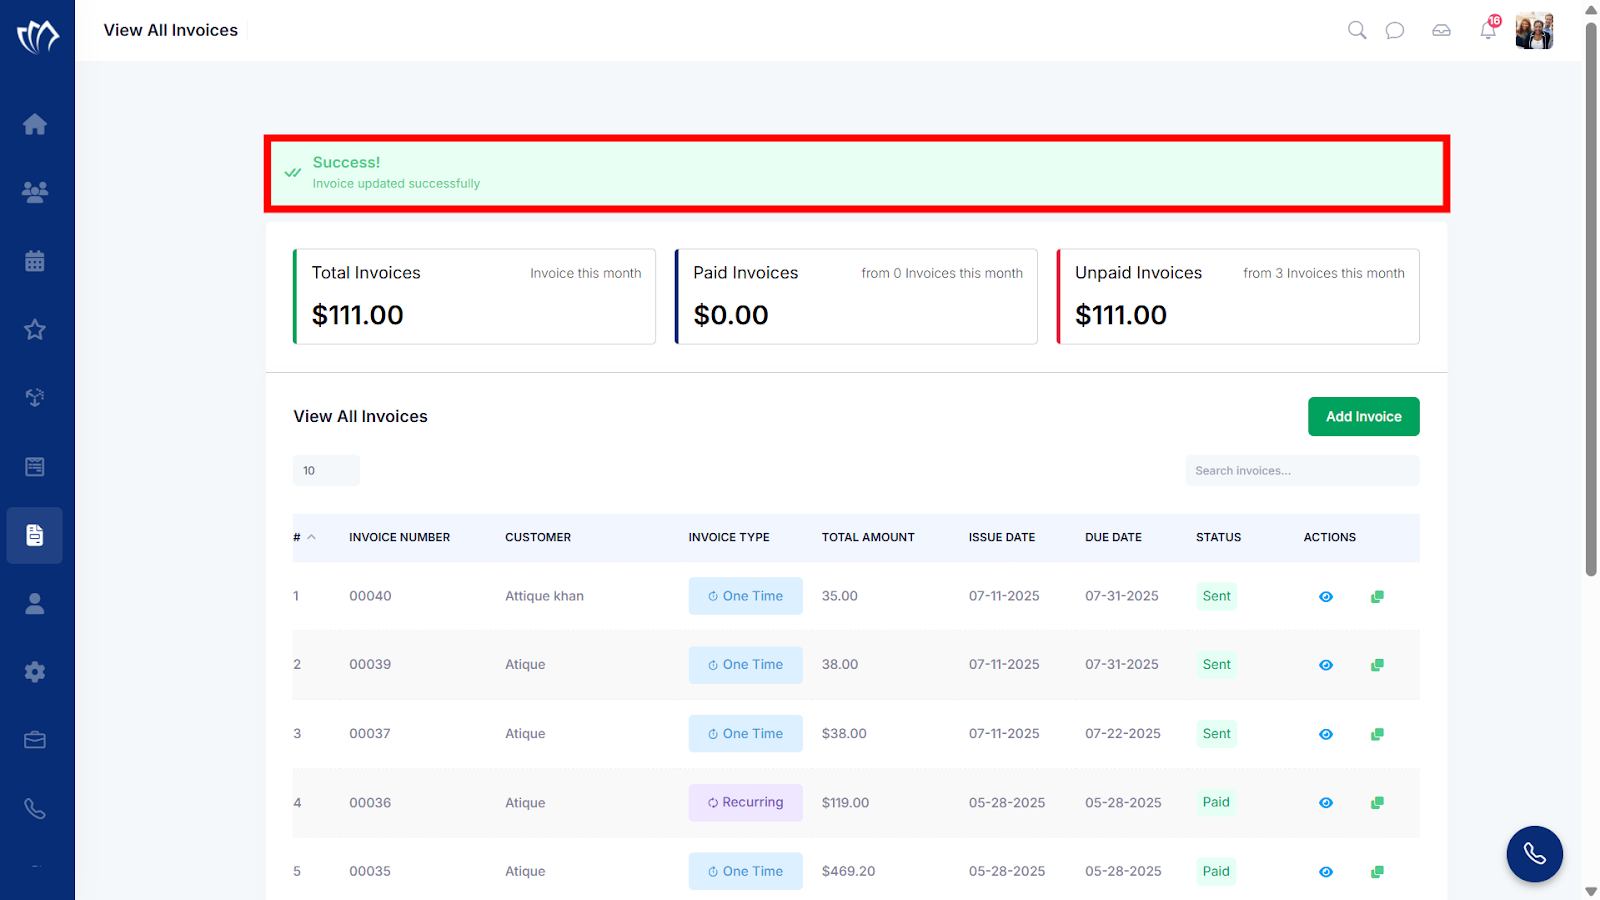
Once the invoice is published, a success flash message will appear at the top of the screen.
Cancel Invoice
Cancelling an invoice is necessary when a billing error occurs, a transaction is voided, or services are no longer required. This process ensures accurate financial records and prevents further actions on the invoice.
Publish Draft Invoice
If you don’t want to make edits to your draft invoice, you can still directly publish it. Publishing an invoice makes it officially available to the customer and marks it as ready for payment. Once published, the invoice status changes from “Draft” to “Sent,” and it can no longer be edited unless reopened.
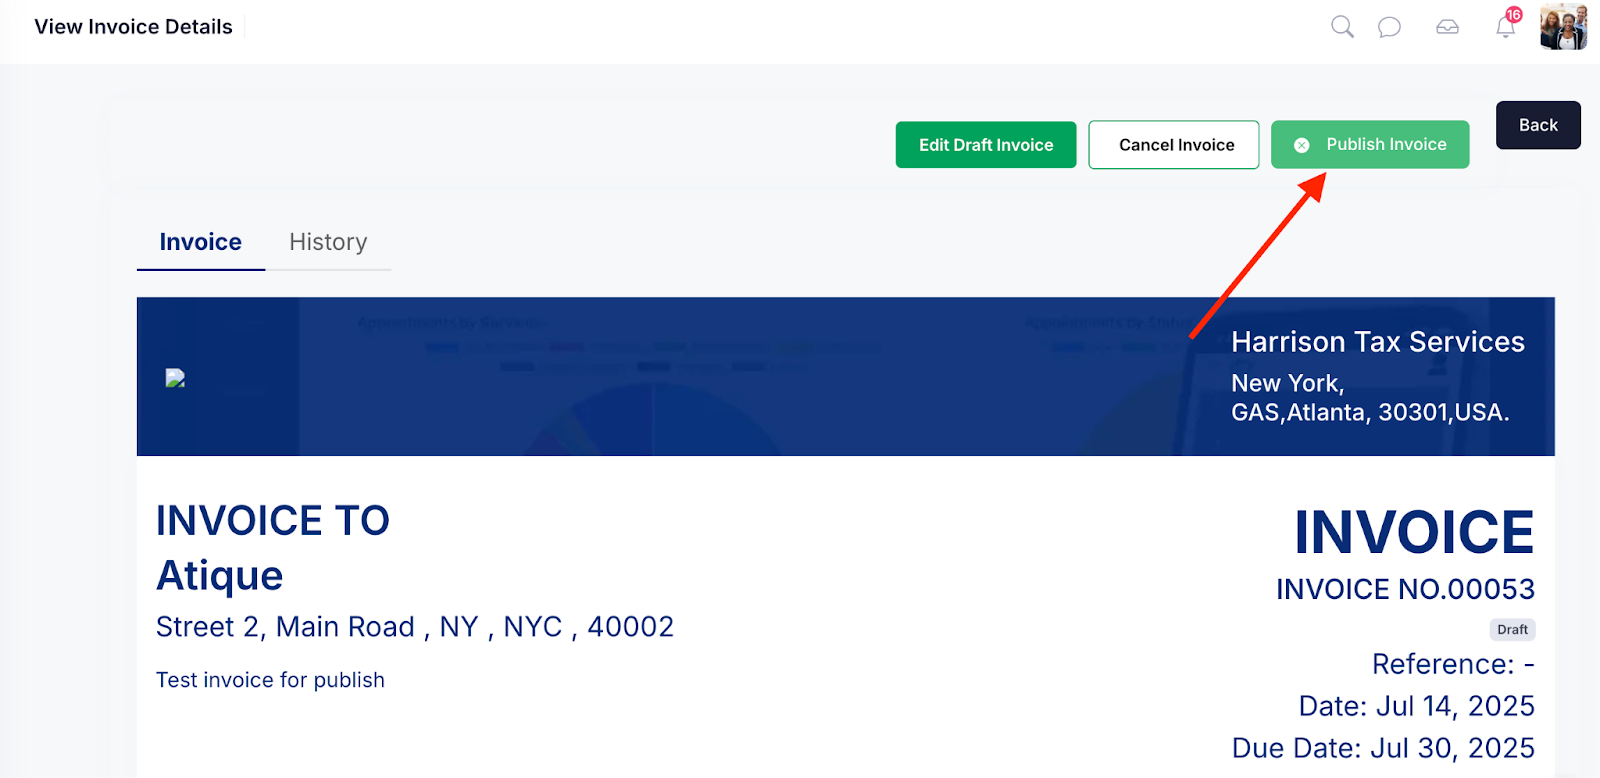
Step 1: Navigate to the draft invoice of your interest and click the Publish Button at the top-right corner of the screen.
Step 2: A confirmation modal window will appear at the top of the screen. Click the Publish button to publish the invoice.

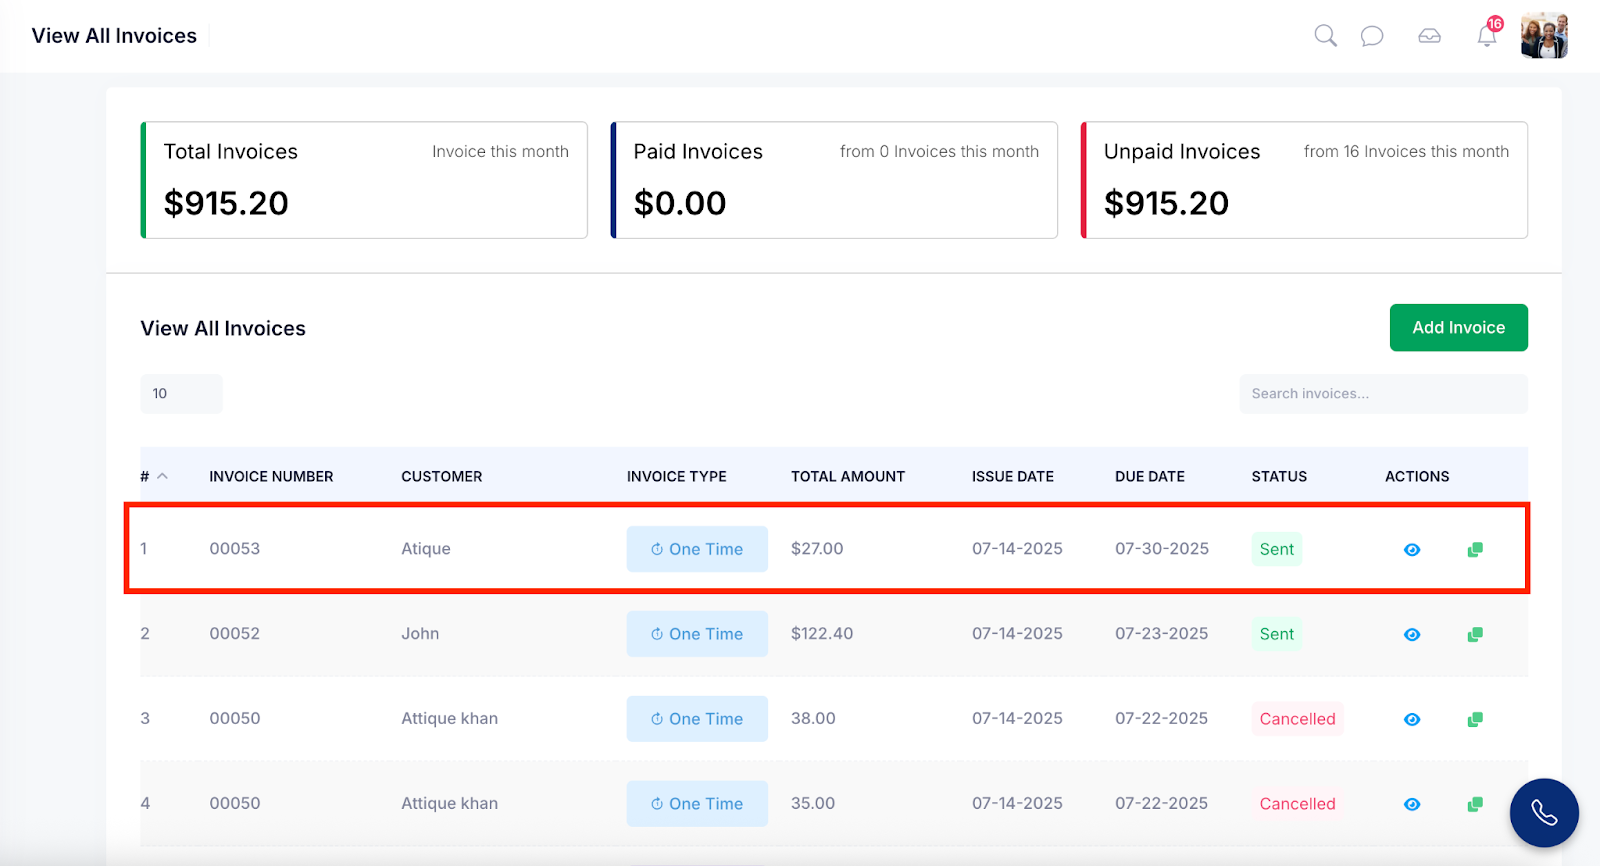
Once the invoice is successfully published, it will appear on the View All Invoices screen with the status set to “Sent.”