In our system, you can view all invoices in one place, whether an invoice is Sent, Cancelled, or in Draft, each entry is listed clearly. For every invoice, you can also perform actions like canceling the invoice, viewing history, adding notes, and checking payment details to manage all billing activities from a single screen.
Follow the step-by-step guide below to view all invoices on the TAAX Pro platform.
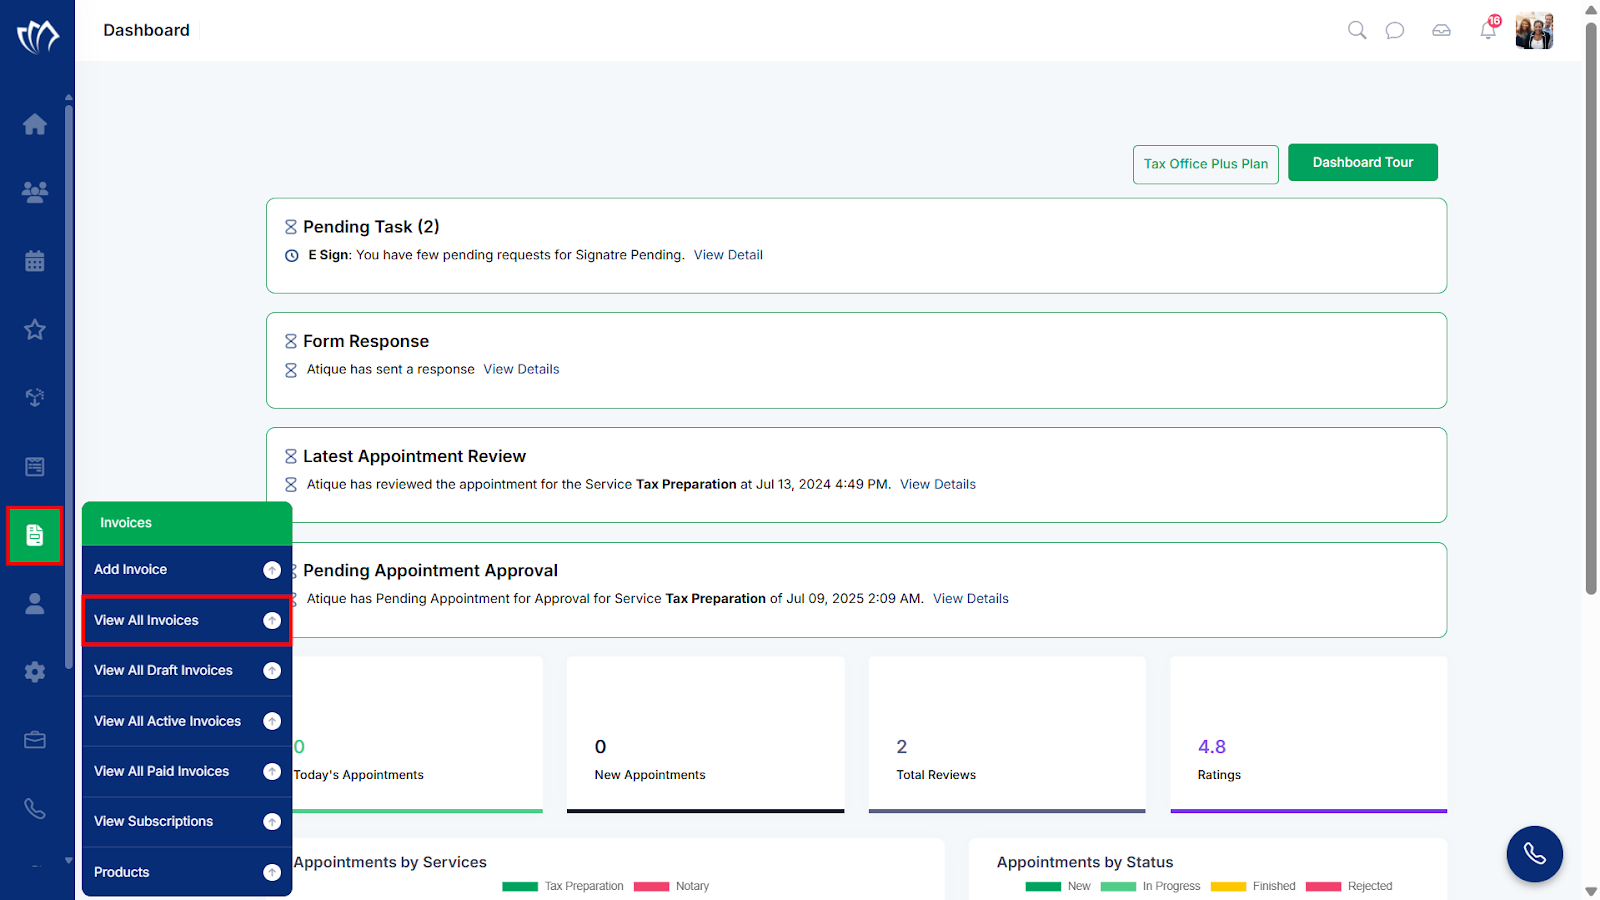
Step 1: Navigate to the left side panel, hover over the “Invoices” section, then click on the “View All Invoices” option.
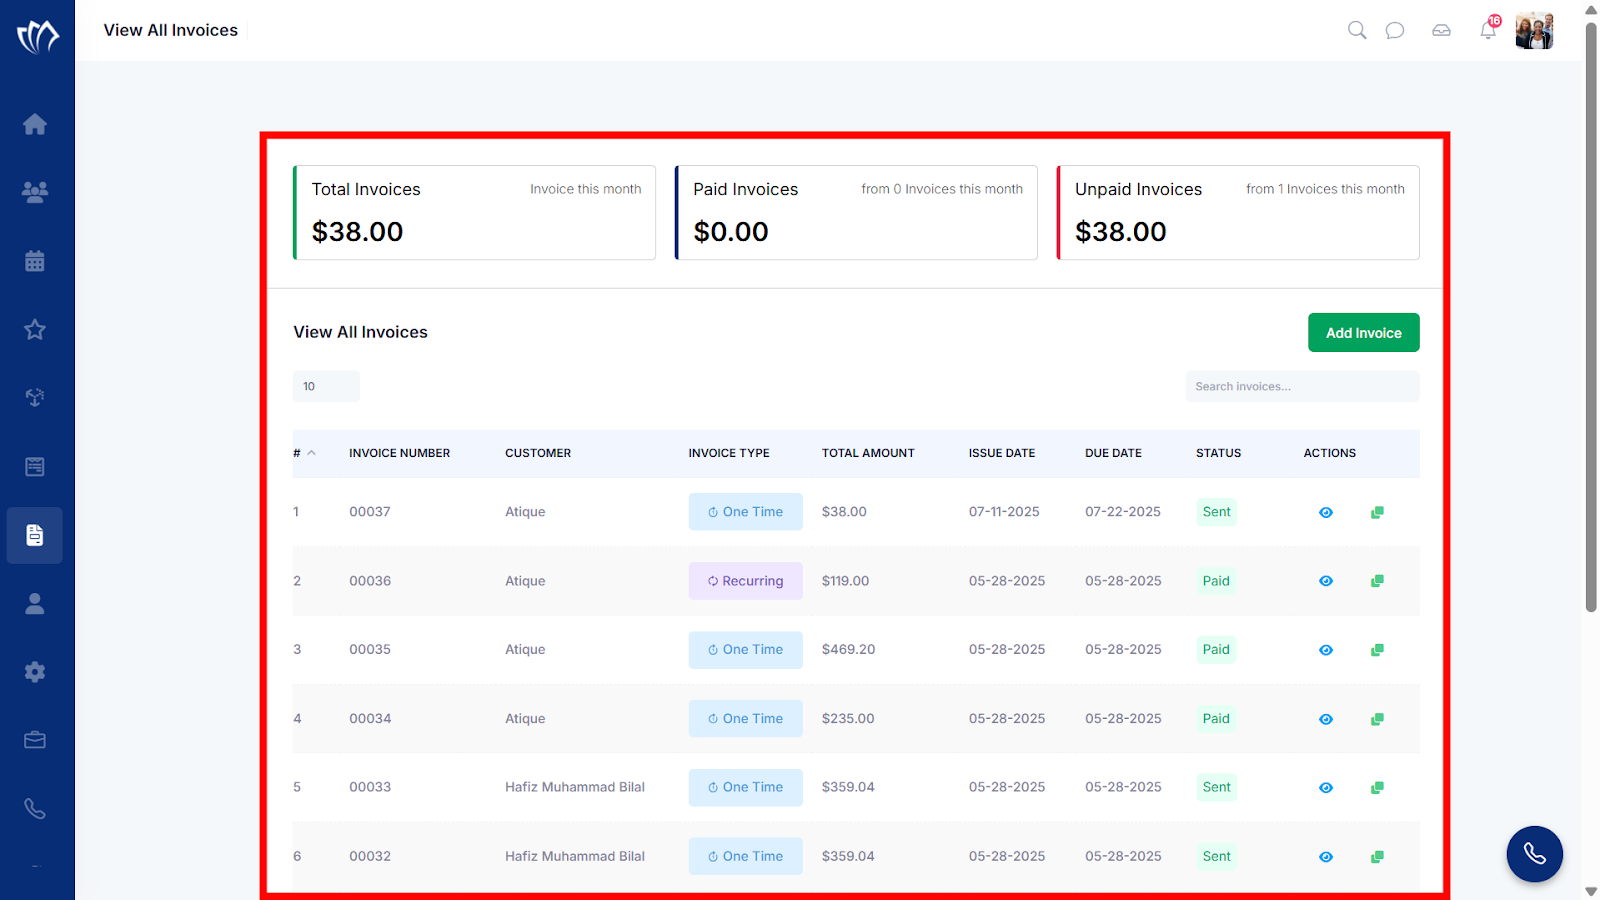
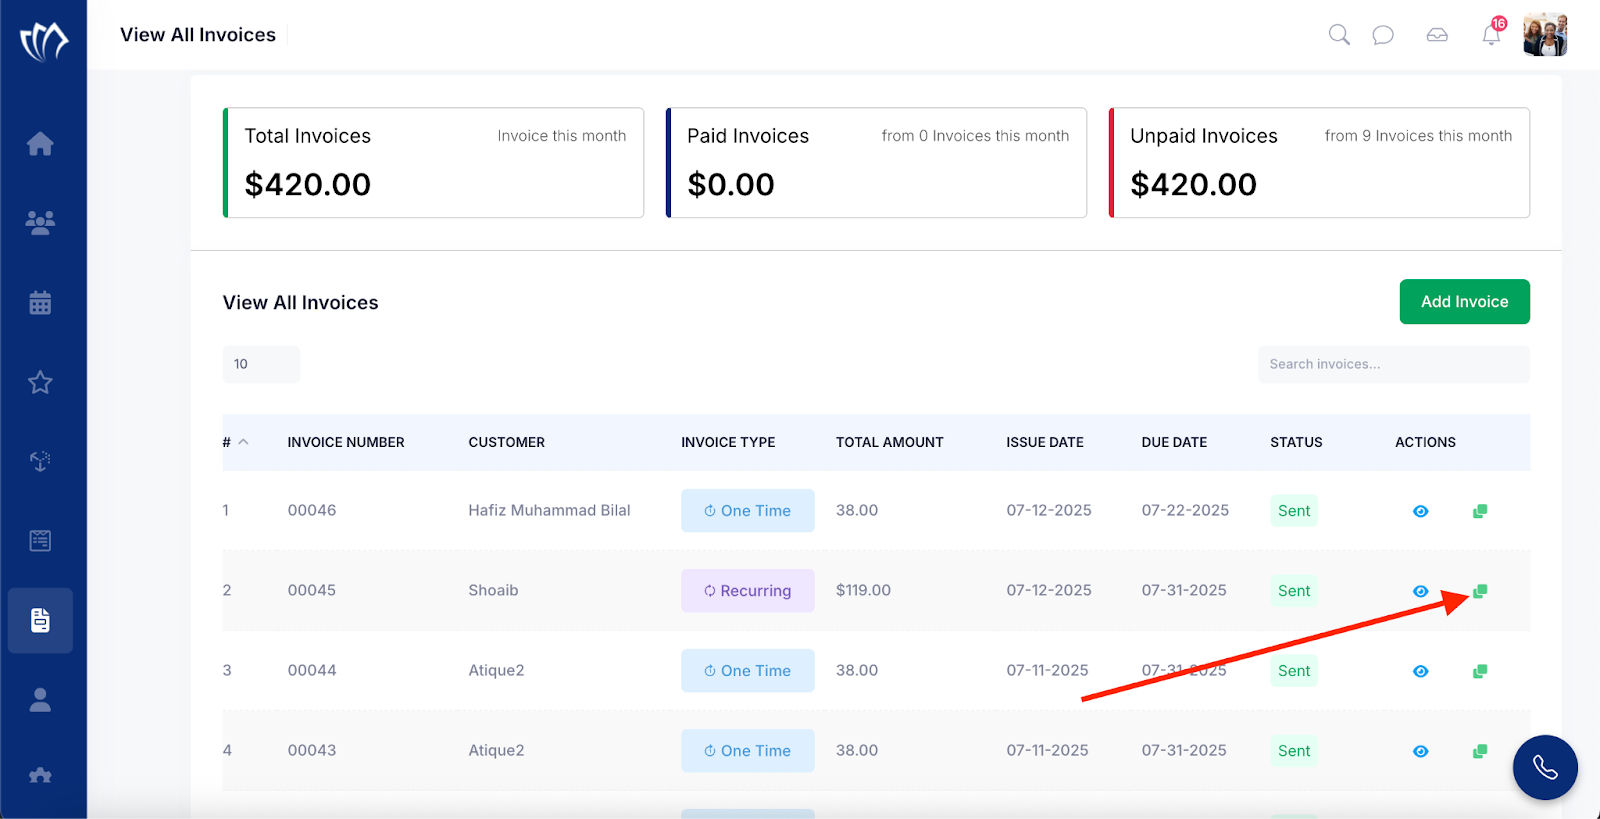
Step 2: After clicking on the “View All Invoices” option, you will see a list of all invoices displayed in a structured format. Each invoice includes details such as Invoice Number, Customer Name, Invoice Type, Total Amount, Issue/Due Date, Status, and available Actions.
Step 3: Click the eye iconnext to an invoice you wish to view.
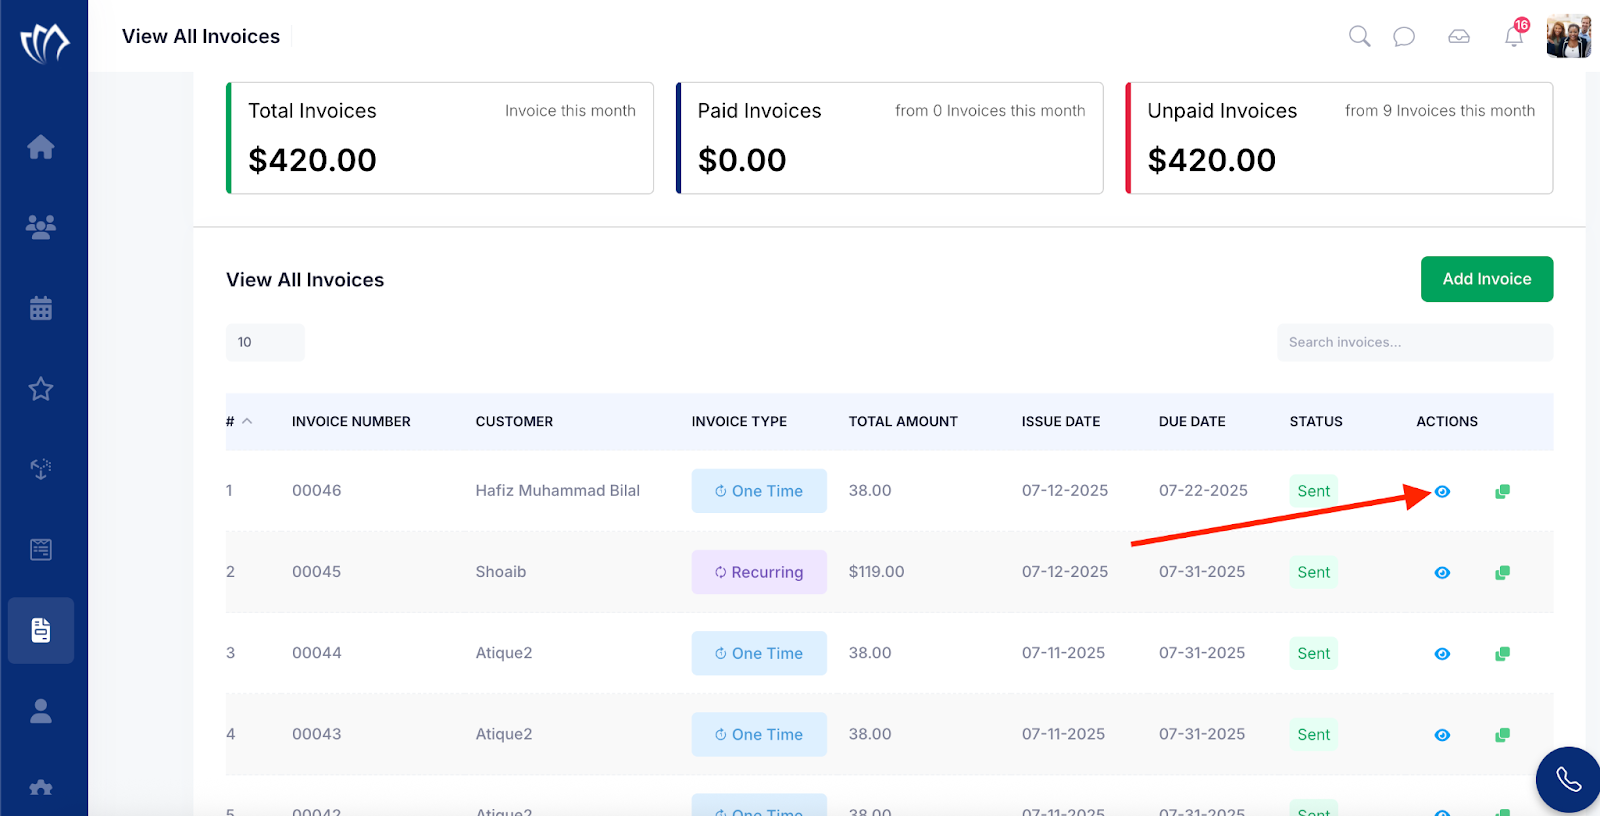
Note: You can also clone the invoice. Refer to this guide for step-by-step instructions.
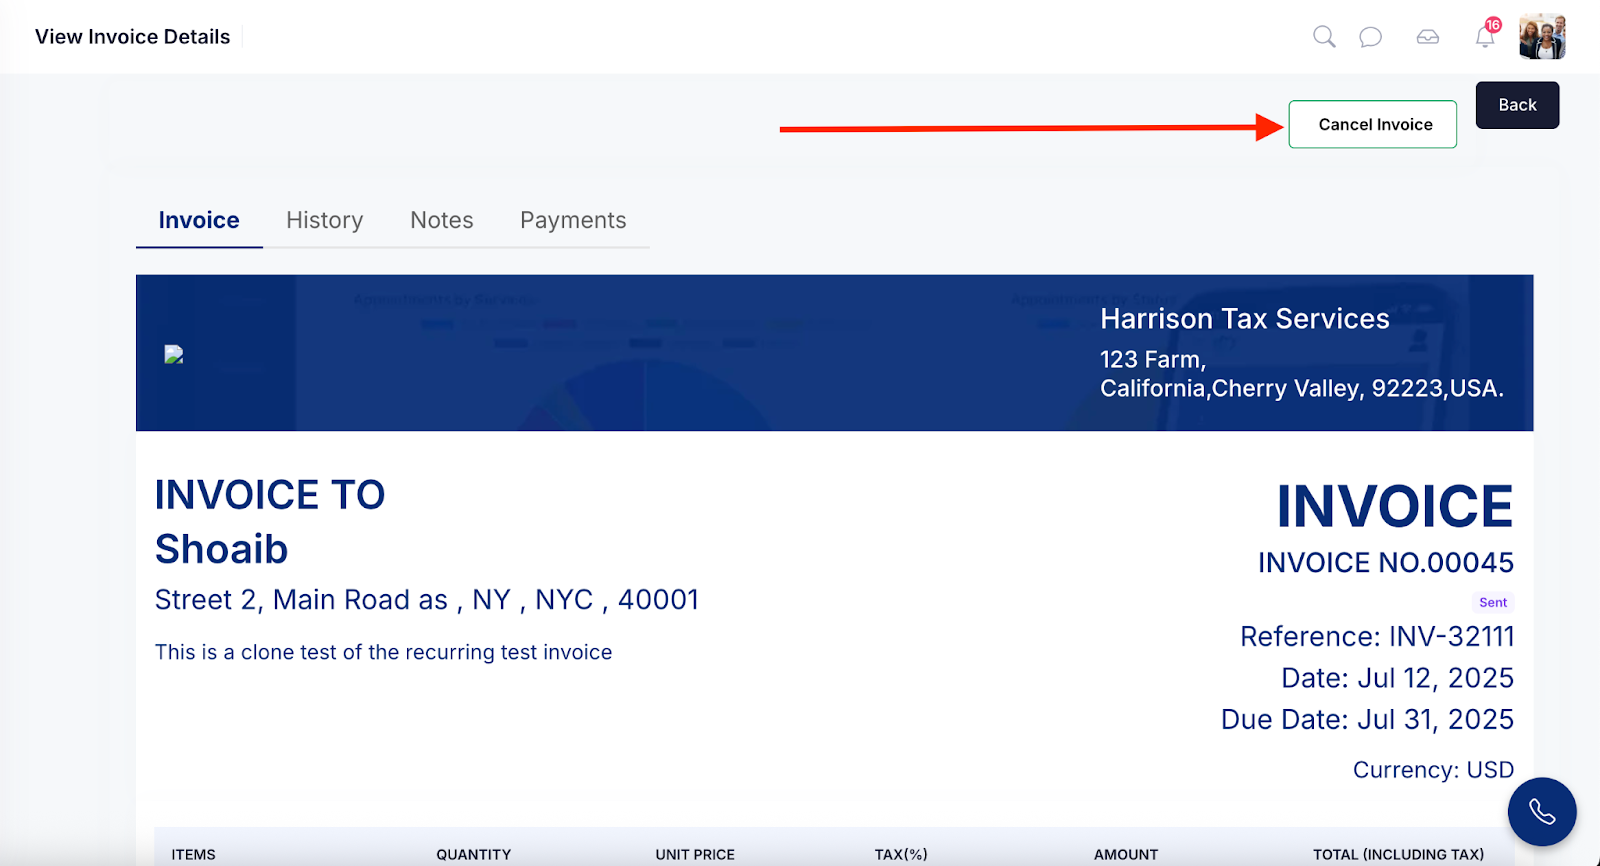
Step 4: The View Invoice Details screen will appear, where you can view all the details of the selected invoice.
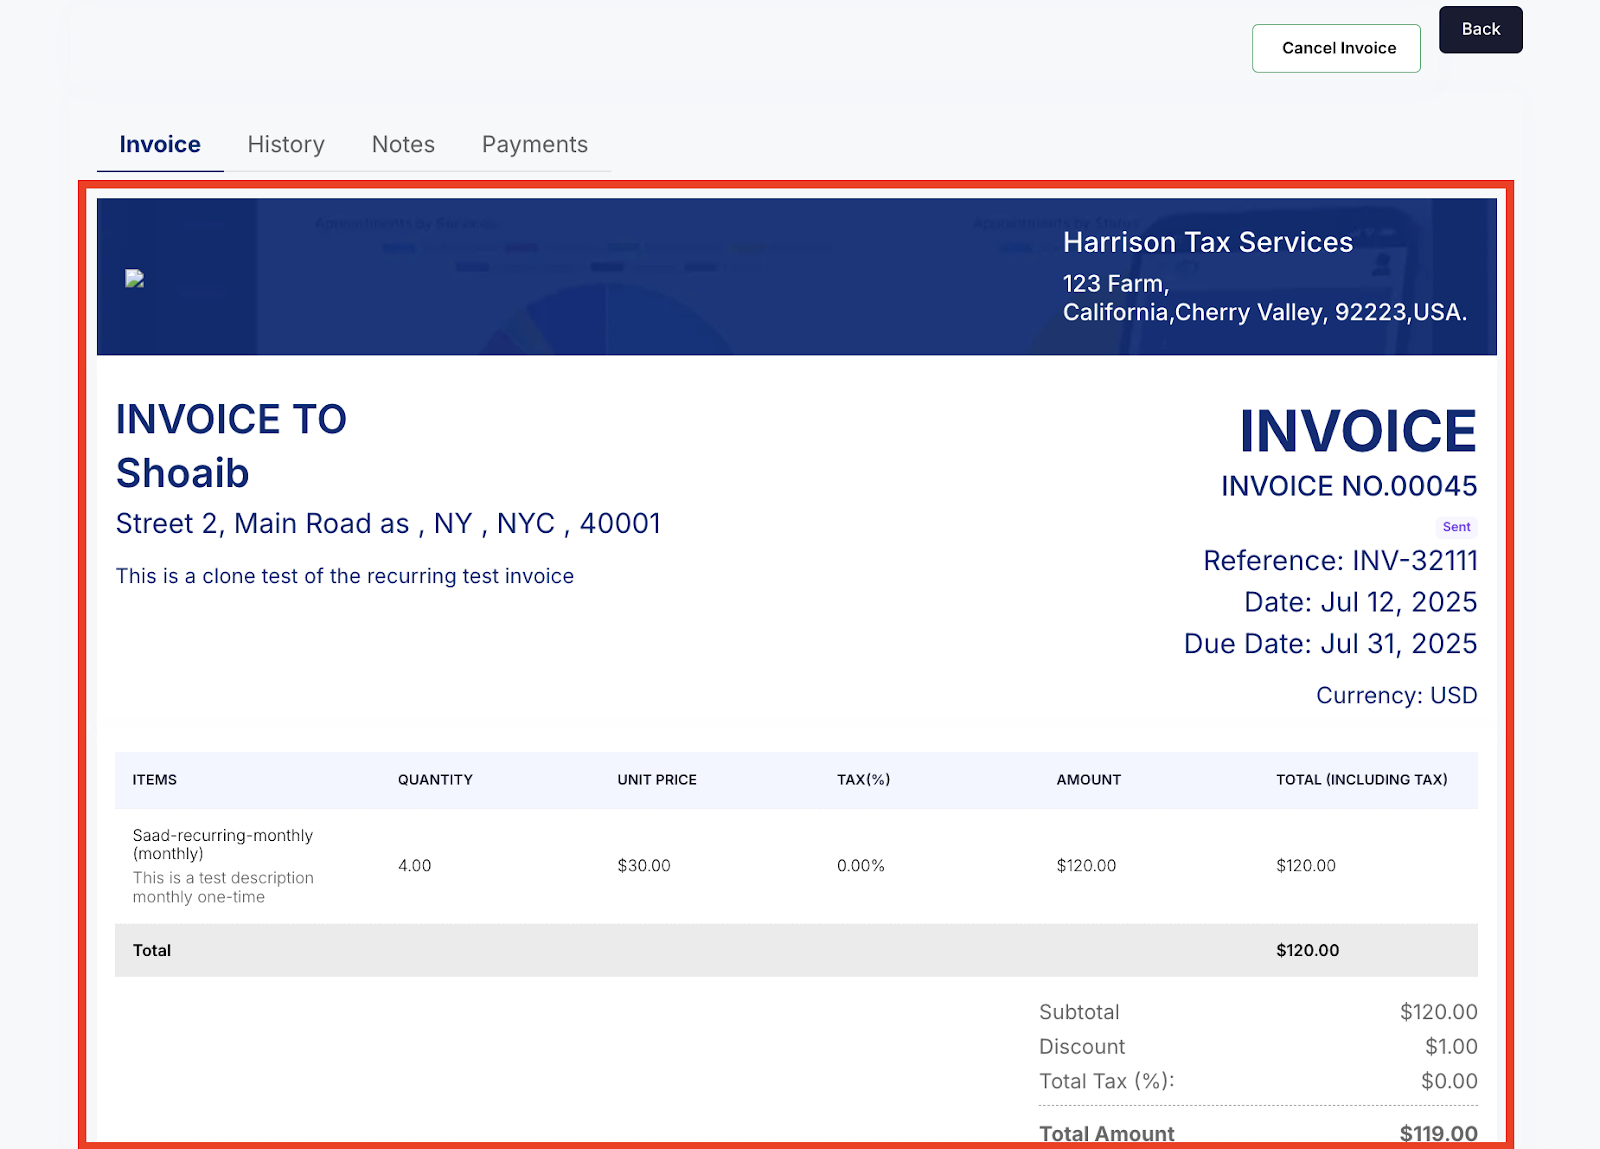
Step 5: The View Invoice Details screen is divided into four tabs: Invoice, History, Notes, and Payments. The Invoice tab is shown in this document above step, while the other tabs are listed below. Click on each tab to view the relevant information related to the invoice.:
| Action | Description | Reference |
| History | Shows a chronological log of all actions and updates made to the invoice, such as creation, edits, status changes, and user activity. | Read More |
| Notes | Contains any internal or external notes added by you and customers for context, clarification, or communication regarding the invoice. | Read More |
| Payments | Lists all payments made toward the invoice, including payment dates, amounts, methods, and outstanding balance, if any. | Read More |
Note: You can cancel the invoice directly from the View Invoice Details screen. Refer to this guide for step-by-step instructions.